Author:
Roger Morrison
Date Of Creation:
20 September 2021
Update Date:
21 June 2024

Content
- To step
- Method 1 of 8: Windows 8
- Method 2 of 8: Windows 7
- Method 3 of 8: Windows Vista
- Method 4 of 8: Windows XP
- Method 5 of 8: Mac OS X
- Method 6 of 8: iOS
- Method 7 of 8: Android
- Method 8 of 8: Linux
Wireless networks are one of the most common types of networks that exist today. The ability to use it is built into virtually any mobile device. Today almost every museum, bank, library and fast food restaurant has WiFi. Follow the guide below to connect from your mobile or other device to a wireless network near you.
To step
Method 1 of 8: Windows 8
 Open the Charms menu. You can access this by sliding from right to left on a touchscreen, or by moving your cursor to the right corner at the bottom of the screen.
  Open the Settings menu in Charms.
 Tap or click the wireless network icon. This looks like signal bars.
  Select the network you want to connect to. If there is more than one network you can connect to, select it from the list.
 - If you can't find the network, check that all your settings are correct.
 Enter your password for the wireless network. When you select a network, you will be prompted for a password, provided the network is secured. Only then will you gain access to the network.
 - You can also connect to a wireless network using desktop mode. Follow the steps for Windows 7.
Method 2 of 8: Windows 7
 Click the Network icon in the System Tray. You can find this in the bottom right corner of the desktop. The icon looks like a monitor with an Ethernet cable or signal bars. You may need to click the arrow next to the System Tray to see the icon.
 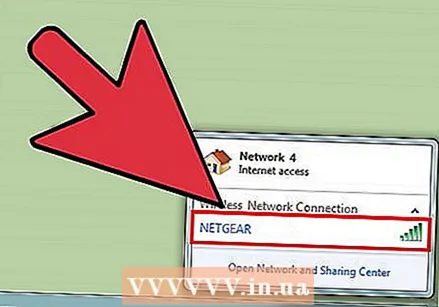 Select your network from the list. When you click on the Networks icon, you will be presented with a list of available networks in your area. Select the network you want to connect to from the list.
 - If you can't find your network, make sure you've set it up correctly.
 Click Connect. Your computer will try to connect to the network. If the network is secured, you will have to enter a password to use it.
Method 3 of 8: Windows Vista
 Click on the Start menu. In the Start menu, click on the “Connect To” button, located on the right side of the menu.
  Click on your wireless network. Then click on Connect. You will then be asked for a password, provided the network is secured.
 - Make sure the drop-down menu is set to Wireless.
 Click the Refresh button again to search for networks. If you are on the edge of a network's range, or if a network has just come back online, click Refresh to scan for networks again.
Method 4 of 8: Windows XP
 Right-click on the Network icon. This can be found in the System Tray in the bottom right corner of the desktop. You may need to click the arrow to the Tray to show the hidden icons.
  Select “View Available Wireless Networks”. This will open a list of networks within range of your computer. Click on the network you want to use.
 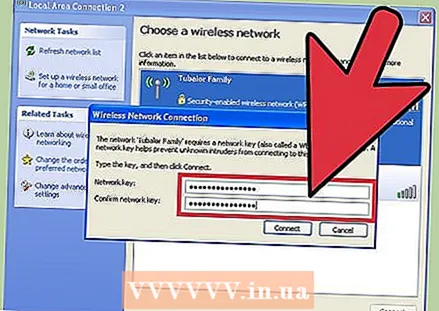 Enter the password. In the “Network key” field, enter the password for the network you want to connect to. Click Connect.
Method 5 of 8: Mac OS X
 Click the WiFi icon in the menu bar. You can find this in the right corner, at the top of the desktop. If the icon is not present, click the Apple menu and select System Preferences. Open the Network section, click on WiFi, and then check the box "Show WiFi status in menu bar".
  Select your network. When you click on the Wi-Fi icon, a list of available networks will be displayed. Networks that require a password have a padlock icon next to the network name.
  Enter your password. If you have entered the correct password, you are connected to the network.
Method 6 of 8: iOS
 Open the Settings app. Tap the WiFi menu at the top of the list.
  Make sure the WiFi is turned on. If not, slide the slider so that it turns green (iOS 7) or blue (iOS 6).
  Select your network. All available networks are shown when the WiFi option is enabled. Networks that require a password have a padlock next to their name.
  Enter your password. If you have selected a network, you will be asked for any required password. Once you have entered the password, your iOS device will connect to the network. It may take a while for the connection to be established.
Method 7 of 8: Android
 Open the settings of your device. You can reach this via the app drawer, or by pressing the menu button on your phone.
 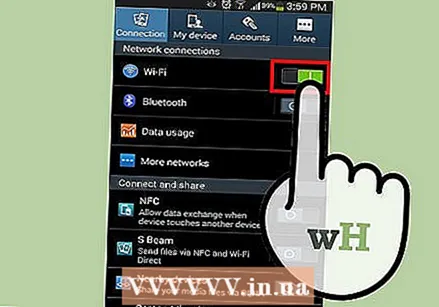 Make sure WiFi is turned on. In the Settings menu, set the slider next to the WiFi menu to “ON”.
 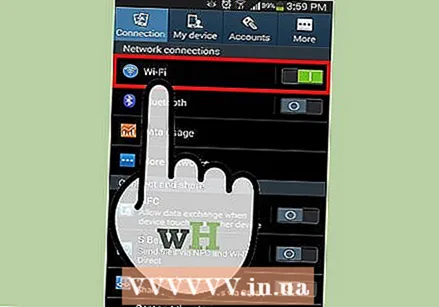 Tap the WiFi menu. Now all available networks are displayed. Any network that requires a password will be shown with a padlock above the signal strength indicator.
  Select your network. Choose the network you want to connect to. If a password is required for this, it will be requested. Once you have entered the password, it may take a while for the device to connect to the wireless network.
Method 8 of 8: Linux
 Make sure your wireless network adapter is compatible with Linux.
 Open Network Manager. Most of the popular Linux distributions have Network Manager installed. The icon can be found near the clock on the taskbar. If your distribution does not use Network Manager, look for specific instructions in your distro's documentation.
 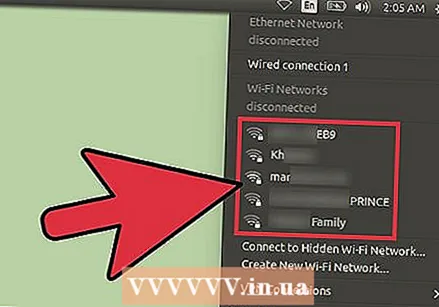 Choose your network. In the Network Manager, select the network and enter the password, if necessary. Once you have entered the password, you will be connected to the network.


