
Content
- Steps
- Method 1 of 6: Leak detection
- Method 2 of 6: Rebuilding the brake calipers
- Method 3 of 6: Replacing a wheel cylinder
- Method 4 of 6: Replacing Hoses and Lines
- Method 5 of 6: Replacing the Master Cylinder
- Method 6 of 6: Bleeding the Brake System
- Tips
- Warnings
- What do you need
If your brake fluid light comes on, the speed of braking has decreased, or the brake pedal is buried in the floor, then this means that somewhere there is a brake fluid leak. Another symptom of a leak is a fresh puddle under the car, transparent and not as thick as engine oil, similar in consistency to vegetable oil.
Steps
Method 1 of 6: Leak detection
The first thing to do to fix the brake system is to locate the leak and its severity. Having found the place of the leak and having determined how serious it is, you can proceed directly to the repair.
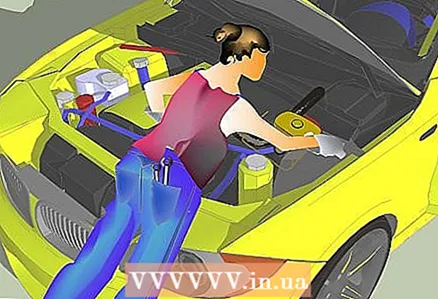
 1 Open the hood and check the brake fluid reservoir. This reservoir is located on the driver's side closer to the back of the engine. If there is little fluid, then most likely there is a leak somewhere.
  2 Inspect the ground under the machine for leaking brake fluid. The location of the puddle will help you locate the leak.
 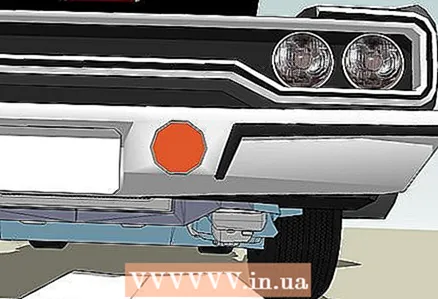 3 Place newspapers on the ground under the leak.
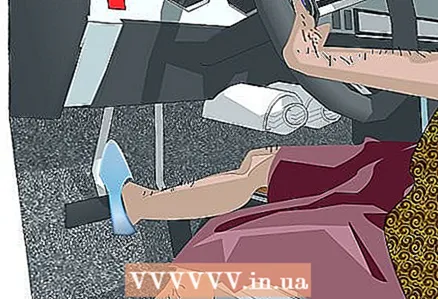 4 Bleed the brake pedal to run the brake fluid through the leak. The ignition must be OFF. With the ignition on, the brake fluid will flow very quickly, making it difficult to locate the leak.
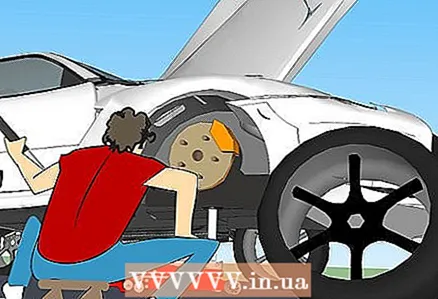
 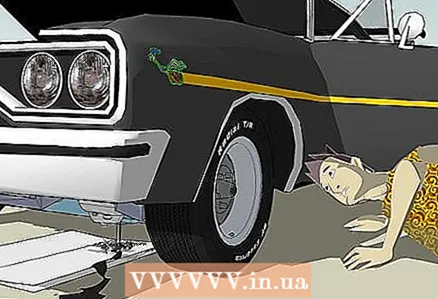 5 Get under the car and look for a spot where the brake fluid is dripping. If it is dripping from the wheel, then you will have to remove it and inspect the hoses and calipers.
 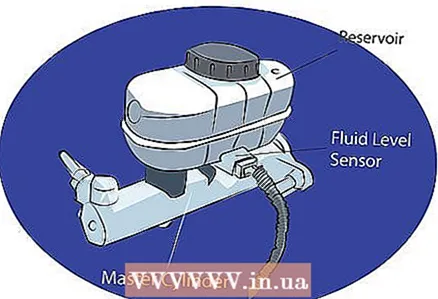 6 Check the master cylinder for leaks. The location of the master cylinder varies by vehicle, so refer to your vehicle's manual to find it. If you don't have paper instructions, it shouldn't be hard to find them on the internet.
 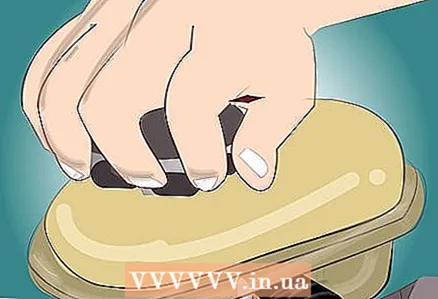 7 Make sure the master cylinder cover is tightly closed. Sometimes liquid can leak out due to a poorly closed lid.
Method 2 of 6: Rebuilding the brake calipers
Some motorists rebuild brake calipers and wheel or master cylinder on their own.Others instead rely on specialist reassembly and install ready-made calipers on their own. If you feel the strength to reassemble the brake calipers, then you need to buy a caliper repair kit at any auto parts store.
 1 Remove the old caliper.
- Buy a caliper repair kit from any auto parts store.
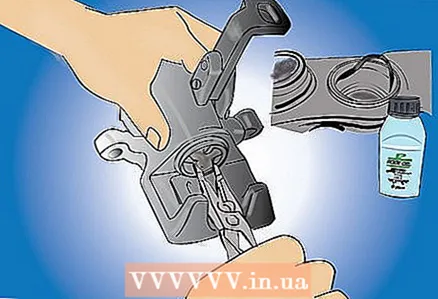
- Remove the brake bleed valve bolt. If the bolt does not give way, then lubricate it with penetrating oil.
- Disconnect the metal and rubber lines. If these lines are cracked and worn out, replace them.
- Disassemble the caliper.
- Remove the piston boot.
- Place a block of wood slightly thicker than the brake pads folded together under the piston.
- Apply low pressure air to the hole through which the brake fluid enters the cylinder. The piston will drop out of the cylinder.
 2 Replace piston.
- Lubricate the new piston with brake fluid.
- Insert a new piston into the caliper cylinder.
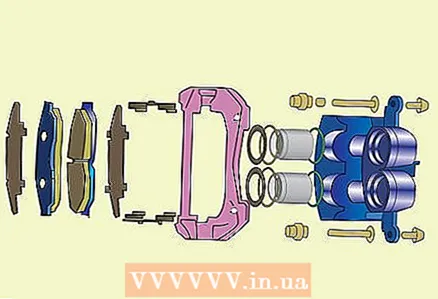 3 Replace caliper parts.
- Replace the piston boot.
- Replace pads and other caliper parts. Use new parts from the repair kit. Throw away old parts.
- Connect metal and rubber lines.
- Replace the brake bleed valve bolt.
- Check the brake system to make sure no more fluid is leaking.
 4 Bleed air from the brake system.
Method 3 of 6: Replacing a wheel cylinder
Brake fluid can also leak through a defective wheel cylinder. Replacing a wheel cylinder is much easier and only slightly more expensive than reassembling a caliper.
 1 Remove the wheel.
- Remove the cap and loosen the nuts securing the wheel.
- Jack up the car.
- Unscrew the clamping nuts and remove the wheel.
- Lubricate metal lines with penetrating oil to make them easier to disconnect.
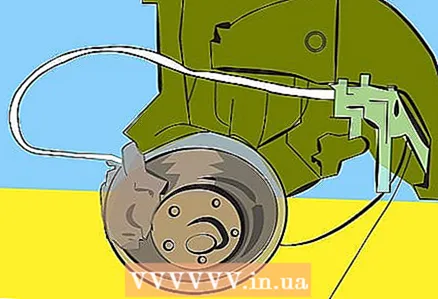
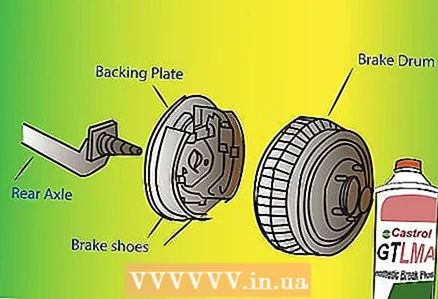 2 Remove the brake drum.
- Remove the rubber plug located behind the support plate.
- Loosen the automatic clearance adjuster to lower the brake shoes. If you turn the wrong direction, the pressure in the drum will increase and it will not turn. If necessary, unscrew the leg of the slack adjuster using a small flat-blade screwdriver.
- Remove the brake drum.
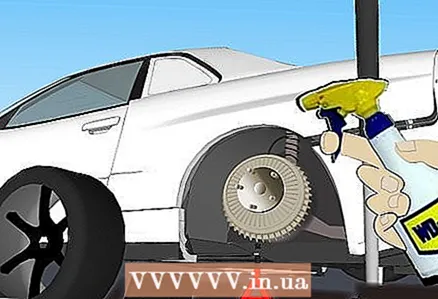
- Place a trough or oil trap under the brake shoes. If they are covered with brake fluid, then they need to be replaced.
- Spray the area with a special cleaning liquid to remove dirt and foreign liquid.
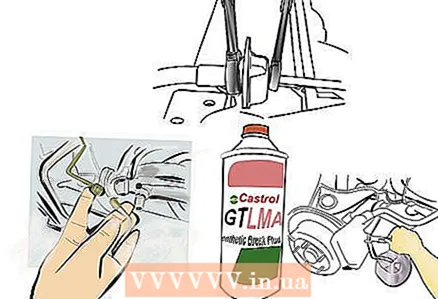 3 Loosen the fastening of the metal line.
- Prepare a vacuum hose in advance to prevent brake fluid from flowing out of the line. Screw a screw or bolt into the hole in the line.
- Find the place where the metal brake fluid line connects to the wheel cylinder and loosen the connection using a wrench.
- Disconnect the line.
- Place a vacuum hose over the line to avoid fluid escaping.
 4 Replace the wheel cylinder.
- From the back of the base plate, locate the two bolts holding the wheel cylinder.
- Unscrew these bolts.
- Remove the old wheel cylinder.
- Put on a new cylinder, connect the line to no, screwing it tightly.
- Insert the bolts into the base plate, screw them down and fix the position of the cylinder.
 5 Bleed air from the brake system.
Method 4 of 6: Replacing Hoses and Lines
If the hoses are cracked or softened and become sticky, they must be replaced. If rust has formed on the metal lines, gently sand the rust to see if the metal is leaking. If the walls of the line are leaky in some places, then the lines must be replaced.
 1 Remove the wheel near which the hose or line is leaking.
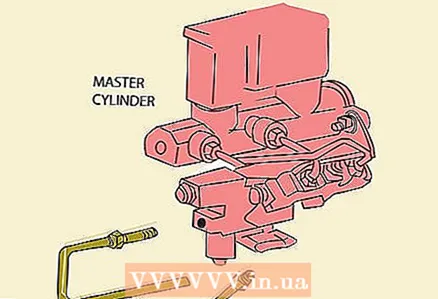 2 Unscrew the line from the connection closest to the master cylinder.
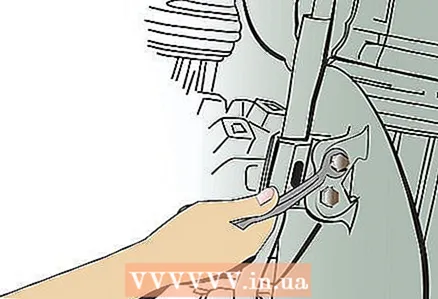 3 Disconnect all brackets holding the brake line.
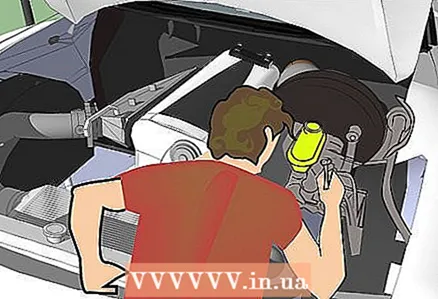 4 Disconnect the brake line from the caliper.
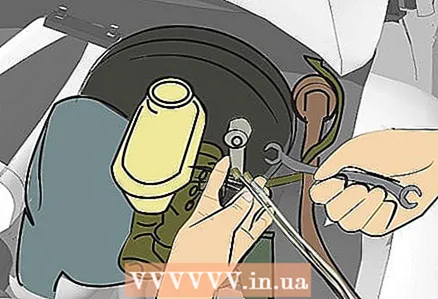 5 Connect the new line to the caliper without tightening too much. The new line must be the same length as the old one.
 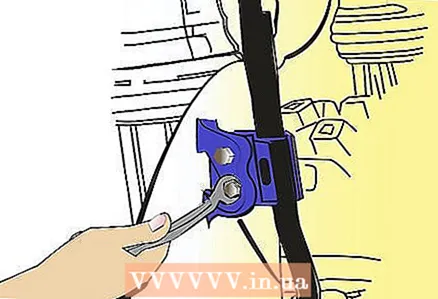 6 Screw on the brackets with the new line.
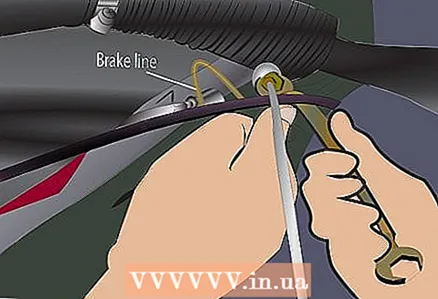 7 Connect the line to the connection closest to the master cylinder.
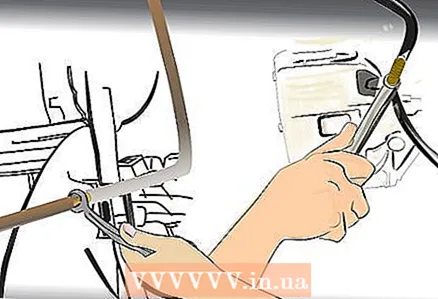 8 Tighten all connections.
 9 Bleed air from the brake system.
Method 5 of 6: Replacing the Master Cylinder
Most modern braking systems consist of two circuits: two wheels for each circuit. If one circuit fails, the brakes on the other circuit will still work. The master cylinder works with both circuits. Replacing the master cylinder will be cheaper than repairing it in a car service.
 1 Open the hood and find the master cylinder.
 2 Remove the brake fluid reservoir roof.
 3 Use a kitchen syringe to pump the liquid out of the tank and transfer it to a plastic container.
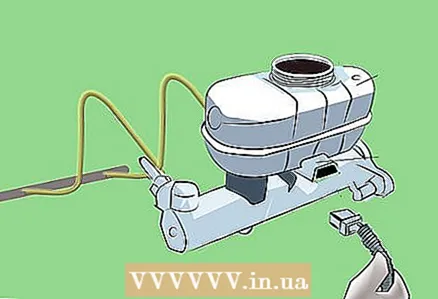 4 Disconnect all electrical wires from the master cylinder.
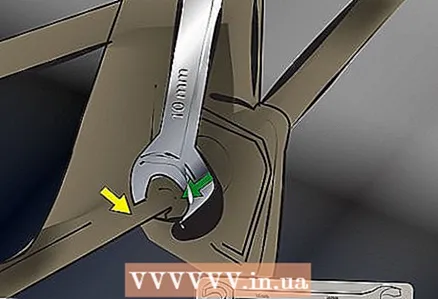 5 Unscrew hoses and lines from the master cylinder.
 6 Remove the bolts securing the master cylinder.
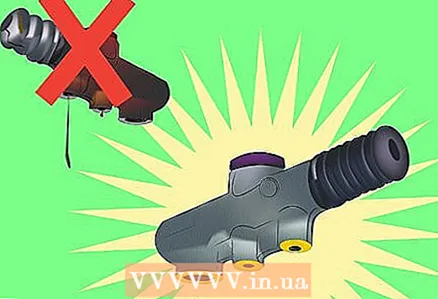 7 Remove the old master cylinder.
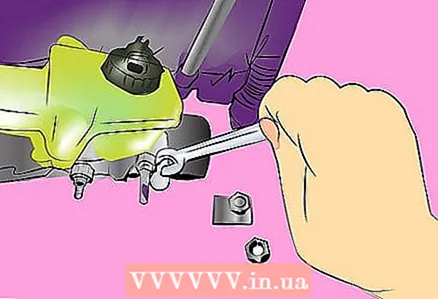 8 Install the new master cylinder and bolt it in place.
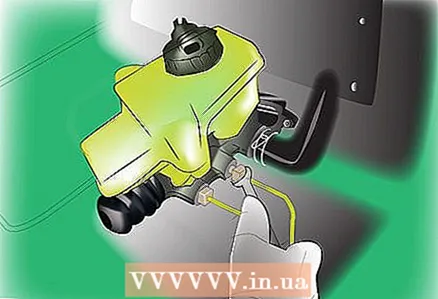 9 Connect the lines.
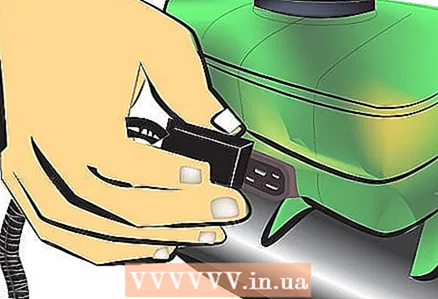 10 Connect the electrical wires to the new cylinder.
 11 Bleed air from the brake system.
Method 6 of 6: Bleeding the Brake System
After any work on the brake system, it is necessary to bleed air and old brake fluid from it and refill with a new one. To do this, you will need the help of another person.
 1 Ask your assistant to sit in the driver's seat.
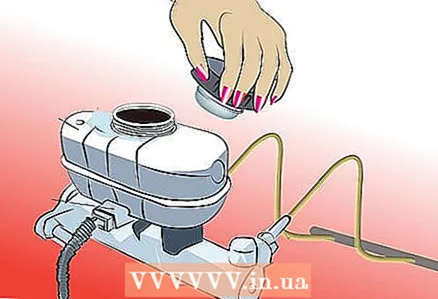 2 Remove the cover from the brake fluid reservoir located on the master cylinder.
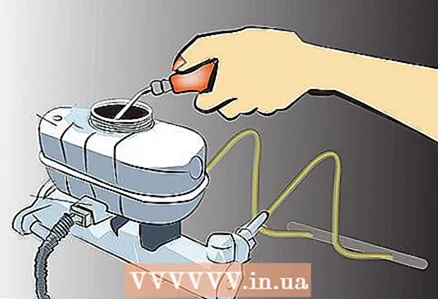 3 Use a kitchen syringe to pump out all the brake fluid from the reservoir. Pour it into a plastic bottle.
 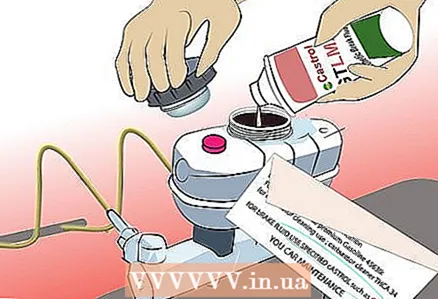 4 Fill the reservoir with new brake fluid. To find out which type of brake fluid is right for your car, look at the underside of the cover or refer to your car's manual.
  5 Loosen all four brake bleed valves located on the calipers or wheel cylinders.
 6 Connect vinyl hoses to the valves.
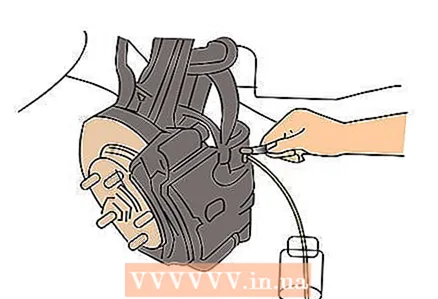 7 Place the other end of the vinyl hoses in plastic bottles.
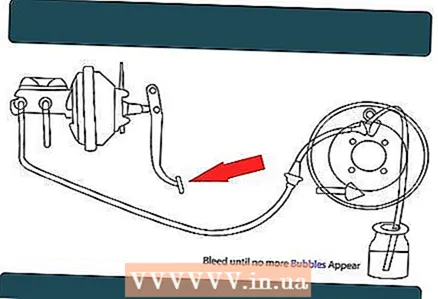
 8 Ask an assistant to depress the brake pedal all the way.
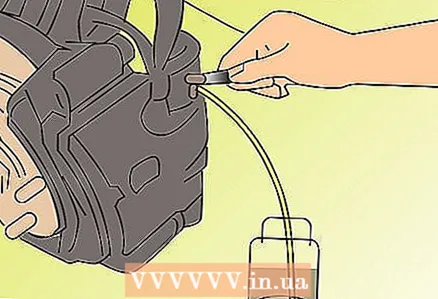 9 Tighten the valve on the front right wheel after the air bubbles are completely gone.
 10 Ask an assistant to slowly return the pedal to its original position. The brake fluid will return to the master cylinder.
 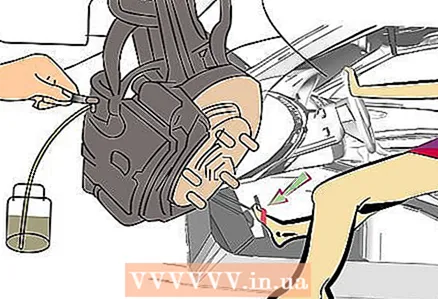 11 Ask the assistant to press the pedal again. Tighten the valve on the other wheel after the bubbles come out. Repeat these steps for all remaining wheels.
 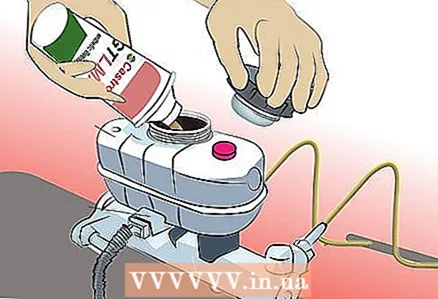 12 Add brake fluid to the reservoir.
 13 Test the brakes to ensure they are working properly.
Tips
- If, after completing all the work, the pedal is still pressed like a sponge, then you need to re-clean the brake system from air bubbles.
- Steel lines can be unscrewed using a conventional wrench. However, they can damage the line, so lubricate the loosening point with penetrating oil and unscrew the line carefully.
- After repairing the brakes on one wheel, be sure to perform the same repairs on the other wheel located on the same axle. Always think of the brakes as a pair, not individually.
Warnings
- When jacking up the vehicle, follow the instructions in the vehicle manual.
- Always wear protective clothing, goggles and gloves when handling brake fluid.
- Unscrew the brake bleed valve carefully so as not to damage it.
- Dispose of brake fluid in the most environmentally friendly way.
What do you need
- Newspapers to determine the location of the leak;
- Vehicle manual;
- Wrench for nuts of hydraulic and pneumatic systems;
- Small wooden block;
- Compressed air;
- Caliper repair kit (if necessary);
- Flat screwdriver;
- Trough;
- New brake shoes (if necessary);
- Penetrating oil;
- Brake cleaner;
- Small vacuum hose, bolt or screw;
- Spanner key;
- Socket wrench;
- New wheel cylinder (if necessary);
- New hoses and lines for the brake system (if necessary);
- New master cylinder (if necessary);
- Kitchen syringe;
- Plastic bottles;
- Vinyl hoses;
- Assistant (if necessary).


