Author:
Gregory Harris
Date Of Creation:
8 August 2021
Update Date:
1 July 2024
Content
- Steps
- Method 1 of 4: Choosing Materials for Plasterboard Repair
- Method 2 of 4: Removing dents
- Method 3 of 4: Sealing the mounting holes
- Method 4 of 4: Sealing Larger Holes
- Tips
- What do you need
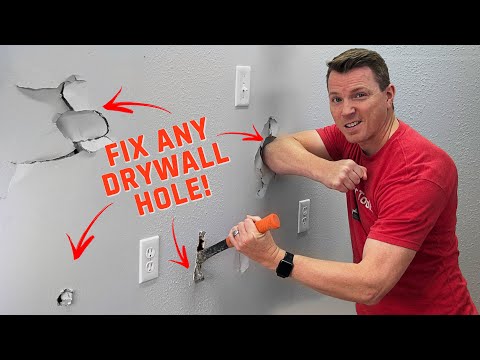
Most often, drywall is used to decorate interior walls. Due to its relative softness, this material is susceptible to damage, which, however, may well be repaired by the homeowner without the involvement of specialists. This article provides information on how to repair dents and small and large holes.
Steps
Method 1 of 4: Choosing Materials for Plasterboard Repair
 1 Putty. The putty available on the market is divided into two types: lightweight and universal. The lightweight putty dries faster than the multipurpose putty and requires less sanding.
 - Putty is sold in containers of various sizes, but we draw your attention to the fact that small containers may not cost less than large ones. When properly closed, the putty can be stored for up to 9 months and used for other repairs if you have unused material left after the repair.
 2 Spatulas and abrasives. A spatula and a metal rule are used to evenly apply the putty and collect the excess, making the work done look professional and not crooked and lumpy. You will also need a sanding pad to level the surface after the putty has dried.
 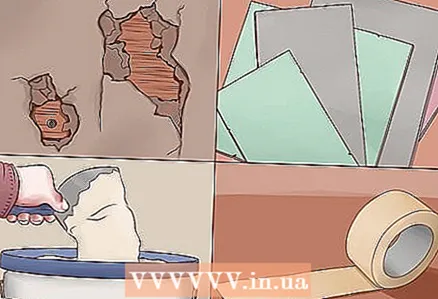 3 Materials for filling larger holes. If you have large holes, you will need a new piece of drywall to seal in. Purchase backing sheets that will hold the drywall in place, and a piece of drywall large enough to seal the hole. You will need paper tape and putty to smooth the joints.
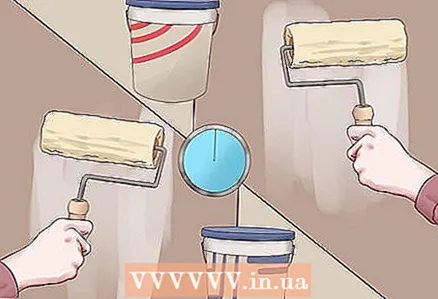
  4 Paint and primer. The final step in repairing drywall damage is painting the repaired area so that it does not stand out from the rest of the wall. Use the same primer and paint as you did when you originally painted the wall.
Method 2 of 4: Removing dents
 1 Sand the edges. Sand the edges of the dent with a sanding pad. Also, go over the dent itself to create a roughened surface for good adhesion of the filler used for the patch.
 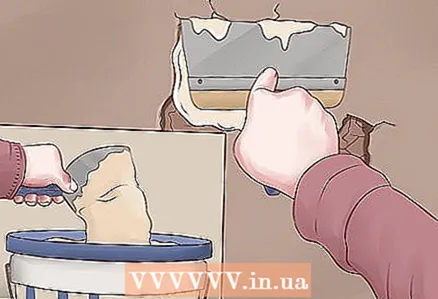 2 Apply putty. Dip the side of the spatula into a container of putty and draw up about half the area of the spatula.Work your spatula over the dent area to smooth out the putty. Rotate the tool 90 degrees to the wall and sweep over the work area again to remove any remaining filler.
 - Be sure to remove the excess so that after drying there are no bumps on the site.
- Check the area as it dries to determine if the dent has been completely filled. If the putty sags as it dries, it may be necessary to apply a second coat.
 3 Surface grinding. Use a fine-grain sanding pad to carefully level the area against the surrounding wall surface after the filler is completely dry. You can also use a damp sponge to smooth the edges.
 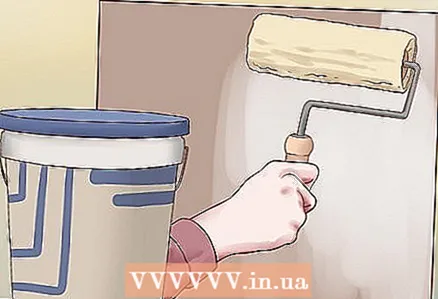 4 Priming the site. The putty is a fairly porous material, so you will need to prime the repaired area before painting. Otherwise, the paint will look different from the rest of the wall.
 - Use a primer to match the color of the paint. If possible, try to use the same one as when you originally painted the wall.
- If your paint is used as a primer, then no pre-primer is required on the wall.
 5 Painting. After the primer has dried, paint this section of the wall with paint on a soft cloth. Work carefully and apply the paint as hard as you would for painting the entire wall so that the paint does not come off after drying.
Method 3 of 4: Sealing the mounting holes
 1 Remove loose edges. If pieces of drywall stick out of the hole after removing the fasteners, carefully peel them off or push them into the hole. The edges of the hole should be flush with the wall so that after the repair there are no bumps and protrusions.
  2 Fill the hole with putty. Put putty on a putty knife and fill the hole. Collect the excess filler by holding the trowel at right angles to the wall and running it over the hole.
 - Avoid putting putty on the wall around the hole as it will dry out and interfere with painting. Put only the required amount of putty on the spatula.
- If you applied putty to the wall around the hole when sealing the hole, wipe it up with a damp cloth.
 3 Grinding the embedment. After the putty has completely dried, it is necessary to sand the area with fine-grained emery paper. After sanding is complete, remove dust with a damp cloth. The surface of the wall where the hole is sealed must be completely smooth.
  4 Priming and painting. For a perfect seamless repair, use a soft cloth to primer over the repaired area. After the primer has dried, use another rag to paint.
Method 4 of 4: Sealing Larger Holes
 1 Check for wiring. If the hole is near an electrical outlet or telephone line, be sure to check that there are no wires on the inside of the work area. Feel the area behind the hole with your hands, or look inside with a flashlight.
 - If you find a wire, consider its location and plan the work so as not to hit it while sealing the hole.
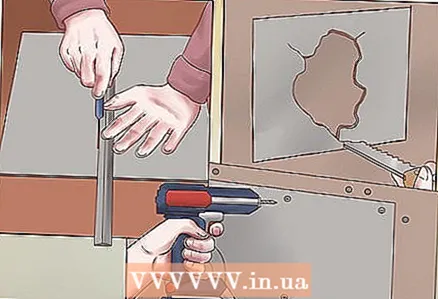
 2 Cut out the rectangle. Use a ruler and a level to measure and draw a rectangle around the hole, then use a utility knife or drywall saw to cut the outlined portion. This will allow you to neatly seal the hole with a piece of drywall that is the correct size, rather than an irregular patch.
  3 Add backing sheets. The backing sheets are cut 10 cm longer than the opening height. Place the first backing sheet vertically along the left edge of the hole. Hold it in place with one hand, and with the other, screw the two self-tapping screws through the untouched drywall just below the hole, as well as the two self-tapping screws above the hole using a screwdriver. In the same way, place the second backing sheet along the right edge of the hole.
 - For repairing drywall, backing sheets made of pine or other softwood are well suited, since self-tapping screws are easily screwed into them.
- Hold the sheets in such a way that the screws will not injure your hand when passing through the backing sheets.
 4 Install the plasterboard patch. Measure the thickness of the drywall and get a piece large enough to fill the hole. Then cut it to size using a drywall saw so that it fits exactly into the hole. Place the patch in the hole and screw it with self-tapping screws to the backing sheets on each side, placing the self-tapping screws at a distance of 15 cm from each other.
 - Most home improvement stores sell pieces of drywall in various shapes and sizes. Look for a piece of the right size among them so as not to buy a whole sheet of drywall.
 5 Sealing joints. Using a putty knife, apply the putty to the joints and seams where the patch and the rest of the wall converge. Quickly apply paper tape to the joints and smooth the tape in place with a trowel without leaving bubbles or other unevenness. On top of it, apply a second layer of putty and let it dry.
 - You can add a little water to the putty to thin it, thus making it easier to level along the wall for even application.
- Do not forget to remove excess putty so that the transitions between the patch and the wall are as smooth as possible. Swipe the spatula in one direction only.
- Laying the tape can be tricky. If the result is uneven, it is best to start over, as the tape plays an important role in aligning the patch over the wall surface.
 6 Area sanding and additional layer. After the first few layers have dried, smooth the edges by sanding them with fine-grained emery paper. Then apply an extra coat of putty to fill in any remaining dents or bumps. Once dry, continue sanding and adding putty until the surface is even and smooth.
 - At least a day should pass between grinding. The putty must be completely dry, otherwise, instead of a flat surface, new dents and irregularities may result.
 7 Priming and painting. After the last sanding, prepare the paintable area with a primer. After the primer has dried, paint the area with the same brush or paint roller that was used to paint the wall in the first place.
Tips
- Drywall dust irritates the respiratory tract, so a mask should be used when sanding.
- Do not forget that after drying, each layer of putty becomes slightly thinner.
What do you need
- Rag
- Putty
- Sandpaper
- Fine Grit Drywall Sandpaper
- Backing sheets
- Drywall saw
- Self-tapping screws
- Screwdriver or drill
- Patch
- Putty knife
- Mask


