Author:
Mark Sanchez
Date Of Creation:
28 January 2021
Update Date:
1 July 2024
![HOW TO FIX your PC High Temperatures & Overheating PC [2021 Guide]](https://i.ytimg.com/vi/COi4GQyOTuo/hqdefault.jpg)
Content
One of the main problems with desktop computers is their overheating, which leads to unexpected computer shutdowns. Overheating can be caused by dust accumulation on the CPU heatsink.
Steps
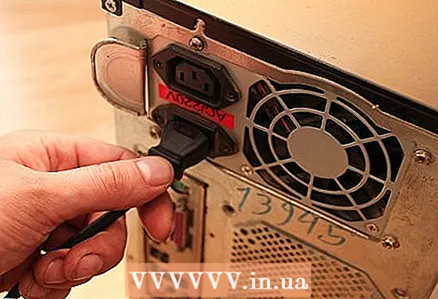 1 Unplug your computer before opening it. Next, put on an electrostatic wrist strap (if you have one), or touch the metal case of the computer to dissipate any static charges.
 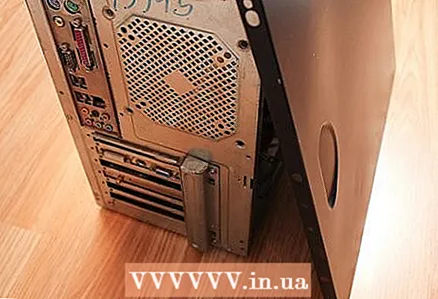 2 Consider other causes of overheating first. Overheating can be caused by poor air circulation in the computer case. Therefore, put an additional cooler on the case (if possible). Moreover, it is necessary to regularly clean the interior of the case from dust. To do this, blow it with compressed air, and then clean the components with a cotton swab (you can moisten it in water). Let the ingredients dry for two hours.
  3 Disconnect the cooler power from the motherboard. To do this, grasp the plastic connector and pull it up (do not pull on the wires).
  4 Remove the processor cooler. It attaches to the motherboard with four screws or a lock lever.
  5 Remove the processor. It is attached to the motherboard with a lever.
  6 Do not drop the processor as this will damage it. Moreover, the processor can "stick" to the heatsink (due to thermal paste). Try to separate them with something like a credit card, without damaging the CPU.
  7 Clean the radiator. Blow it out with compressed air several times.
 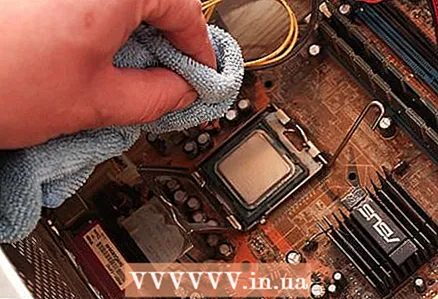 8 Remove residual thermal paste. Use a clean cotton swab or paper towel. Add some rubbing alcohol (but don't overdo it).
  9 Install the processor.
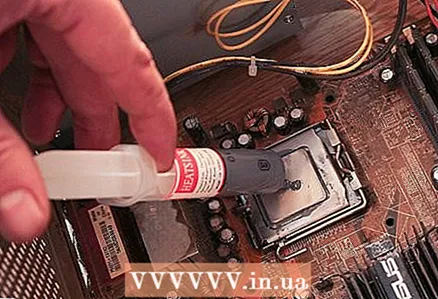 10 Apply a thin layer of thermal paste to the processor. Do not overuse the amount of thermal paste, as this will overheat the processor.
  11 Install the heatsink and cooler. Fasten the cooler and connect its power to the motherboard.
  12 Remove the wires from the inside of the enclosure that obstruct air circulation and close the enclosure.
 13 Turn on your computer and make sure everything is working properly.
Tips
- Take photos while cleaning the radiator. Computer cases differ from each other, and such a visual report may be useful to you in the future.
- It is easier to clean the heatsink on a desktop computer than on a laptop. However, on the Internet you can find instructions for cleaning the radiator of almost any laptop model (if you cannot find instructions for your model, use the instructions for a similar model).
- Wear an antistatic wrist strap when handling computer components.
- In the computer case, connect excess / unused wires with plastic ties (or just tape). This will improve air circulation inside the computer case.
- Motherboards are different from each other. If you do not know how to remove the heatsink and processor from your motherboard, look at its model (it is applied to the motherboard itself and is a combination of letters and numbers) and look for instructions on the Internet.
Warnings
- Make sure you and your tools are demagnetized.
- Watch out for sharp edges.
- Always shut down your computer and disconnect cables before opening the computer case.
- Do not drop objects into the computer case.
What do you need
- Compressed air can
- Cleaning wipes, cotton swabs, or heavy paper towels
- Alcohol (optional)
- Screwdriver
- Thermal paste (available at computer stores)


