Author:
Marcus Baldwin
Date Of Creation:
22 June 2021
Update Date:
1 July 2024
Content
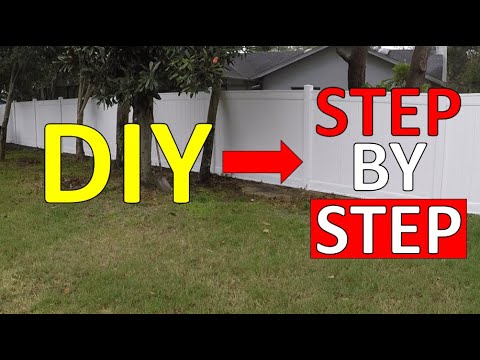
Vinyl booms come in a variety of options and colors. This is a type of fence that does not require maintenance, unlike wooden fences. To install vinyl railing, you only need to mount the pre-assembled sections onto the racks. Vinyl expands when heated, so choose not too hot or cold days to install your fence, as your fence can warp and collapse.
Steps
 1 Prepare the fence space.
- Remove any shrubs, plants, trees, or stationary objects at the intended installation site.
- Call the hotline of your local Underground Construction Authority to make sure there are no underground utilities going underneath the excavation site. In the USA or Canada, call 811, or contact your local utility company. Many regions have their own Underground Construction Hotline numbers.
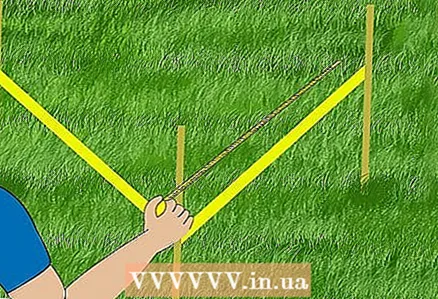
 2 Measure the area. Make marks at the corners of the perimeter of your fence and use them to stretch the rope. You can also spray paint around the perimeter.
  3 Buy vinyl railing and uprights for the desired perimeter.
- You can purchase vinyl railing in lengths from 2 to 8 feet (0.6 to 2.4 m). With this step, place the vinyl sheet stands.
- If you are fencing a large area, purchase wider sheets to reduce the number of racks.
- If you need to make a passage through the fence, purchase a vinyl gate kit that is compatible with your fence.
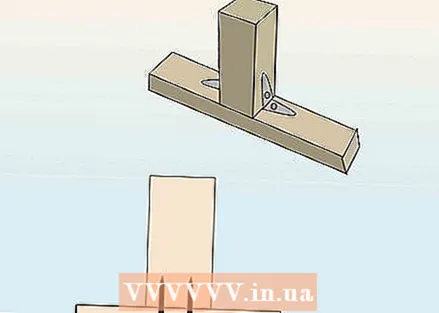
 4 Mark the location of each rack, observing the distance between them for trouble-free fixing of the sections. You will not be able to trim sections of vinyl fencing, so you need to be sure that the measurements are accurate.
  5 Fold out the railing sections between the recessed areas. Make sure the legs are in the right place before drilling holes.
  6 Drill rack holes. Use a hand or power drill for 10 ”(25 cm) holes. The well must be deep enough to deepen the struts 1/3 of their length, plus at least 6 inches (15 cm) for the gravel pad.
 - If you don't have a drill, you can rent one from a hardware store.
 7 Install the racks one at a time.
- Fill the bottom of the hole with a 6-inch (15 cm) layer of gravel.
- Knead a quick-setting concrete solution and fill the well with it.
- Hammer the post 1/3 into the mortar using a rubber mallet so that the post cavity also fills with mortar.
- Check the correct installation of the rack using a level, and move on to the next well.
 8 Pick up a solution. Use a trowel to taper the concrete around the post. This prevents moisture from accumulating around the rack. Let the concrete harden completely.
  9 Install fence sections between the posts.
- Follow the manufacturer's instructions for vinyl fences. Attach the rails to the ends of each section with screws, then attach the rails to the uprights in the ground.
 10 Install the vinyl top plates using the supplied hardware.
What do you need
- Roulette
- Spray paint
- Manual or mechanical drill
- Fast setting concrete
- Gravel
- Rubber hammer
- Screwdriver
- Level


