Author:
Janice Evans
Date Of Creation:
1 July 2021
Update Date:
1 July 2024

Content
How frustrating it is when you find the best font and don't know how to install it. Fonts can compose or break up part of a lettering, reminding how important the visual part is. Regardless, installing the font is fairly straightforward. Keep reading to find out how to install a font on a Mac.
Steps
Method 1 of 2: Using a Font Book (Recommended)
 1 Download fonts using a search engine. Launch your browser and type “free fonts for Mac” into the search bar (without the quotes). Browse the list and select any fonts or font sets you want to download.
  2 Unpack the archive or extract the fonts from their ZIP files. Once you unzip them, they should have a .ttf file extension, which stands for "TrueType fonts".
  3 Double click on the font you want to install and then click the "install" button when the font appears in the Font Book window.
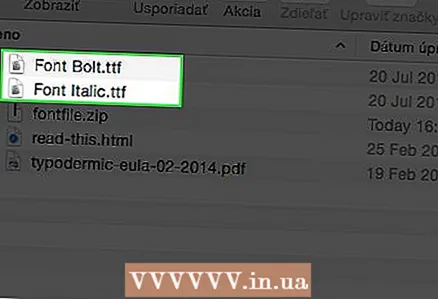 4 Using the same method, install any version of the font (bold, italic). If the bold or italic version of the font requires a separate installation, repeat the above steps.
  5 Restart your computer if the ready-to-use fonts do not appear automatically.
Method 2 of 2: Manual Installation
 1 Download the font using a search engine. Find free, ready-to-download fonts or purchase online.
 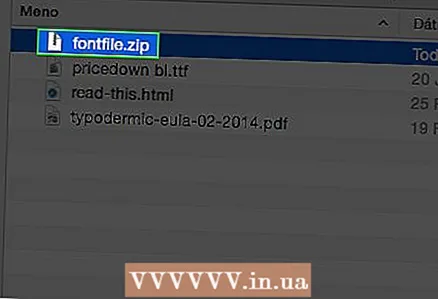 2 Unpack the archive or extract the fonts from their ZIP files. Once you unzip them, they should have a .ttf file extension.
 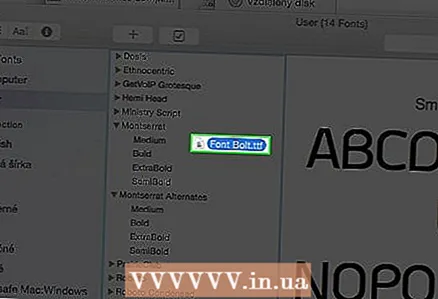 3 Move the font file (s). Depending on the version of the operating system:
 - Mac OS 9.x or 8.x: Drag and drop files to the System Folder.
- Mac OS X: Drag and drop files to the Fonts folder in the Library.
 4 Restart your computer if the ready-to-use fonts do not appear automatically.
Tips
- Don't install the same font in multiple formats like TrueType and Type 1.


