Author:
Eric Farmer
Date Of Creation:
4 March 2021
Update Date:
1 July 2024
![Installing Presets in Lightroom Classic CC 2019 2020 [ How To Tutorial for XMP & LR Template Files ]](https://i.ytimg.com/vi/_EyvcYUN-L0/hqdefault.jpg)
Content
If you want to add more effects (a set of presets) to Lightroom, you can download them online for free. These presets will help you save a lot of time creating your project.We'll show you how to install them.
Steps
 1 Download presets for Lightroom. Type in Google Lightroom Presets. You can find both paid and free presets for the program.
 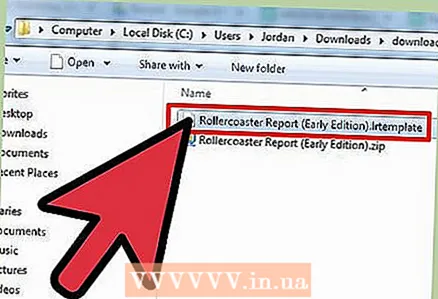 2 Open the Downloads folder and unzip the file. Usually presets for the program can be downloaded in Zip format. After downloading, you need to unpack it.
 - The unpacked file must have a .lrtemplate extension.
 3 Open Lightroom.
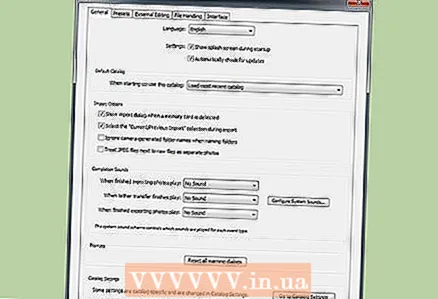 4 Click on the Edit button and then click on the Options button. A new window will open.
 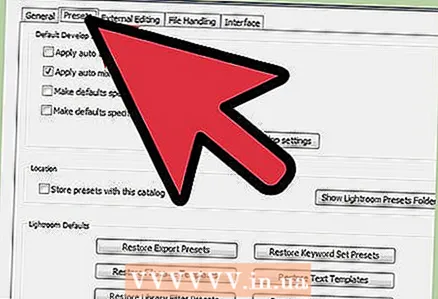 5 Click the Presets or Effect Set tab.
 6 Click the Show Lightroom Preset Folder button. A window will appear indicating the location of the file, for example, folder C: Users UserName Appdata Roaming Adobe.
 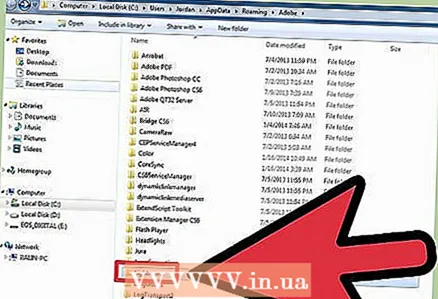 7 Open the specified file at this address.
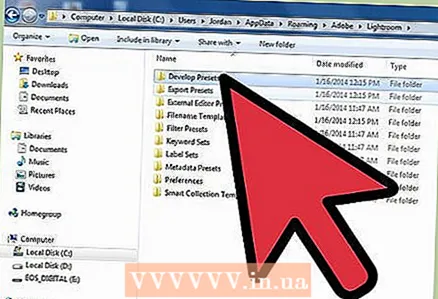 8 Open the presets of the program.
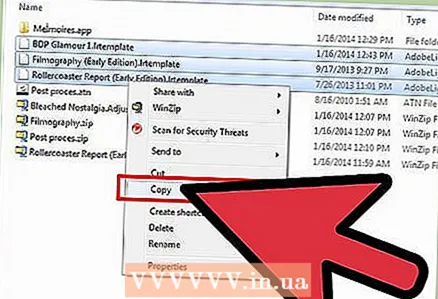 9 Copy the presets you just downloaded. To do this, select all files, press Ctrl + C or right-click and select the Copy option.
 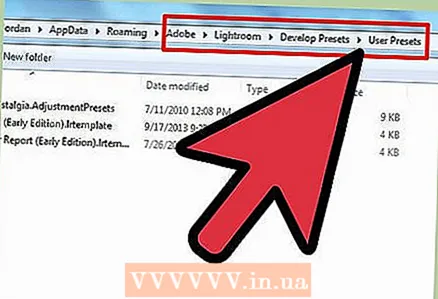 10 Paste the files into the User Presets folder.
 11 Restart Lightroom.
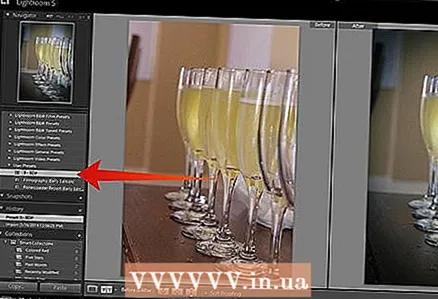 12 Try new presets and effects. Upload a photo and try editing it. On the left side, under your photo icon, you will see the available presets that you have installed.


