Author:
Gregory Harris
Date Of Creation:
8 August 2021
Update Date:
6 May 2024
Content
- Steps
- Method 1 of 3: Preparation
- Method 2 of 3: Planting Plants
- Method 3 of 3: Harvesting
- Similar articles
So you're playing Minecraft and looking for a decent garden? For those playing in survival mode, food is an important resource, and the garden, accordingly, is an excellent source of this resource (and renewable). In Minecraft, you can grow wheat, pumpkins, watermelons, potatoes, carrots, sugarcane, mushrooms, and cocoa beans. The easiest way, however, is to work with wheat.
Steps
Method 1 of 3: Preparation
 1 Make a hoe. A simple hoe is made from two sticks and two planks. Open the workbench and place the sticks in the center squares of the lower and middle rows, and the boards in the left and center squares of the left row. You will get a better chopper if you use iron instead of boards - however, this will only concern the strength of the tools, because all choppers have the same speed of work.
 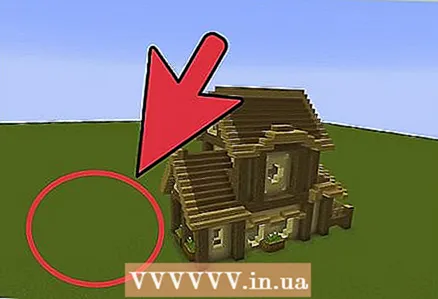 2 Choose a place for a vegetable garden. Above or underground is not that important, choose a place for your vegetable garden as long as you have enough light. It makes sense to set up a vegetable garden near where you sleep and work to make it easier for you to care for it. Start by clearing the ground.
 - It is worth choosing a place where it will be impossible for the monsters or at least difficult to climb - so you do not have to worry if a spider is lurking in the thickets, or plant everything again after the explosion of the creeper.
- Is your playstyle predominantly underground? The garden can also be planted underground! The main thing is enough lighting (torches to help you) and the presence of earth (earth, not stones).
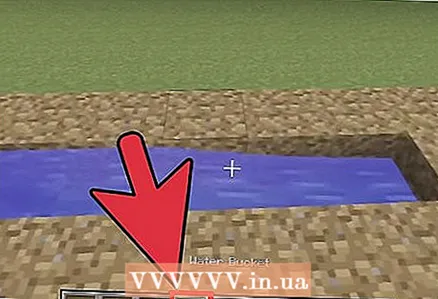 3 Provide yourself with water. Of course, you can grow a garden near a natural reservoir, or you can solve irrigation issues yourself. The trick is that plants in Minecraft grow with or without water - but without watering everything is much slower. Your beds will automatically “watered” if they are within 4 blocks of water.
 - To create an eternal source of water, take a bucket (you need three iron ingots to create it) and scoop it from an existing reservoir. Then, dig a hole in the ground that is 1 block deep by 3 blocks long (minimum). Then pour water into this hole (right click). Repeat the process until you have filled at least 3 adjacent blocks with water. Now you can draw water from the central unit, and it never runs out!
- If you are concerned about the efficient use of water resources, then know that one block of water is enough (technically) for 80 blocks surrounding it.
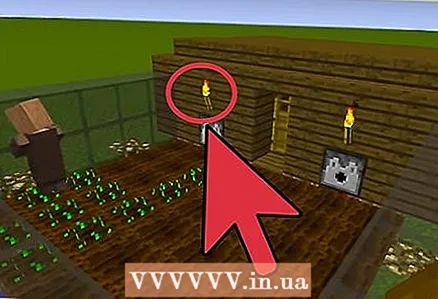 4 More, more light! Plants grow only when light is abundant. If your garden grows under the sky, then it makes sense to put a couple of torches in it, then the plants will continue to grow even at night and, accordingly, will ripen ahead of time. Moreover, monsters will not appear in the illuminated garden.
 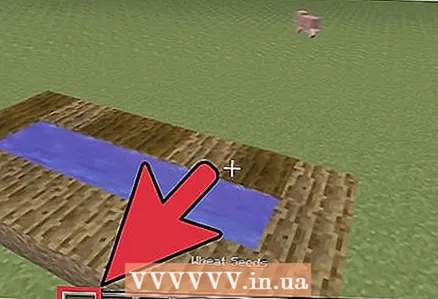 5 Collect the seeds. Start with wheat - this is the main component of a productive garden in Minecraft. You can also grow pumpkins, watermelons, carrots and potatoes - but their seeds still need to be found. Wheat can be used to bake bread, tame animals with it and ... grow even more wheat!
 - Wheat can be found when you break blocks of long grass. The seeds will spawn randomly, so be patient to mow enough seeds. Know that you will receive wheat seeds every time you harvest a mature plant, so you don't need a lot of seeds in the beginning.
- When traveling, do not miss the opportunity to find pumpkin and watermelon seeds. Actually, you can find these seeds in the corresponding plants. There is still a chance to find them in the chests that are hidden in the miner's carts - and for this you will have to climb into the abandoned mines. The chance of finding the right seeds is approximately 45.2%.
- Potatoes and carrots can be found in villages, and they sometimes fall prey from zombies. Please note that these plants do not give seeds, you will bury the roots yourself in the ground!
Method 2 of 3: Planting Plants
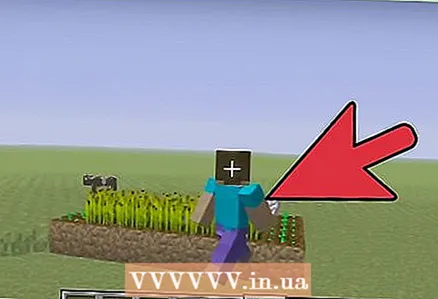
 1 Work the land. With a chopper in your hands and forward - press the right mouse button on the blocks of the earth. The top surface of the treated block will turn light brown and slightly grooved. If the unit has access to sufficient water it will darken quickly. In general, use the hoe until you have enough land. One plant occupies one block, from this and proceed.
 - You can't just plant seeds in the ground, it must be processed with a hoe. If you process the block and forget about it, then after some time it will return to its normal state.
- Plant the plants in beds. You can walk through wheat, carrots and potatoes at all stages of their growth, but you will not be able to walk through watermelons or pumpkins.
 2 Right click on the plant. Place the seeds on the treated block and, in fact, right-click. You will see how the block changes slightly - this means that the landing was successful! Plant the remaining seeds in this way.
 - When planting watermelons and pumpkins, do not forget to leave a free space between them - the plants will take it when they grow up. When you plant potatoes and carrots, respectively, remember that they do not have seeds - the plants themselves are planted in the ground.
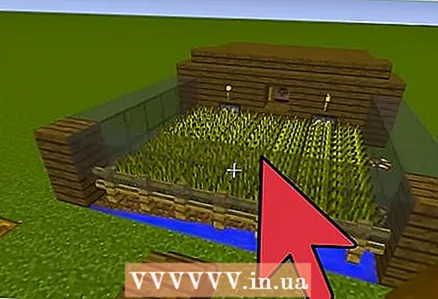 3 Plant different plants. In a typical garden, you will most likely have wheat, but you can plant any other plants if you find seeds. It will not be superfluous to make the garden brighter by planting yellow and red flowers, red and brown mushrooms, cocoa beans, sugar cane and even different trees in it. All of these plants can make your garden look vibrant and truly unique.
Method 3 of 3: Harvesting
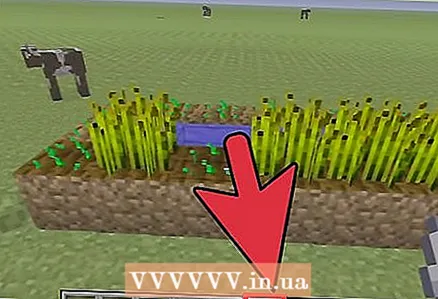 1 Be patient. Wait for the plants in your garden to mature. Plants that are watered and well-lit will grow faster (also at night). Bone meal will also help speed up the growth of plants - just two servings of flour will help the wheat from the grain instantly become an adult plant.
 - The color of the wheat will slowly change from green to golden brown. When the wheat grows to the point that it begins to occupy a whole block above the ground, know that it is ripe and ready to be harvested. To be sure, search the Internet for images of ready-to-harvest wheat in Minecraft.
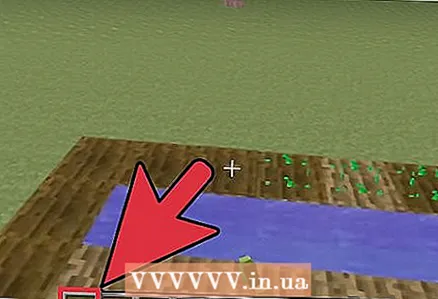
 2 Harvest mature plants. To do this, click on them with the left mouse button - you can use your bare hands, or you can use a hoe (there will be no difference, however). Plants will fall to the ground, in the process, several seeds may appear nearby. Collect and store harvested plants. Keep in mind that your plants may not all ripen all at once - unless you are the gardening guru in this game.
 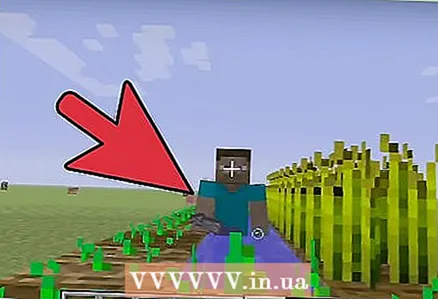 3 Plant the seeds again. Typically, you will also receive seeds when harvesting, which is especially true with wheat, which produces one to several seeds per plant. In general, you need to plant new plants quickly to keep your garden productive. You may have to work as a hoe somewhere again.
 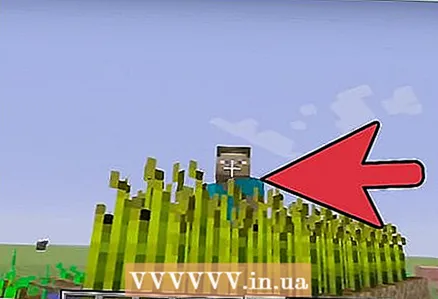 4 Expand the boundaries of your garden. Collecting the seeds of new plants, you may well be able to catch yourself wanting to plant something new and expand your garden. Why not, you can always expand your land by planting all the extra seeds left over - even if it is long, but natural. The main thing here is not to forget that a large garden needs more water!
 - Look for effective garden layouts, experiment and dare, look for ways to grow plants with a minimum of water or ways to harvest them as quickly as possible.
- The gardens and vegetable gardens in the game can be limitless. Yes, even a small vegetable garden with wheat can give you enough food relatively quickly, but that doesn't mean you don't need to expand!
Similar articles
- How to build a palace in minecraft
- How to be an expert in Minecraft
- How to make a mushroom house in Minecraft
- How to build a house in Minecraft
- How to build a basic farm in Minecraft
- How to plant plants in Minecraft


