Author:
Virginia Floyd
Date Of Creation:
6 August 2021
Update Date:
1 July 2024

Content
- Steps
- Part 1 of 3: Sizing Glass Block Windows
- Part 2 of 3: Removing the old frame
- Part 3 of 3: Installing a glass block panel
- Tips
- What do you need
Installing glass block windows is the most practical way to protect your basement from the weather or create an attractive partition in your bathroom. The installation procedure is relatively straightforward, almost anyone can complete it on their own. Follow these steps and you will learn how to install glass block windows.
Steps
Part 1 of 3: Sizing Glass Block Windows
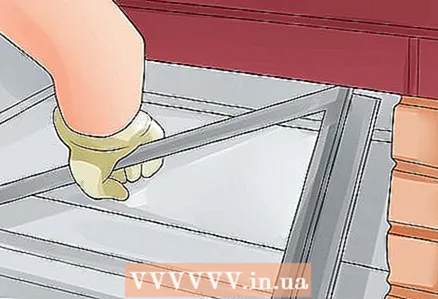
 1 Measure the space. Installing glass block windows will require removing the installed window frame, so make sure you take measurements down to masonry level and not just measure the frame clearance.
 - If you are in doubt about where the frame ends and the masonry begins, take some pictures of the window and take them to the glass block manufacturer. They will give you a more accurate estimate.
- Always measure twice. It is critical to get the correct dimensions.
 2 Subtract 1/2 ”(1.27cm) from width and length. This distance is actually 1/4 "for the mortar seams on each side of the panel, but you can simply subtract 1/2" from the measurements.
  3 Show your measurements to the supplier. Whether you are making a purchase through a dealer or ordering the production of panels, you need to send the measurements to the company, where you will be shown several examples that fit your requirements.
 - Since production takes some time, it is recommended to leave the already installed window in place until your panels are ready.
- If the panels are not delivered to your home, you can ask for a tape clamp for the windows. This will help transport them with minimal risk of chipping the block from the larger panel.
Part 2 of 3: Removing the old frame
 1 Remove the old window. If you have broken an old window, be very careful when removing the debris. Make sure you sweep or vacuum all parts and wear gloves.
  2 Cut the frame. Use a circular or hand saw to make the first cut in the window frame. This will make it easier to remove.
 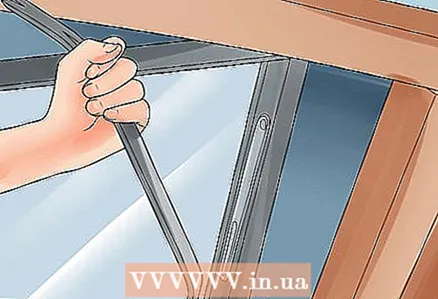 3 Remove the old joint. How difficult it is to do this depends on the material of the frame. In order to remove many of the frames, a simple mount is sufficient.
 - If the jambs are installed on concrete or mortar, remove some of the mortar with a chisel to facilitate removal. Metal frames installed in concrete are usually best left in place.Ask your glass panel manufacturer for suggestions.
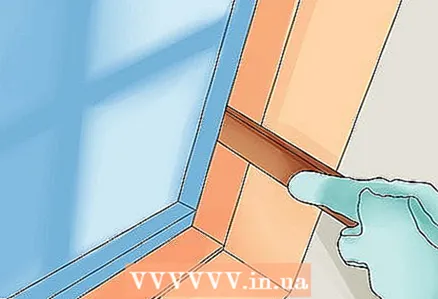
 4 Remove the putty with a construction knife. You need to get the surface as clean and flat as possible before installing the glass panels, so remove any remaining putty and clean any debris from the surface.
Part 3 of 3: Installing a glass block panel
 1 Install cedar shims at the bottom of the frame. The spacers will hold the panel in place and will ensure that the panel is correctly positioned in the space. Spacers should be about 1/2 ”(1.27cm) wide and long enough to be easily removed after the first coat of grout is applied.
 - Install spacers at 3 ”(7.62cm) intervals starting from corners.
 2 Mix small portions of the solution. You can mix a serving of the solution at a time, which is enough for 5-6 spatulas. Ideally, it should have a consistency close to the dough, then the panel will not "float" after installation.
 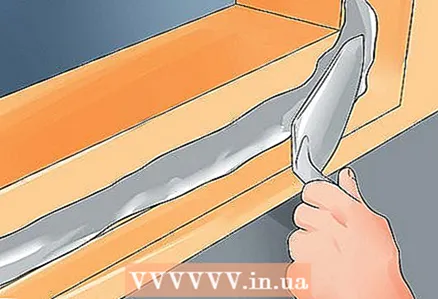 3 Apply some mortar to the bottom of the frame. There should be a thin layer between the spacers to help form the base before installing the window.
  4 Tilt or slide the panel so that it is over the spacers. The panel will be heavy, so have a helper by your side during installation. Remove the spacers that move when the panel is installed.
 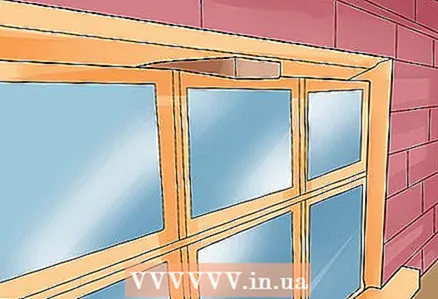 5 Add spacers on top of the window until it is firmly seated. Make sure the window is level vertically and horizontally before proceeding.
  6 Fill the empty spaces at the bottom with mortar. Use a trowel and fill in the empty spaces around the spacers at the bottom of the panel.
 - Let it set firmly and harden before applying the solution to the sides. From the inside, scrape off the clots of the solution with a trowel or trowel.
 7 Grout the sides of the panel. Make sure the mortar is firmly set before pressing on the window.
 - Pull out all the spacers and finish filling the gaps with the grout when the previous layer has set.
- Let the mortar set for two hours and then smooth it out with a tool.
- Remove excess solution while still wet using a sponge.
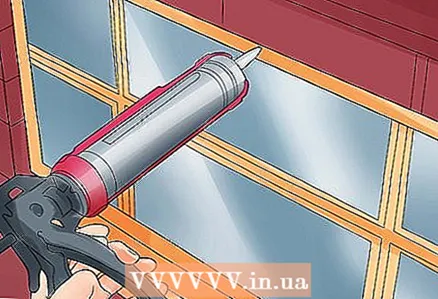 8 Use putty or rags to seal the top of the window. Sealing gaps at the top of a window with mortar can create pressure as it dries, which can compress the glass and cause cracks. Allow the solution to dry for a full twenty hours, then fill all gaps with 100% silicone sealant.
Tips
- Do not use a wire brush or other abrasive materials to clean the glass blocks, as you may scratch them.
- Typical panel sizes are 14 "x 32" (35.56cm x 81.28cm) or 18 "x 32" (45.72cm x 81.28cm), but other sizes and styles can be customized.
- If the individual blocks are loose, try mixing a thicker solution.
- When installing a fan, simply replace one or more units, depending on the unit size.
- Wear gloves and eye protection during the entire process.
- Ask the manufacturer to wrap the glass panels with a strap to ensure that the panels will not be damaged during transport.
- You may need an assistant to lift the glass block panels as they weigh over 44 kg (100 lb).
- Always check with your local building inspector, as some acts state that there must be ventilation on the window.
What do you need
- Gloves
- Pry bar
- Trowel or trowel
- Solution
- Gaskets
- Sponge
- Level
- Sealant


