Author:
Carl Weaver
Date Of Creation:
25 February 2021
Update Date:
1 July 2024
Content
- Steps
- Method 1 of 3: Planning the Installation
- Method 2 of 3: Prepare your vehicle
- Method 3 of 3: Connecting a Remote Starter
- What do you need
Ideally, remote ignition systems should be installed by a qualified technician. Improper installation can not only cause the starter motor not to fire remotely, but also damage expensive vehicle control electronics. However, those familiar with electronics and vehicle repair know how to install a remote start system in a car and can save money on costs and installation; they do not need the assistance of a qualified installer. Carefully read the car's user manual and the starter's instructions. Although this article provides some general instructions for remote starter, most of the information depends on the vehicle and model of the remote starter.
Steps
Method 1 of 3: Planning the Installation
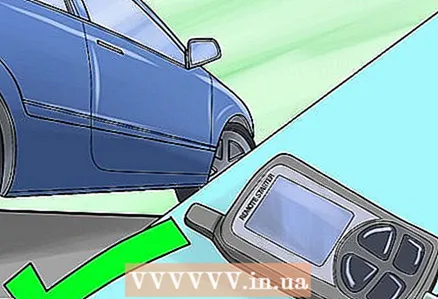 1 Make sure the starter you choose is compatible with your vehicle make and model.
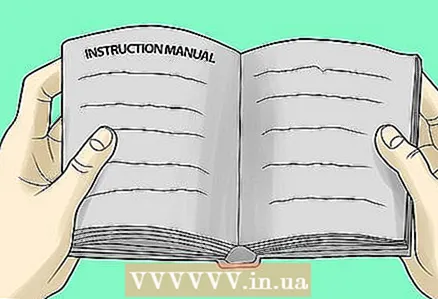 2 Read the installation instructions carefully.
 3 Check online instructions before making a purchase if you are choosing a supported device or one that does not include a printed manual. Make sure the website is simple and straightforward and has clear, hard copies of manuals that clearly show you how to install a remote engine start system in your vehicle.
  4 Check out the user manual and instructions for your car. Deal with the wires in the car.Some standard wire connections include starter, ignition, power, and control systems such as heat and air conditioning, security or alarms, radio and electric locks.
  5 Gather all the tools and equipment you need. A digital multimeter is recommended for testing. Make sure your resistors and relays have the correct number of pins and the correct voltage.
Method 2 of 3: Prepare your vehicle
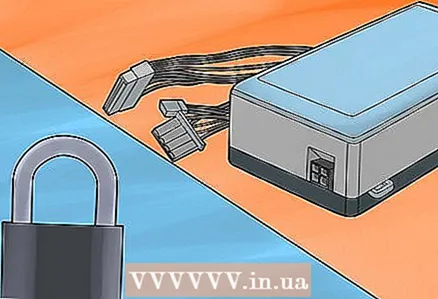 1 Decide where to install the main module. It should be in a safe, hidden place and not require additional wires. Do not place it in the engine compartment or in places where it will be subject to strong vibration or heat. Possible installation locations are under the car radio or in the glove compartment, under the center console or above the fuse panel.
  2 Locate replacement panels on the dashboard for mounting controls and LED indicators. Expand existing holes if necessary. Make sure the controls are easily accessible and cannot be accidentally damaged.
 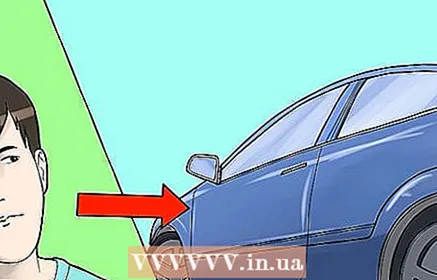 3 Walk around the machine to make sure everything is working correctly after installation. Check battery, switches, lights and other systems.
 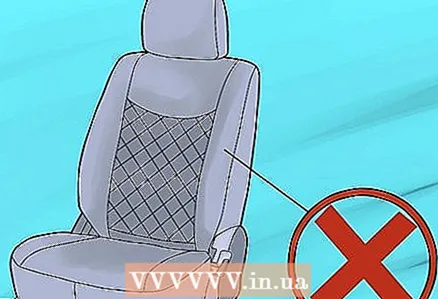 4 If possible, remove the seat where the control module will be installed. This will give you more opportunities to work.
Method 3 of 3: Connecting a Remote Starter
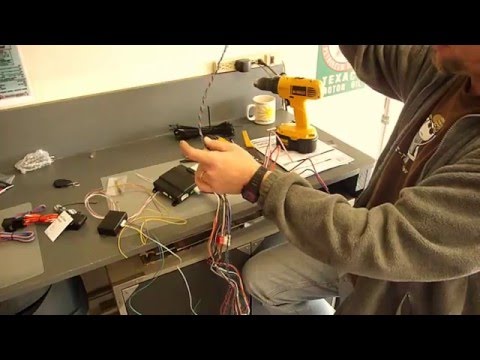
 1 Use a soldering iron to connect the wires. Add extra protection by gluing the wires with electrical tape.
 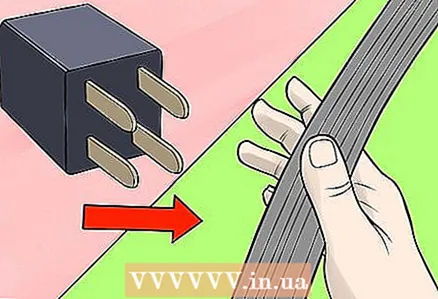 2 Use a relay to connect additional wires if more than one wire is used for ignition, accessories, or starter.
 3 Keep wires away from sharp objects under the dashboard.
 4 Locate and connect a power wire that connects to either the battery or the wire that supplies power to the ignition system. Check your car's user manual, as cars have different numbers of wires and may be connected differently. For remote starters with two power wires, connect both for each of the vehicle power wires.
  5 Connect the ignition wire that supplies power to the fuel pump and ignition system.
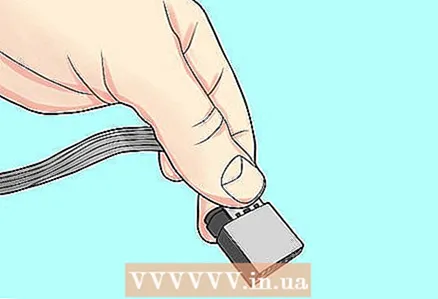 6 Locate and attach the extra wire that supplies power to the heat and air conditioning system.
 7 Attach the starter wire that supplies power to the starter solenoid.
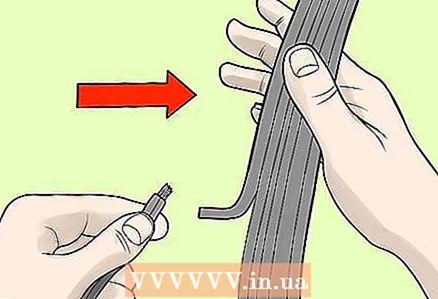 8 Connect the side lights and brake light, which are usually found next to the light switches. Use diodes to isolate the wires of the right and left lights from each other.
  9 Attach the ground wire to a clean, unpainted metal surface. Do not apply it to the battery terminal.
  10 Locate and connect the tachometer wire to the distributor or ignition coil. View where the spark plug wires are connected, or refer to the manual to locate the tacho wire.
 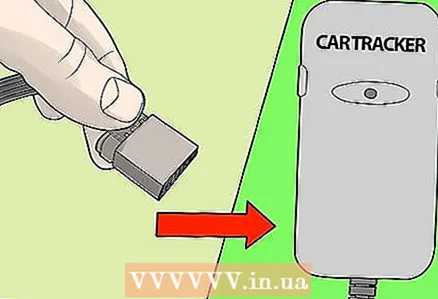 11 Connect all security components, anti-theft and other optional components.
 12 Check all connections before installing the main power fuse.
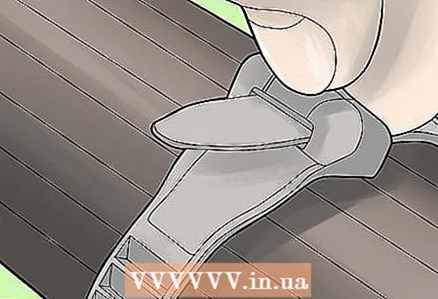 13 Secure the wires with screws or straps to keep them away from moving parts.
What do you need
- Knife
- Nippers
- Wire strippers
- Soldering iron and solder
- Insulating tape
- Digital multimeter
- Resistors
- Relay
- Keys


