Author:
Ellen Moore
Date Of Creation:
13 January 2021
Update Date:
1 July 2024

Content
- Steps
- Method 1 of 2: Using heating and cooling
- Method 2 of 2: Using vacuum devices
- Tips
- Warnings
- What do you need
You have an excellent stainless steel refrigerator in your kitchen. But only he has one drawback - a dent that spoils its surface. Instead of kicking the refrigerator in frustration (and decorating it with more dents), redirect your energies towards repairing the refrigerator. However, remember that not all dents can be fixed at home. Try vacuuming or heating and cooling to remove the dent, but be prepared to turn to a professional for more serious help.
Steps
Method 1 of 2: Using heating and cooling
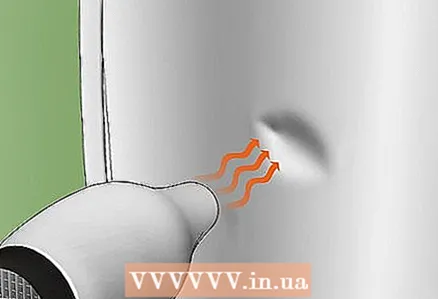 1 Heat the dent with hot air. Get a hair dryer or even a building dryer if you have one. Blow hot air directly onto the dent. Run the air over the dent for a minute or so. You need to heat the metal very well. This process will cause the metal to expand. Then, as the metal begins to cool, it will begin to shrink and the dent can straighten out on its own.
 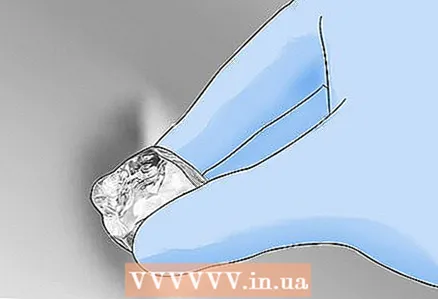 2 Use dry ice. You probably know that dry ice is very, very cold. Due to its low temperature, the metal can be compressed and the dent will be straightened out. All you have to do is apply ice to the dent, but you must wrap it in a soft cloth to protect the refrigerator from scratches. Hold the ice on the dent for about a minute or until you visually see the metal has cooled.
 - Be sure to wear protective gloves. Dry ice burns your fingers just like a hot stove.
 3 Blow air from a can of compressed air onto the dent. Get a can of compressed air designed to remove dust from your computer and computer keyboard. Now comes the fun part of the procedure! Ignore instructions not to turn the cylinder upside down. Spray compressed air onto the dent from an inverted cylinder, causing cold condensation to form. Repeat spraying several times. The metal should be cold enough for it to shrink and the dent to straighten out.
 - Keep your hands away from the jet of air. You don't want condensation to get on your skin! Because of this, burns may appear on it, like from dry ice.
Method 2 of 2: Using vacuum devices
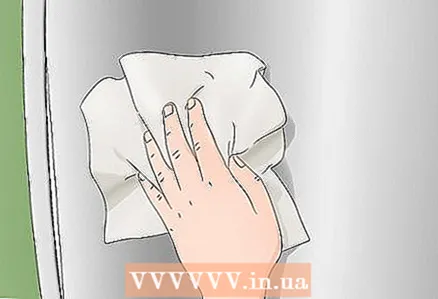 1 Clean the surrounding area around the dent. Some dent repair kits contain a cleaning solution in their kit.However, this is usually just isopropyl alcohol. Rub it over the damaged area to remove any dirt. In this method, you will need to use glue, so the glue needs to set. Any polish and dirt will simply prevent the glue from sticking.
 - In the process of cleaning the surface, the lacquer coating of the metal may suffer, so this method can be saved as a last resort.
 2 Buy a car dent repair kit. It can be found in online stores, as well as auto parts stores and large hypermarkets. The kit will include a small suction cup that you will need to hot glue over the dent.
 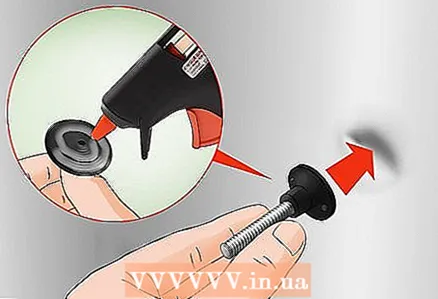 3 Glue the suction cup from the dent removal kit onto the dent. Preheat your glue gun. Take a suction cup that is slightly larger than the dent itself. Place a drop of glue on the suction cup and place over the dent.
 - You can use any hot glue for this step, but a higher melting point glue can achieve better results.
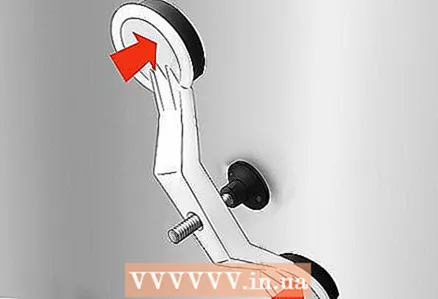 4 Attach the handle to the suction cup. A screw will stick out from the back of the suction cup. The handle is put directly on it, while the handle itself has two stops on the sides. As soon as you put on the handle, screw the knob on top of the screw protruding from the suction cup. Twist it tightly in place. But don't overdo it just yet, as not all of the details are in place yet.
 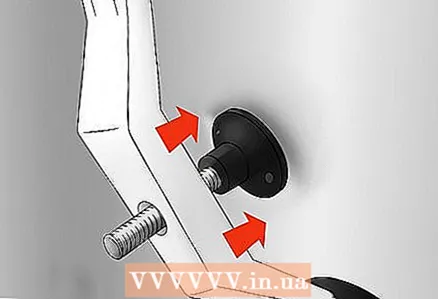 5 Position the handle stops next to the center suction cup. Most dent repair kits have the ability to adjust the position of the two handle stops that act as levers to pull out the dent. Position them as close as possible to the central suction cup. This will prevent the metal from being over-drawn at the edges from the dent.
 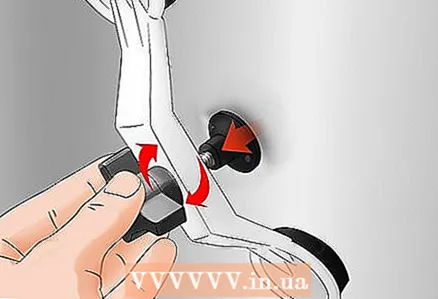 6 Tighten the knob to the screw. Now that everything is ready, you just have to continue to twist the knob in the center of the handle. As a result of this procedure, the effect on the suction cup will increase, and it will gradually begin to stretch. In the end, the entire structure will fall off on its own.
 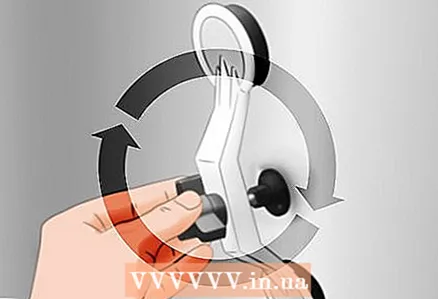 7 Repeat the procedure if necessary. This method will ultimately reduce the dent. Unfortunately, this process will be slow. Therefore, pull a chair towards you and sit comfortably on it. You may need to repeat the process up to ten times to make the dent less noticeable.
 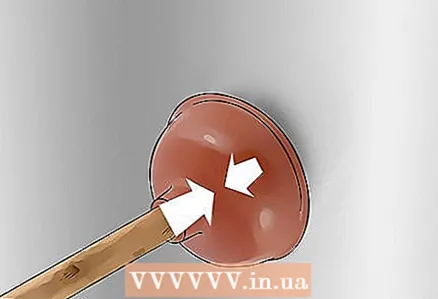 8 Try a plunger. Carefully applied vacuum without sticking the suction cup can sometimes also remove a dent from the refrigerator. A simple vacuum tool is a conventional plunger. Place a clean plunger over the dent and try to pull it out. If you're lucky, the dent will straighten out.
Tips
- Methods for repairing dents can be combined. For example, you can first try using heat and then cold to quickly cool the metal.
Warnings
- You may not be able to remove the dent yourself. In this case, you will need to replace a part of the refrigerator or contact a professional for repair.
What do you need
- Soft cloth or paper towels
- Hair dryer
- Thick Household Gloves
- Soft napkin
- Dry ice (optional)
- Compressed air cylinder (optional)
- Car Dent Repair Kit (Optional)
- Ventus (optional)


