
Content
- Steps
- Part 1 of 3: Preparatory Activities
- Part 2 of 3: Cleaning the wheels
- Using soap and water
- Cleaning agent
- Part 3 of 3: Final Cleaning Step
- Video
- Recommendations
- Attention!
- A set of necessary accessories
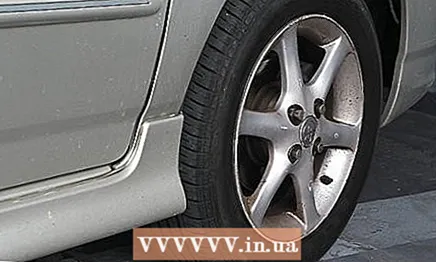
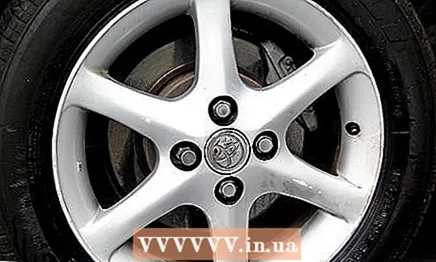
The settling of brake dust on the wheels and hubcaps of a car is a standard consequence of the braking process and the moment when the car starts to move. The pressure of the rotors causes the smallest particles to fly off the brake pads while the driver is applying the brakes. Most people perceive brake dust as something that spoils the appearance of the car, but this is just the tip of the iceberg - if the dust accumulated on the wheels is not removed in a timely manner, it can lead to stains and oxidation of aluminum wheels, which is almost impossible to fix later. An additional factor is the theory of the possibility of lung cancer in patients who inhale certain types of dust for a long time. To preserve your wheels (and possibly health), turn wheel cleaning into a regular car care ritual!
Steps
Part 1 of 3: Preparatory Activities
 1 Park on a safe, level surface with good drainage.
- Put your car on the hand brake. Do not park on a steep slope like a hill or any kind of hill - this is not always the case, but usually cars roll down, regardless of the manufacturer.
- Due to the use of soap or a special wheel cleaner for this method in this method, do not park in a place where dirty water from a car wash will drain into a rain drain or river. Instead, stay on the lawn - the grass will absorb water and chemicals without contaminating your local water source.
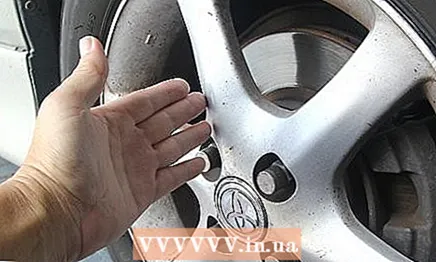
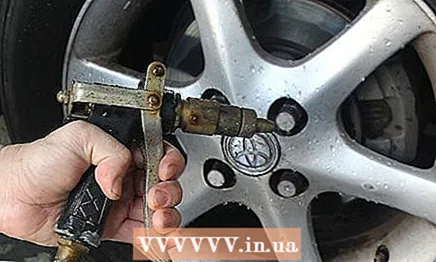
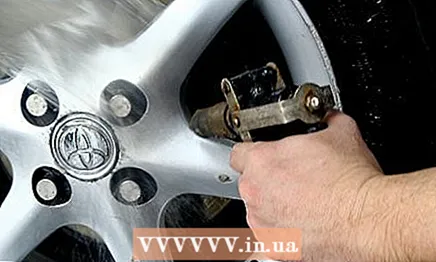
 2 Remove the wheel caps.
- Most modern wheel covers can be removed by unscrewing or using special tools. By the way, some types of caps are protected by plastic screws or clamping nuts. If you are not sure which type of cap you have, see your instruction manual. Attempting to remove the clips by hand may break the hood.
- Caps should be washed, rinsed and dried separately from aluminum wheels. Do not forget to wash the inside of the hubcaps - brake dust will settle there as well.
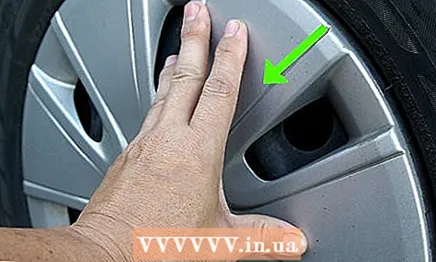
 3 Make sure the wheels are cool enough before cleaning.
- The braking process generates intense friction between the brake pad and the disc (or rotor). Harsh braking can cause excessive heat to the disc or other parts of the wheel. To prevent burns, give your wheels a chance to cool down before starting if you've just parked.
- To determine if your wheels are hot or not, gently run the back of your hand over the wheel with the hubcaps removed. Allow the vehicle to cool down for a while if you feel any heat radiating out.
- Please note that excessively hot wheels after driving can be a sign of brake problems, you should immediately have your brake pads checked by a workshop if you notice intense heat emanating from the wheels.
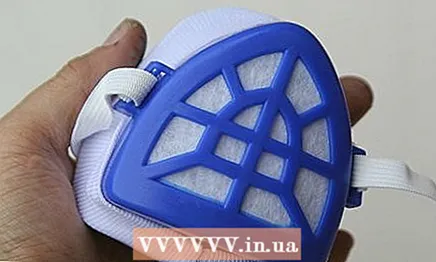 4 Remember to wear a mask and gloves before handling brake dust.
- We advise you to take into account the opinion of medical experts that prolonged exposure to brake dust on a person's lungs can lead to a type of cancer called mesothelioma. Other luminaries of science are leaning towards a simpler version and limit the causes of cancer to exposure to asbestos, which is contained in brake pads.
- For best safety, you might want to wear a normal surgical mask and protective gloves when working with brake dust. In any case, do not take the advice of doctors so seriously: no matter what preventive measures you take, a single exposure to brake dust is unlikely to lead to cancer.
Part 2 of 3: Cleaning the wheels
Using soap and water
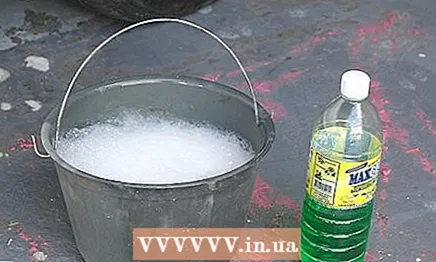 1 Prepare a solution of warm, soapy water.
- For a cheap, simple brake dust cleaner, try mixing soap and warm water. Add a teaspoon or so (about 20 ml) of dishwashing liquid to the bucket, then pour in warm tap water.
- Stir the mixture quickly several times with your hand or stick before cleaning.
 2 Moisten the wheels with water.
- Spray the aluminum wheels with a hose (not that soapy, but clean) to soak the accumulated dirt, dust and sand. By getting rid of them now, you are preparing for the next phase of work.
- To increase the pressure, screw the nozzle to the hose and use the "jet" mode.
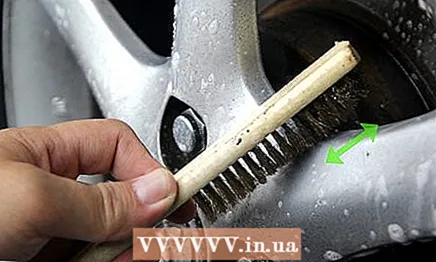
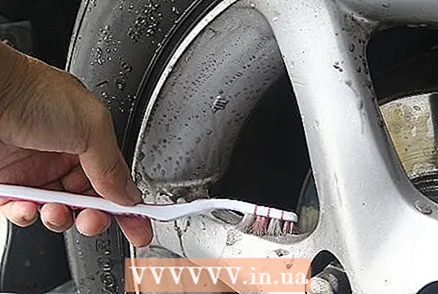 3 Wipe off brake dust from the wheels.
- Next, grab the compact and handy hand brush. Submerge it in the soapy water and start rubbing the wheels. The brake dust should come off very easily, but you will have to apply pressure to remove the old build-up of dirt. Be patient and take your time making sure to wipe every inch of the wheel - don't forget about the inner parts, they are clearly visible in case you have wheels with open spokes.
- For this job, it is best to use a small brush with soft to medium-hard bristles. Some auto dealerships sell "wheel brushes" specifically designed for this procedure, and they look like toilet brushes.
- Do not use a stiff brush (like the one with metal bristles that you usually use to clean your grill). These brushes can scratch and peel the aluminum coating off your wheels.
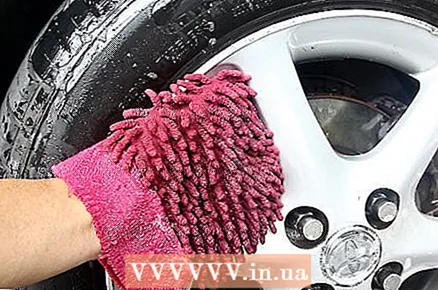 4 Use a cleaning glove.
- A great cleaning tool that you want to use whenever possible to get the job done faster is called a cleaning glove. It looks like a normal rubber glove with a brush attached to the fingers. Some car care experts recommend these brushes for better cleaning of hard-to-reach areas, while most still prefer traditional brushes.
- If you want to test how the experts are right, test the cleaning glove in action. Cleaning gloves are usually sold at an inexpensive price point at auto dealerships - their average price is usually less than $ 10.
 5 Rinse each wheel to remove any soapy residue.
- After you've scrubbed the wheels well, rinse them with a hose to remove all dust and soap residues.
- Repeat the same procedure for each wheel. It is usually much faster to brush and rinse all wheels with a brush than to rub and rinse each wheel individually, so you don't waste a lot of time switching between the cleaners and the hose.
 6 Repeat the scrubbing process if necessary.
- After rinsing your wheels, you may notice that you missed a couple of dirty spots. In this case, simply scrub them with a brush and rinse again until you are happy with the result.
Cleaning agent
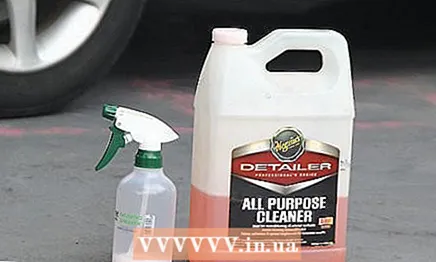 1 Take a container of a suitable wheel cleaner.
- Specialized wheel cleaners (usually under $ 10) are excellent at removing accumulated brake dust. But we advise you to read the label carefully before buying a wheel cleaner package - some cleaners are only for wheels made of certain types of metal and can easily degrade the finish if used improperly.
- In surveys of regular car buyers, experts found that Eagle One, Meguiars, and Mothers are among the most effective wheel cleaners. At the same time, those same polls confirmed that the Zep Industrial Purple Cleaner & Degreaser is much more effective.
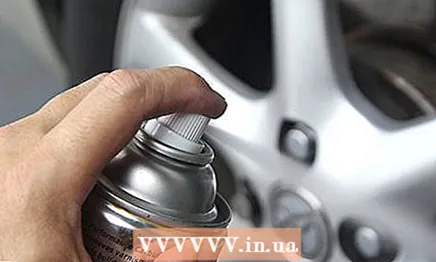
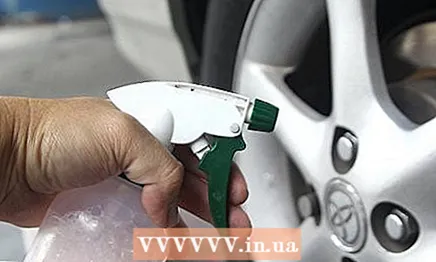 2 Spray the cleaner directly onto the wheel.
- Spray the wheel with cleaner (or apply as instructed). Be sure to cover the entire wheel area.
- Please note that the instructions for the specific type of wheel cleaner will advise you to protect your eyes, hands and not breathe product fumes. If you are unsure of the appropriate degree of protection, please consult the support service of the manufacturer of your product.
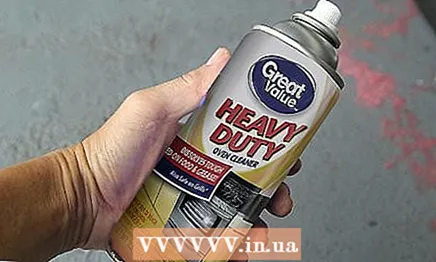 3 Use an oven cleaner.
- If you don't want to spend money on wheel cleaner, or just can't find a product specifically for your wheel type, you can use an oven cleaner. According to some sources, an oven cleaner can be compared to commercial cleaners in its ability to remove build-up dirt and brake dust from wheels.
- Remember: Despite the above, the oven cleaner is not specifically designed for use on metal wheels. So, there is a possibility that such a product can leave stains or streaks on the coating of the wheels. Therefore, be careful, especially if you are worried about the appearance of the wheels.
 4 Dab the wheel well with the cleaner and let it soak.
- After applying the cleaner to the wheel, wait a few minutes for the dust to soften. Recommended waiting times may vary from product to product - check with manufacturer's support for more information.
 5 Scrub the wheels with a cleaning brush.
- After the cleaner has soaked into the wheel, start rubbing. You can do this with anything from an old rag to a toilet brush, but automatic wheel brushes work best.
- As indicated above, use a soft to medium-hard brush for this job. Hard or metal bristles can scratch the finish.
 6 If necessary, rinse the wheels and reapply the cleaner.
- As with soapy water, you will want to rinse the wheels with a hose after scrubbing them with a brush. Let us remind you once again: do not let the water after rinsing the wheels drain into the drainage system - the chemicals of the cleaner can harm the local water source.
- Missing spots may appear after rinsing. Do not be afraid to repeat the cleaning procedure until you are happy with the result.
Part 3 of 3: Final Cleaning Step
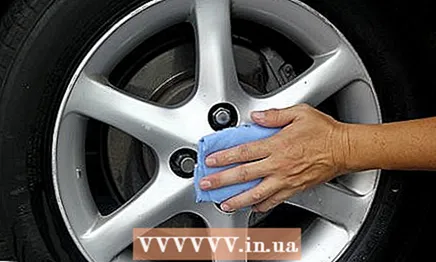 1 Dry each wheel immediately after rinsing.
- Once you are happy with the appearance of the wheels, start drying immediately. If you miss the time, small drip marks will give the wheels an unattractive speckled appearance. You just worked so hard to make your wheels look great, so don't forget this key step!
- The best drying rags for this job are old, worn terry towels or all-purpose cleaning rags. It is better to use a moderately soft towel because it does not leave streaks. High quality towels (such as those made with microfiber) can tear if used on wheels.
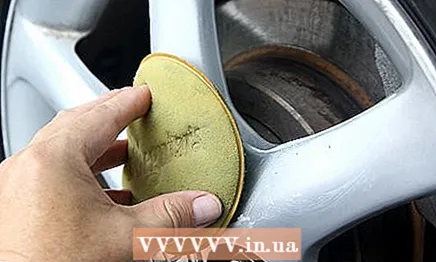 2 Apply wax for long lasting protection.
- A high quality paste wax can help keep your wheels in top shape, preventing brake dust buildup and future corrosion.Cover the wheels with wax before replacing the hubcaps - it won't take long and will be a good investment for a long time.
- For maximum protection, repeat the procedure every six months as a routine car maintenance ritual.
 3 Place all wheel caps back on the wheels.
- After finishing washing, rinsing and drying the wheels, the work is almost finished. Screw the caps back on (which should have been cleaned separately).
- Congratulations! You have just removed the brake dust from the wheels of your car, Now you can be clearly confident in their excellent appearance and your own health!
Video
Template: Video: Cleaning aluminum wheels from brake dust
Recommendations
- Brake dust causes permanent damage to your car if you don't wash your wheels regularly. Your aluminum wheels will oxidize and stain from dust.
- Wash the wheels of your car regularly so that excessive brake dirt will not build up on them.
- Ask about the high quality brake pads at the workshop during the next brake check. Then the wheels will not build up such brake dust, plus the car will have better braking power.
- Install the brake pad shields between the brake rotor and the wheels. Shields repel brake dust. If you are driving a high-end car, invest in a dust-proof brake flap kit to cool the brakes faster after you stop the car.
- Inspect your brakes as specified by the vehicle manufacturer. Regularly inspected brakes work more efficiently and leave less dust.
Attention!
- Brake dust can damage your lungs. Wash and clean brakes in an open and well-ventilated area.
A set of necessary accessories
- Bucket
- Dishwashing liquid
- Warm water
- Washing glove (optional)
- garden hose
- Hose attachment
- Old towels
- Commercial wheel cleaner
- Oven detergent (optional)


