Author:
Gregory Harris
Date Of Creation:
13 August 2021
Update Date:
1 July 2024
Content
Learn how to use Microsoft Paint to make a white background transparent. If you are using Windows 10, then an updated version of MS Paint (called Paint 3D) should already be preinstalled, in which the background can be removed with just a few clicks. If an older version of Windows is installed on the computer, then the image with a transparent background cannot be saved in Paint. However, you can cut the content of the image and paste it on a different background.
Steps
Method 1 of 2: Via Paint 3D
 1 Start Paint 3D. Windows 10 has an updated version of MS Paint called MS Paint 3D. It can be found in the Start menu or by typing Paint 3D into the Windows search bar.
 - This method can be used with any colored background.
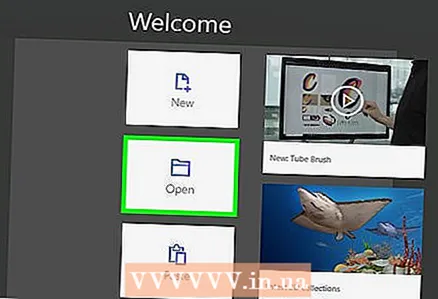 2 Click on Open. It's the second option on the left side of the welcome screen.
 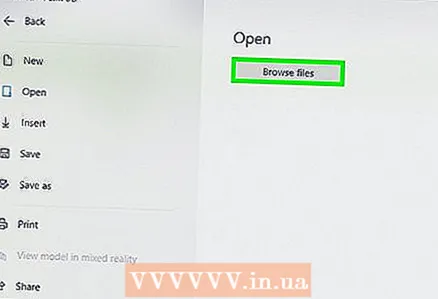 3 Press Browse files at the top of the right pane.
 4 Select the file and click Open. The image will be ready for editing.
  5 Go to the tab Canvas. It looks like a hash icon and is located in the toolbar at the top of the application.
  6 Move the "Transparent Canvas" switch to the "On" position.».
  ... It's in the right pane under the Canvas heading. This will turn off the background color, although it won't be noticeable.
 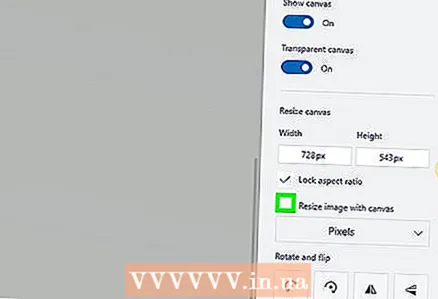 7 Uncheck the "Resize image to fit canvas" option in the middle of the right pane.
 8 Move the edges of the canvas so that the image stays inside. This can be done by sliding the small cells in each edge inward, as close as possible to the part of the image that you want to keep.
 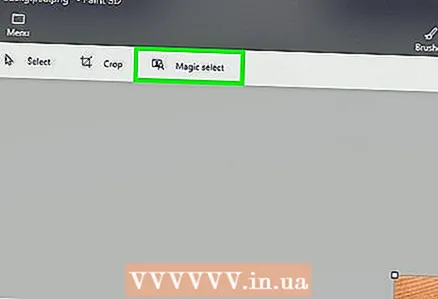 9 Press Magic selection. This option is in the light gray area of the toolbar at the top of the screen (closer to the left side of it). Its icon looks like a silhouette of a person looking at their reflection. The Magic Selection panel appears on the right.
  10 Click on Further on the right pane.
 11 Uncheck the Auto Fill Background checkbox on the right panel.
 12 Click on Ready. This will remove only the selected part of the image from what is left of the background and place it on the new filled background (which will also be white).
  13 Switch to the tab again Canvas. It's a hash-shaped icon in the toolbar at the top of the app.
  14 Move the Show Canvas slider at the top of the right pane to Off.»
  ... Now you will see only the selected part of the image on a gray background.
  15 Click on the button Menu (folder icon) in the upper left corner of the application.
 16 Click on Save as approximately in the middle of the menu.
 17 Please select Image. This is a cell with an icon that resembles the image of mountains.
 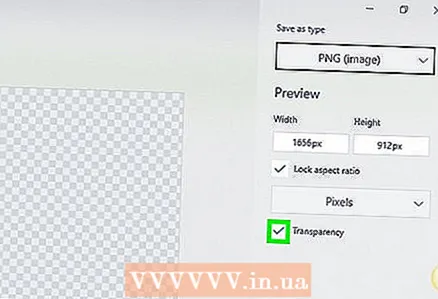 18 Check the "Transparency" checkbox in the panel on the right. The background will be colored in a cage - now it is transparent. This checkered pattern will not persist with the image.
  19 Click on Save in the lower right corner.
 20 Enter the file name and click Save. After that, the image will be saved with a completely transparent background.
Method 2 of 2: Via MS Paint
 1 Start Paint. To do this, enter "paint" into the Windows search box and select the "Paint" application from the search results.
 - If the computer is running Windows 10, then it is better to use the "Through Paint 3D" method.
- In MS Paint, a white background cannot be made transparent. This method will show you how to cut out a portion of the image you want to keep and paste it onto a different background.
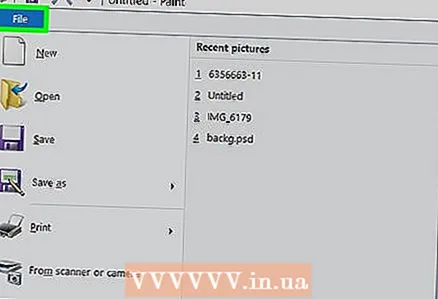 2 Open the menu File in the upper left corner of the app.
 3 Please select Open.
 4 Select an image and click Open. Be sure to choose an image with a white background.
  5 Press Color 2. This cell is located in the toolbar at the top of the screen, to the left of the color palette.
  6 Click on the eyedropper icon in the toolbar at the top of the screen (in the "Tools" section).
 7 Click on an empty space on a white background. The background color appears in the Color 2 cell.
 - Even if the cell color was already white, this should be done in case there is a shade of gray or another color in the background of the image.
 8 Click the down arrow
  under the "Select" option. It is located in the toolbar at the top of the application. A dropdown menu will then appear.
  9 Press Transparent selection at the bottom of the menu. A check mark will appear next to the option to indicate that it is enabled.
 - The Transparent Selection tool ignores the white background when copying an image into Paint and then pasting into another image.
 10 Click the down arrow again under the Highlight option to display the menu again.
 11 Press Rectangular area at the top of the menu. With this option, you can select an image by drawing a rectangle around it.
  12 Select the part of the image you want to keep. Pressing the left mouse button and holding it down, drag the cursor until you select the desired part of the image, and then remove your finger from the button. A rectangular selection frame appears around the selected area.
 - Anything selected inside the frame and not matching the color in the "Color 2" cell will be preserved. If the background is not completely white (for example, if there is a shadow in the background or an object that you do not want to leave), then it is better to select the Free Region option to circle around the part of the image that you want to leave.
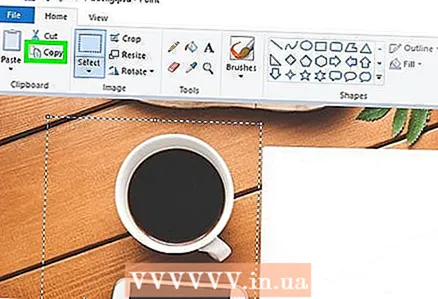 13 Click on Copy in the upper left corner of the application, in the "Clipboard" panel to copy the selected part.
 14 Create or open a new file. Now that you've copied the part you want, open the image where you want to paste it. Before you can open a new image, you will be prompted to save or discard your changes to the current image.
 - Click on "File" in the upper left corner.
- Click on "New" to create a new file, or "Open" to open another image.
 15 Press Insert in the upper left corner of the application to insert the selected portion from the previous image into a new drawing.
- Click and drag the inserted image to move it.
- There may still be some white areas around the edges of the new image. Read on to find out how to remove them.
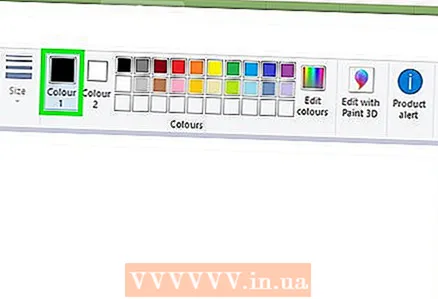 16 Click on a cell Color 1 next to the palette at the top of the screen.
 17 Click on the eyedropper icon on the toolbar.
 18 Click on the background next to the white edges. If there are white areas near the edges of the pasted image, click on the background next to those areas to select the color immediately behind them. This will paint over the white areas to match the selected color.
  19 Click on the Brushes tool. It's a brush icon to the right of the Tools panel at the top of the app.
 - Click on the down arrow below the brush icon to select a different type of brush.
 20 Paint over the white edges. Use the Brushes tool to paint over the white edges that remain around the image you pasted.
 - Zoom in and try not to go over the image.
- If the background consists of several colors, then you will have to use the eyedropper several times.
- Click on the drop-down menu under the "Thickness" option to change the size of the brush. Choose a larger brush to paint in a lot of white areas, then zoom in and choose a smaller brush for more precise work.
- Find the white areas of the image that the Transparent Selection tool was unable to copy. Paint over them with a brush.
- If you accidentally touch a part of the image that you do not need to paint over, click Ctrl+Z on the keyboard to undo the action.


