Author:
Gregory Harris
Date Of Creation:
13 August 2021
Update Date:
1 July 2024
Content
- Steps
- Method 1 of 4: Create or Take a Windows Vista or 7 ISO Image
- Method 2 of 4: Create a bootable disk
- Method 3 of 4: Using the command line
- Method 4 of 4: Preparing for Installation
Do you need to install Windows 7 on a computer without a DVD drive? Do you want to create a backup installer in case your disk gets damaged? Follow this guide to copy the Windows installation files to a bootable USB flash drive.
Steps
Method 1 of 4: Create or Take a Windows Vista or 7 ISO Image
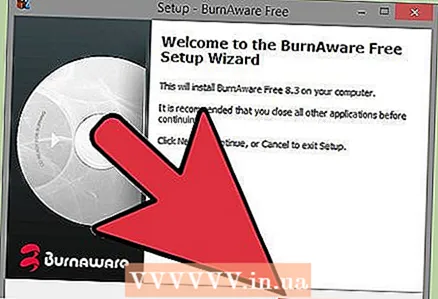 1 Install a free disc burning software. There are many free disc burning software on the Internet. You need one that can create ISO files.
 - If you received your Windows 7 as a downloadable ISO file from Microsoft, you can skip to the next section.
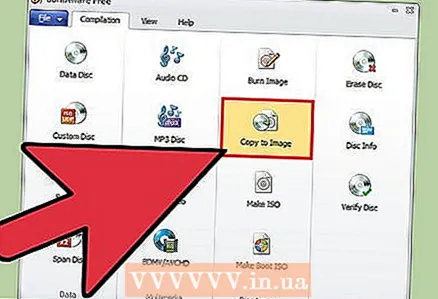 2 Insert your Windows 7 DVD. Open your new disc burning program. Find the option "Copy Image" or "Create Image." If prompted, select your DVD drive as the source.
 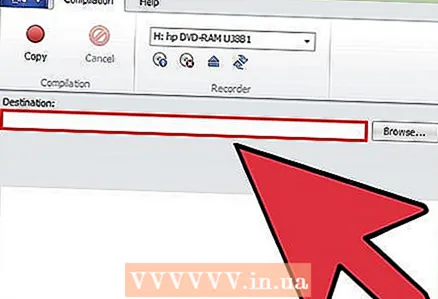 3 Save the ISO file. Choose an easy-to-remember file name and location. The ISO you created will be the same size as the disc you copied. This means that the image will take up several gigabytes of memory on your hard drive. Make sure you have enough space.
 - ISO creation can take a significant amount of time, depending on the speed of your computer and DVD drive.
Method 2 of 4: Create a bootable disk
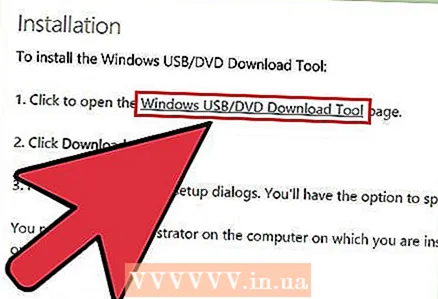 1 Download the Windows 7 USB / DVD Download Tool. It is available for free on the Microsoft website. Despite its name, this tool also works with Windows Vista images.
 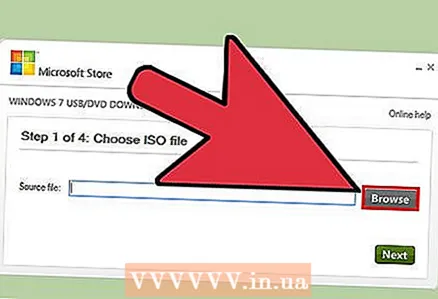 2 Select the source file. This is the ISO that you created or downloaded in the first section of the tutorial.
  3 Select a USB device. You can either burn to DVD or create a USB device.
 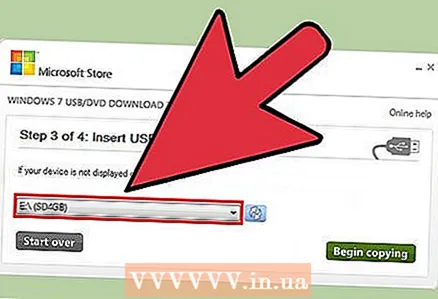 4 Select your USB device. Make sure your flash drive is properly connected. To copy a Windows installation, you will need at least 5 GB of space on your flash drive.
 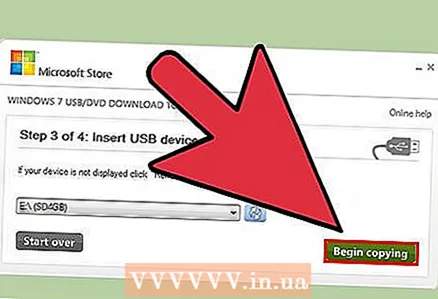 5 Wait for the program to run. The program will format the USB disk to boot correctly and then copy the ISO file to the disk. The copying process will take about 15 minutes, depending on the speed of your computer.
Method 3 of 4: Using the command line
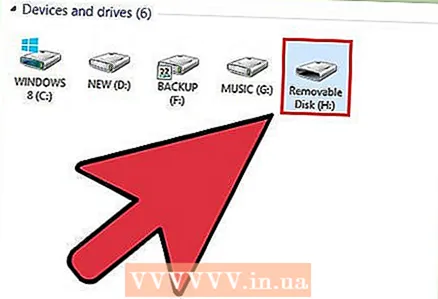 1 Insert your USB stick. First, insert your flash drive into a USB port and copy all of its contents to a safe location on your hard drive.
 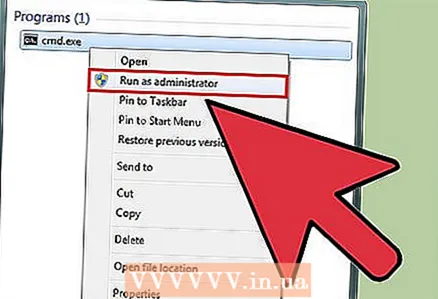 2 Run Command Prompt as Administrator. To open a command prompt, go to the Start menu and type CMD in the search box.Right click on the program icon and select Run as administratorto use it as an administrator.
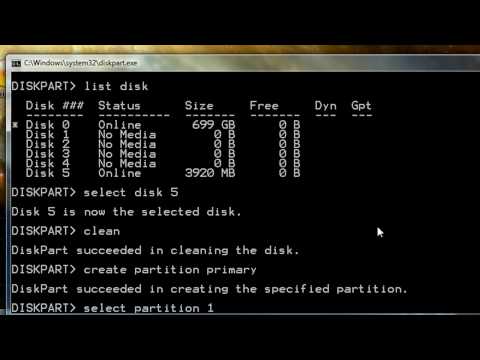
 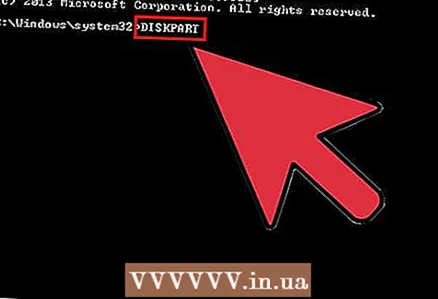 3 Using the utility Diskpart determine the drive number for your flash drive. To do this, type the following command at the command line: DISKPART
 - Running DISKPART will show the current DISKPART version and your computer name.
- Type “list disk” to see a list of all connected disk drives. Write down the disk number assigned to your flash drive.
 4 Format the disk. Run the following list of commands one at a time. Make sure you replace Disk 1 with the correct disk number that you learned from DISKPART select disk 1cleancreate partition primaryselect partition 1activeformat fs = NTFS QUICKassignexit
 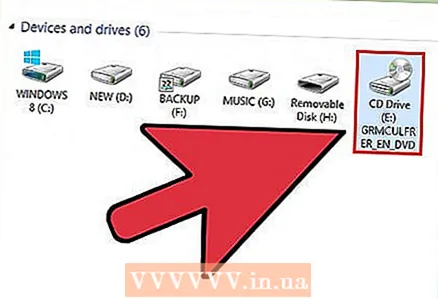 5 Make your flash drive bootable. Use the utility bootsectthat ships with Windows 7 or Vista. For this:
 - Insert your Windows 7 or Vista DVD and write down the DVD drive letter. In this guide, the DVD drive letter is D: and the USB drive is G :.
- Change to the directory where bootsect.D: cd d: boot
- Use bootsect to make the USB stick bootable. This adds BOOTMGR-compatible code to the USB stick and prepares it to boot Windows 7 or Vista. BOOTSECT.EXE / NT60 G:
- Close the command prompt window.
- Insert your Windows 7 or Vista DVD and write down the DVD drive letter. In this guide, the DVD drive letter is D: and the USB drive is G :.
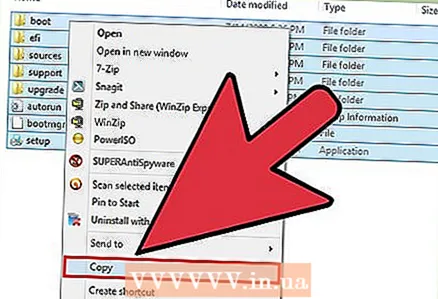 6 Copy all files from Windows 7 or Vista DVD to a formatted USB stick. The safest and fastest way to do this is to use Windows Explorer. Open the disk, select everything and drag it to your USB stick. Copying may take several minutes.
Method 4 of 4: Preparing for Installation
 1 Change the boot order. To boot from a USB flash drive, you will need to change the BIOS settings, specifying the USB drive as the first boot device instead of the hard drive. To open the BIOS, restart your computer and press the key displayed in the prompt. The keys may vary depending on the manufacturer, but usually F2, F10, F12, or Del.
 - Open the Boot menu in your BIOS. Change the 1st Boot Device to your USB stick. Make sure it is inserted, otherwise you will not be given the option to select it. Depending on the manufacturer, it may be shown as Removable Device or listed under its model name.
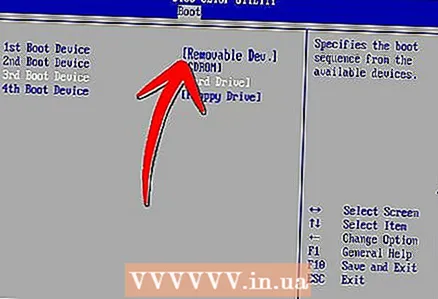
- Open the Boot menu in your BIOS. Change the 1st Boot Device to your USB stick. Make sure it is inserted, otherwise you will not be given the option to select it. Depending on the manufacturer, it may be shown as Removable Device or listed under its model name.
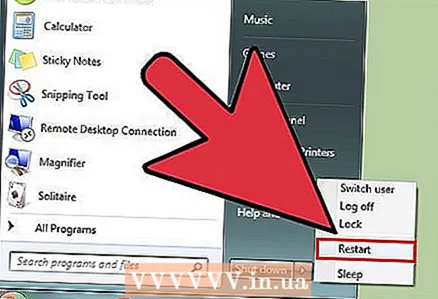
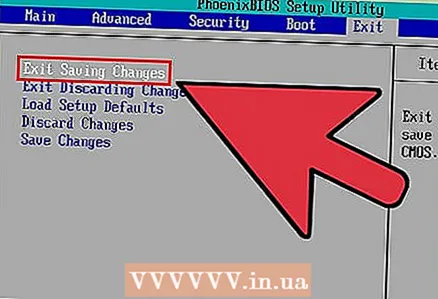 2 Save changes and reload. If you set the boot order correctly, your Windows 7 or Vista installation will start booting as soon as the manufacturer's logo disappears.
 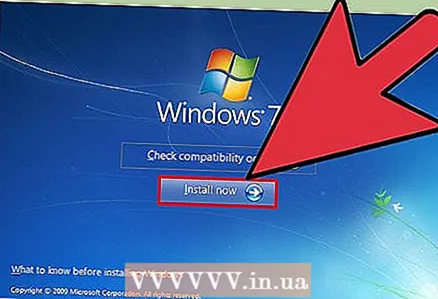 3 Install Windows. After the installation process boots, the initial Windows installation begins.


