Content
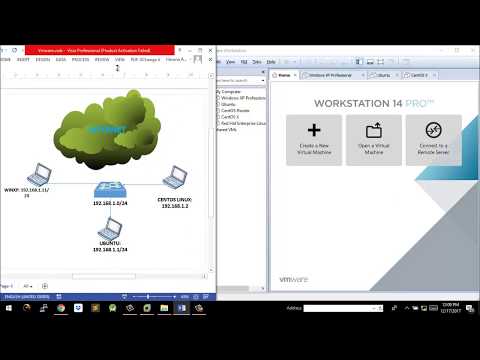
VMware Workstation is a very useful software that is used to develop and test systems that run on real networks. In this article, you can learn how to create a virtual network in VMware Workstation that can be used to test the database server. In this example, the database server exits to the outside network through a firewall. The administrator's computer connects to the server through a second firewall. The virtual network looks like this.
Four virtual machines will be created, and their network adapters will be configured to the required parameters. The adapter configured in bridged mode provides the ability for VM 1 to operate in network bridged mode so that it can access the external network using the host adapter. You need to add a network adapter for virtual machine 1 to connect to VMnet2. The same is for virtual machine 2. Virtual machine 3 must have two adapters. One is for connecting to VMnet2 and the other is VMnet3. Virtual machine 4 must have an adapter to connect to VMnet4. The IP address of each adapter must match the VLAN data.
Steps
 1 Open virtual machine 1 by clicking on the left window, but do not turn it on.
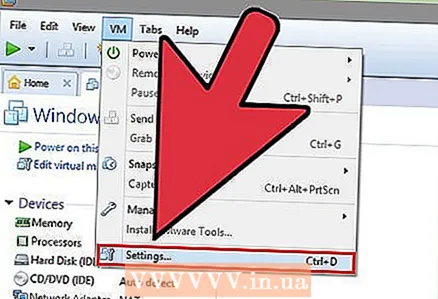 2 Select VM> Settings.
 3 On the Hardware tab, click on Network Adapter.
 4Select the type of network adapter Bridge (Bridge)
  5 Click OK.
 6 Select VM> Settings.
 7 On the Hardware tab, click Add.
 8 Select Network Adapter and click Next.
 9 Select Custom, then select VMnet2 from the drop-down menu.
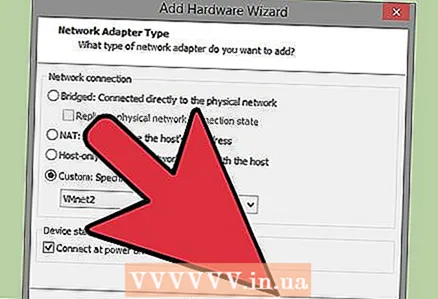 10 Click Finish.
 11 Open virtual machine 2 by clicking on the left window, but do not turn it on.
 12 On the Hardware tab, click Network Adapter.
 13 Select Custom in the right window and select VMnet2 from the drop-down menu.
 14 Open virtual machine 3 by clicking on the left window, but do not turn it on.
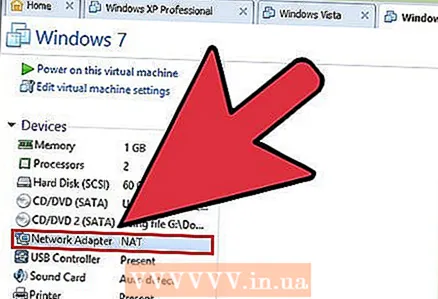 15 On the Hardware tab, click on Network Adapter.
 16 Select Custom in the right window and select VMnet2 from the drop-down menu.
 17 Use the virtual machine settings to add a second virtual network adapter.
 18 Connect the second adapter to Custom (VMnet3).
 19 Open virtual machine 4 by clicking on the left window, but do not turn it on.
 20 Use the virtual machine settings to add a virtual network adapter.
 21 Connect the adapter to Custom (VMnet3).
 22 Select Edit> Virtual Network Editor.
 23 In the Virtual Network Editor dialog box, click on Add Network.
 24 In the Add a Virtual Network dialog box, select VMnet2 from the drop-down menu.
 25 Click OK.
 26Add VMnet3
  27 Click on DHCP Setting and in the dialog box that opens, check the boxes for the IP address range for VMnet2 and VMnet3.
 28 Power on the four virtual machines.
 29 Open the firewall in VMs 1 and 3, but close the rest.
 30 Configure the IP address for the adapters in virtual machine 1 without changing the default settings for the bridged adapter and assigning an IP address for the VMnet2 network adapter.
 31 Configure an IP address for the two virtual machine 2 adapters by assigning an IP address to connect to VMnet2 in the range for VMnet2.
 32 Configure the IP address for the VMnet3 network adapter by assigning the IP address for the VMnet2 network adapter in the range for VMnet2 and the IP address for the VMnet3 network adapter in the range for VMnet3.
 33 Configure an IP address for the virtual machine 4 adapter by assigning an IP address for the VMnet3 network adapter in the range for VMnet3.
Tips
- Find out the network addresses for VMnet2 and VMnet3: open a command prompt and write:
- ipconfig / all
Warnings
- The subnets VMnet2 and VMnet3 must be added to the list of Virtual Networks, otherwise you will not be able to connect.


