
Content
Drying herbs is a simple and effective way to preserve cooking and crafting. There are many herbs that can be dried, you can dry the leaves, flowers or stems. Dried herbs help retain their flavor. Based on your own knowledge, choose the right herbs at the right time and preserve them well.
Steps
Method 1 of 9: Choose herbs to dry
Choose herbs. Herbs that have thick leaves and oil are easier to dry. However, most herbs can be dried. Trying it out repeatedly is the best way to identify the right herb, some herbs shrink and brown when dry, while others retain color and texture.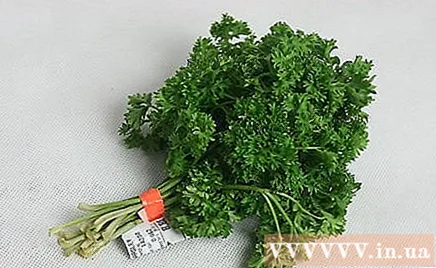
- Herbs with thick leaves are the easiest to dry. Includes bay leaf, rosemary, thyme and sage. The dried laurel leaves or rosemary mostly retain their original color and shape.
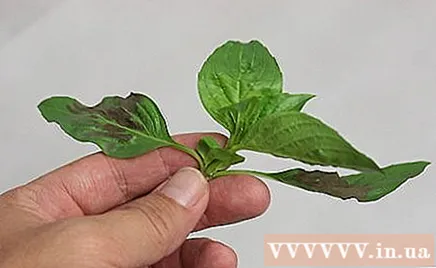
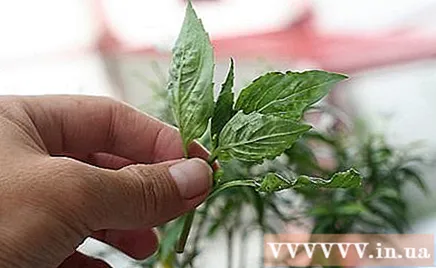
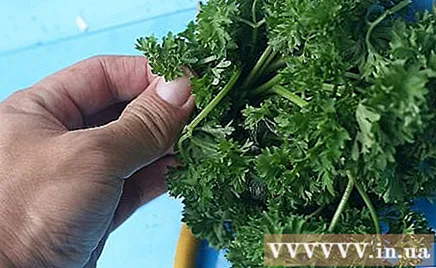
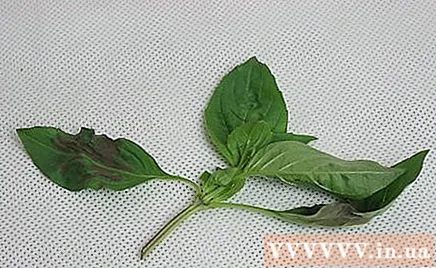
- Drying is a bit more complicated in soft and broad leaf varieties as they are more susceptible to moisture and mold if not dried properly. These herb varieties include basil, parsley, mint, vinegar, and lemon balm. They need to be dried quickly to avoid mold.
- Herbs with thick leaves are the easiest to dry. Includes bay leaf, rosemary, thyme and sage. The dried laurel leaves or rosemary mostly retain their original color and shape.
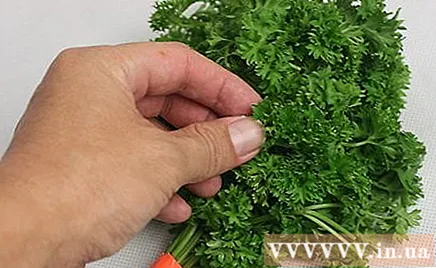
Pick the herbs to dry before they bloom. You will see a lot of buds indicating that the plant is about to bloom. This is the best time to harvest the herb, pick it after the frost dissolves and before the sun evaporates the essential oils in the herb. The early mornings are usually the right time, but consider the features of your place to find the right time.- There are many tips that you should harvest herbs before they bloom, but you should also give them a try. Sometimes it is better to harvest after the flowers bloom. This depends on which form of the herb allows the best appearance and flavor. And if you want to dry the flowers, then you have to wait for the plant to bloom first.
Prepare for the drying process as soon as you pick the herbs. Herbs are best preserved if they are processed immediately. If left for a long time, the plant will absorb moisture and dust, which affects the flavor, color and shape.
Wash the herbs if needed. Some herbs need to be cleaned first, followed by the removal of hay or algae. You can wash the herb gently with cool water, then gently sprinkle it to remove any moisture.
- Eliminate deep, deep leaves.
- Eliminate deep, deep leaves.
Method 2 of 9: Quick drying for cooking
This method works with herbs that have been prepared (and cleaned) and not used with dried herbs. You should do this half an hour before cooking to allow enough time to dry the herbs.
Choose herbs for cooking.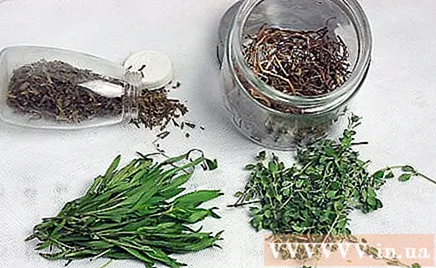
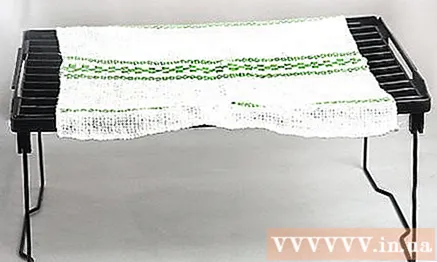
Place the dry cloth on the flat surface. A kitchen table or sink is a good place.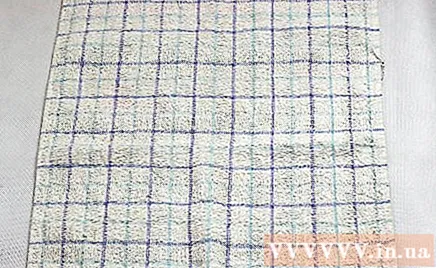
- Alternatively you can use the dish drying rack. Place the dry cloth on the shelf, this will allow more air to circulate.
- Alternatively you can use the dish drying rack. Place the dry cloth on the shelf, this will allow more air to circulate.
Wash herbs gently. Turn the tap gently on to avoid crushing or bruising the herb. Wash the herbs in a tub of water, or under running water. Finally flick lightly to remove as much water as possible.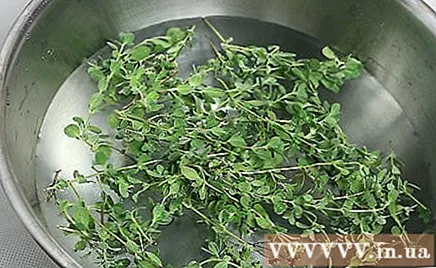
Place each herb on the towel. Place them on top of each other if you have more than one towel and avoid overlapping herbs.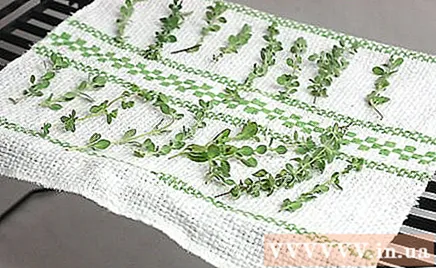
Dry in a warm heat. Tap to check if the herb is dry. If the herb is dry enough, use it in the preparation. advertisement
Method 3 of 9: Dry it in the sun or outside
This is the least used method because it will cause the herb to discolor and lose its flavor. This can be useful if it's for decorative purposes only.
Pick up the herbs when the mist dissolves.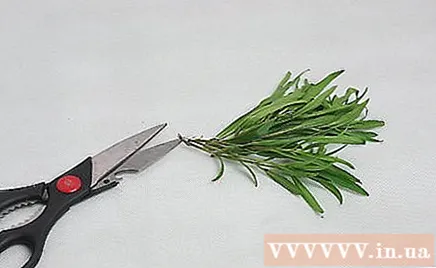
Tie in bundles with rubber bands. Let the leaves and flowers slope down.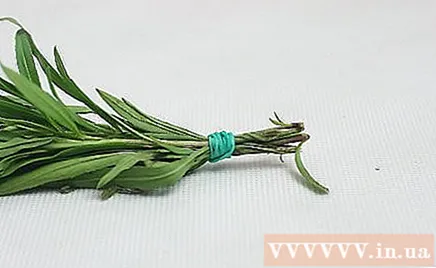
Hang a bunch of herbs on your porch or somewhere in the sun. Leave them there for a few days until the herbs dry.
- Tie them very carefully in case of strong wind days.

- Tie them very carefully in case of strong wind days.
Air dry inside a paper bag. After wrapping the herbs, wrap a paper bag outside and tie it. Hang the bag outside. The bag will protect the herbs from direct sunlight and will also retain the lost seeds in case you want to use them.
Harvest when dry. The dried herb will be crispy and will not contain any moisture. advertisement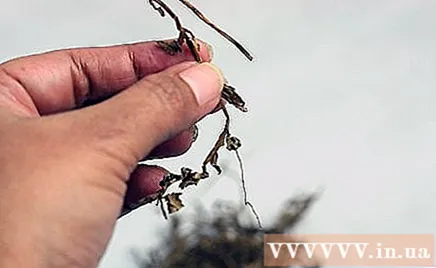
Method 4 of 9: Drying with indoor air
Indoor drying is the preferred method because it retains the flavor, color and quality of herbs better than outdoor drying methods. Air-drying is suitable for herbs with large, soft leaves. This method is also very simple, you just need to prepare the herbs and wait for them to dry.
- Tie the herbs into a bunch. Tie the rubber strap around the base. Please direct all the flowers and leaves down.
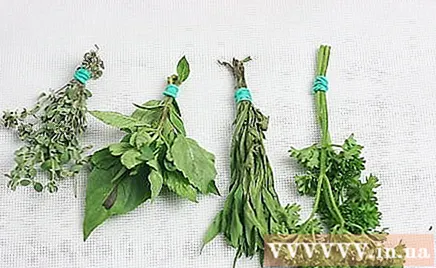
- The drying times will vary if you bundle several herbs together, so bundle each herb separately until you have experience knowing how long each herb will dry and bundle them together. together.
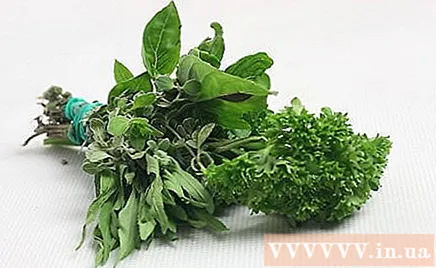
- If you are drying more than one herb, tie the bundles of equal size so that the drying time will be the same. This makes it easier to preserve and use the dried herb, you won't have to wait for each bundle of herbs to dry. However, everything depends on what you use the herb for and your current needs.
- The drying times will vary if you bundle several herbs together, so bundle each herb separately until you have experience knowing how long each herb will dry and bundle them together. together.
Use or not use paper bags. Paper bags can accelerate the drying process and keep the seeds and leaves falling off, etc. On the other hand, if you don't use paper bags, you can use herbs to decorate the house.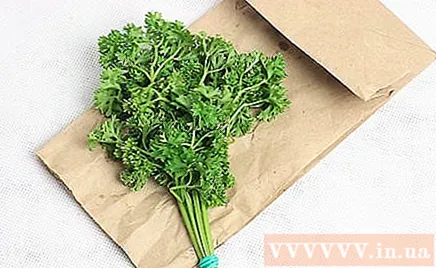
Choose the appropriate hanging bracket. All types of hangers can be used including ladders, ceiling beams, coat hanger, nails, etc.
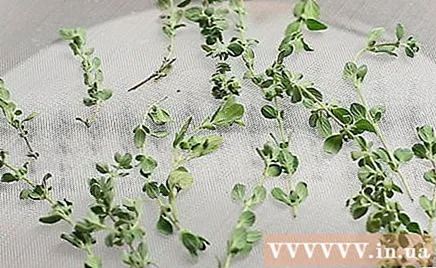
- Herbs can also be dried on a rack or frame. You can use a clean and decent old window frame. Place the frame so that air can circulate on both sides. If you use the frame, you will have to flip the herb daily to avoid curling.
- Herbs can also be dried on a rack or frame. You can use a clean and decent old window frame. Place the frame so that air can circulate on both sides. If you use the frame, you will have to flip the herb daily to avoid curling.
Wait for the herb to dry. Herbs should be left to dry in a place out of sunlight or moisture or they will spoil. Drying can take anywhere from 5 days to several weeks, depending on which herb you are drying.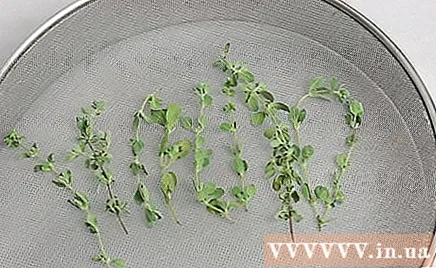
Harvest when dry. The dried herb will be crispy and will not contain any moisture.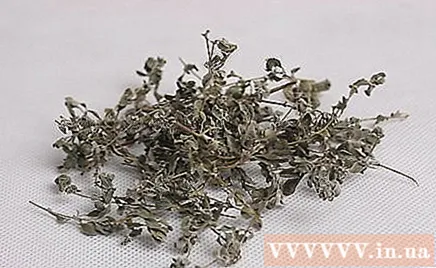
Use herbs for cooking, medicinal, decorative or craft purposes. Many dried herbs fall off easily, which you can use as herbs or as scented bags in your closet. advertisement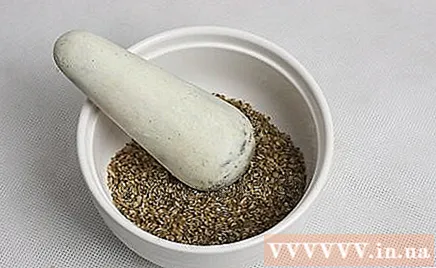
Method 5 of 9: Drying in the oven
The herb can be dried in an oven and is suitable for cooking or medicinal purposes.
Turn on the oven and let it set on the lowest temperature. Leave the oven door open.
Place the selected herbs on a baking tray.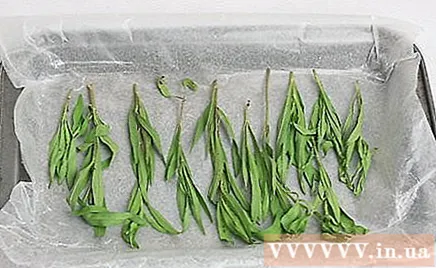
Place the tray on the bottom floor of the oven. Start drying but be sure to turn the herbs over as often as possible. When the herbs start to crunch, take the tray out of the oven.
If you are using a wood stove, you can place the rack on top of the oven, place the herbs in the rack and wait to dry. advertisement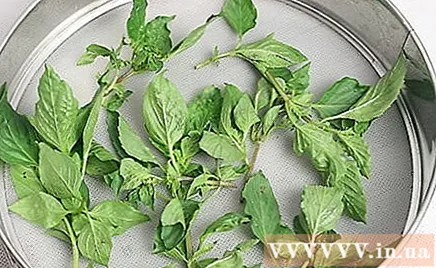
Method 6 of 9: Microwave drying
If you need dried herbs right away for manual jobs, this method is perfect! However, because of the toxicity of the silica gel, this method is recommended are not suitable for cooking or medicinal purposes. Experiment with each herb's microwave drying time, which requires patience!
Sprinkle a thin layer of silica gel into the microwave bowl.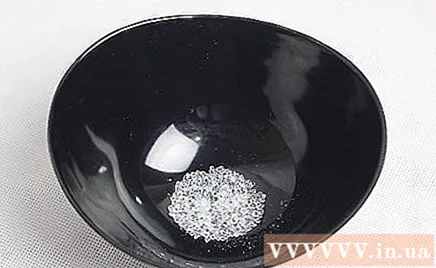
Add the herb leaves or flowers. Spread the herbs evenly and avoid touching the leaves or flowers between each branch.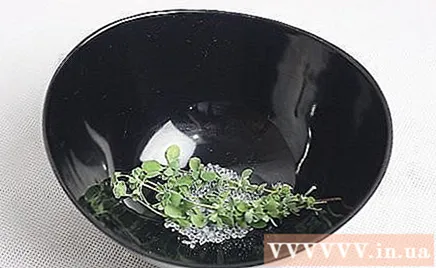
Dried herbs. Set the oven to low, half of normal energy or defrost level. Dry for 2 minutes and let cool for 10 minutes. Check for dryness. If the herbs are dry enough, use them. If not dry enough, dry for another 1 minute.
- If drying for 2 minutes is too long and the herb is all wilt, take some other herbs and reduce the drying time to 30 seconds. Continue to experiment until the correct timing, depending on the herb.
- Plants that are air-curled (such as thyme) will require less drying time in the microwave than herbs that are difficult to air-dry.
Use only for craft or decoration purposes. As noted, using silica means the herb is no longer safe for consumption. advertisement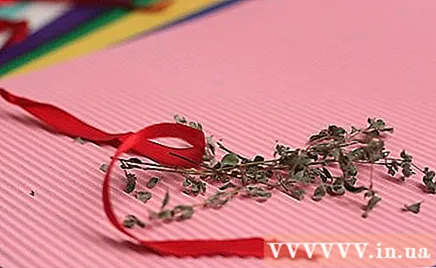
Method 7 of 9: Dry using a desiccant
This way herbs are dried in this way only for handmade or decorative purposes. Are not Use this method to dry herbs for cooking or medicinal purposes.
Choose a desiccant. Desiccants are used to absorb moisture. Herbal desiccants include cornstarch, sand, aromatic irite root, borax, silica gel, and even cat sand.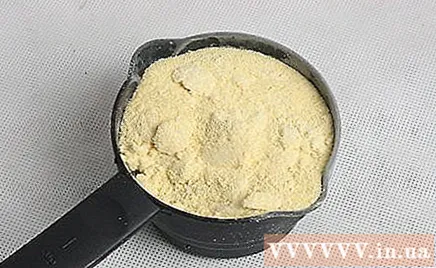
- Silica gel is the most popular because it is lightweight, doesn't damage herbs, and is easily available from the store. However, when using them, please wear a mask to avoid inhalation of smoke.
Break the herb. Cut off when the moisture has not affected their herbs or flowers.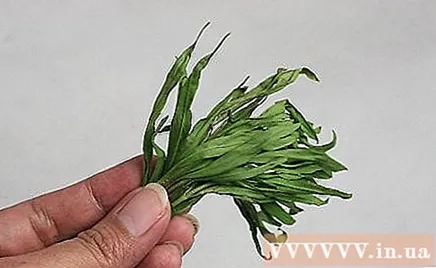
Sprinkle 2.5 cm of desiccant into a glass bowl or plastic jar. Glass and plastic do not create moisture.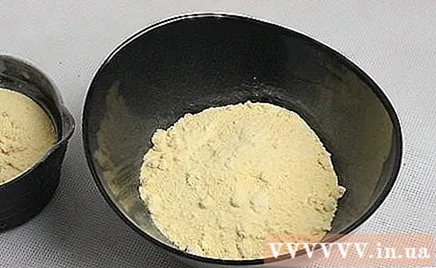
Place herbs in the desiccant. Avoid letting the flowers or herb leaves touch each other. We need space between the leaves and petals to make sure the desiccant can get in and dry all the herbs.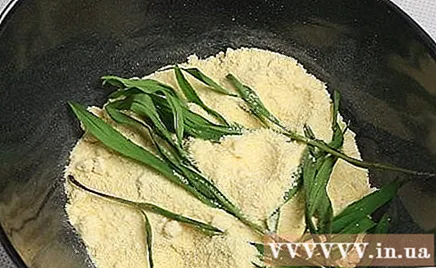
- If you need to keep the shape of the petals and leaves, when adjusting the desiccants, you will also need to check and reset the taste of the herb to its original shape.
- You can layer the desiccant and herb in layers if you like, note that if the upper part is too heavy, it may crush the bottom herb.
Remove the herb from the desiccant as soon as it dries. The process only lasted a few days. The desiccant will completely dry the leaves and flowers of the herb, so they are slightly crunchy. To remove the desiccant, use a small brush or blower so as not to damage the plant. Pick it up very carefully.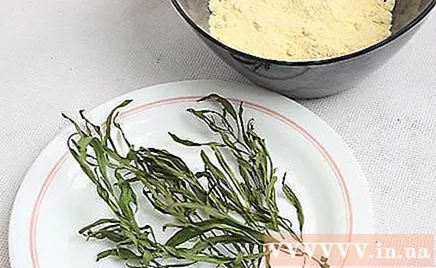
- Avoid over drying as the herb can crumble when picked up.
Use only for craft or decoration purposes. The herb is not suitable for consumption. advertisement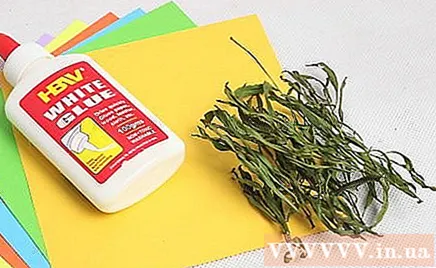
Method 8 of 9: Drying for manual purposes
Some herbs will be dried easily if they are placed in the right place, such as flower arrangements or as part of a craft project.
Choose an herb that is suitable for a craft. Not all herbs are dried this way except for some such as cumin, dill, and rosemary.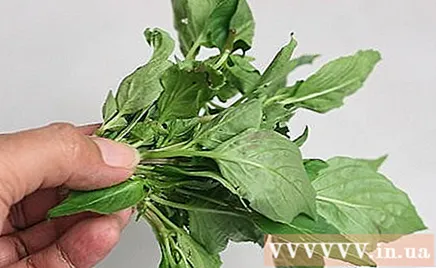
Use fresh herbs to put them in the place where you want them to dry. For example, in a vase / bouquet with other plants arranged or added to a craft project like a wreath or tree basket.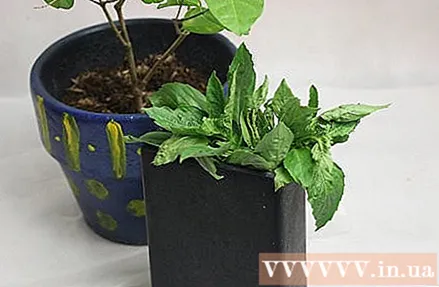
Place in a dry place without moisture. Let the herb dry itself, and check it out often. If you see signs of mold or any other problem, remove the herb. advertisement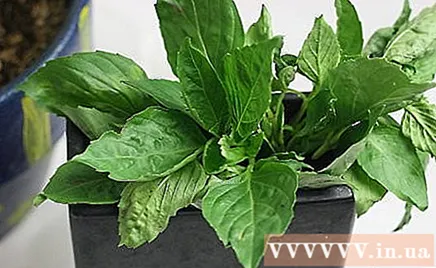
Method 9 of 9: Dry squeeze
You can get more information from the tutorials on how to squeeze leaves. Herbs can be used for crafting projects like scrapbooks, framing, bookmarks and collages.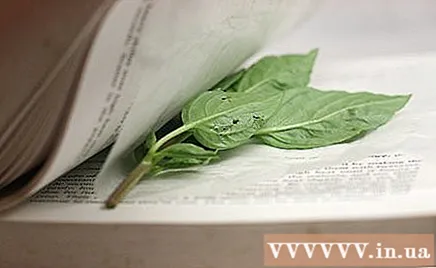
Finish. advertisement
Advice
- Herbal seeds are best dried by air drying, which allows them to fall into a paper bag and stored in a sealed bag.
- The best herbs for drying: Lavender (still looks beautiful many years); rosemary (can be kept for many years); laurel leaves; hops; soft gray oregano; pink marjoram.
- All crushed or wilted herbs should be stored in a sealed bag away from sunlight. For the best taste in cooking, use herbs within 6 months of drying.
- A simple drying rack can be made from wooden blocks (beautiful shape if you like) and fitted with evenly spaced pieces. Add a hanger and say "herb" or draw a few leaves to remember the intended use. Then hang the rack on a solid wall. Attach the herbs to each piece of wood. Suitable herbs for this method are rosemary, thyme, oregano, sage, oregano and flower bud.
- Lying herbs is another drying method. This will keep the best taste for cooking instead of keeping the shape.
Warning
- Avoid drying herbs in a place with high humidity, like the bathroom or kitchen. If you can keep the kitchen warm and dehumidify then the kitchen will be considered an exception.
- Moist herbs will be moldy and fermented. If this happens, remove the herb.
- Many herbs will shrink, brown in color and difficult to recognize after drying. The drying of herbs is an art that I personally learn from a lot of trial and error. Sometimes you have to choose between one of the three elements of fragrance, flavor or appearance because you cannot keep it all when dried.
- High heat will damage the herb; Avoid using too much heat when drying.
- Use rubber bands instead of braids. The reason is simple - the rubber bands tighten around the base of the herb when they are dried. But not, the herb can slip off the rope and fall to the ground when dried.
- The silica gel is toxic. Keep out of reach of children and pets, keep away from its smoke when using (by wearing a mask) and do not consume any herbs that are dried with silica gel.
What you need
- Herb
- Drying equipment
- Paper bag (optional)
- Closed bottle


