Author:
Sara Rhodes
Date Of Creation:
10 February 2021
Update Date:
1 July 2024
Content
- Steps
- Part 1 of 2: How to Create an Access Point
- Part 2 of 2: How to provide access to an access point
- Tips
- Warnings
This article will show you how to create a wireless access point on a Windows computer using the command line. The described method assumes that you are logged in as an administrator.
Steps
Part 1 of 2: How to Create an Access Point
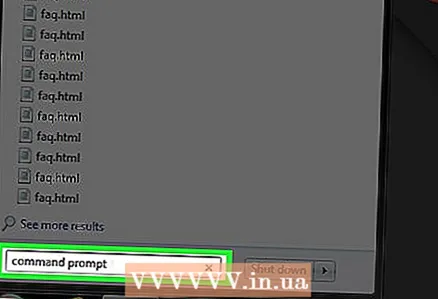
- Open the Start Menu 1
 ... It's in the lower left corner of the screen. Or press key 2⊞ Win to open the Start menu. 3
- In Windows 8, move your mouse to the upper-right corner of the screen, and then click the magnifying glass icon.
 ... It's at the top of the Start menu.
- If you have a laptop with a trackpad instead of a mouse, tap the trackpad with two fingers (this action replaces right-clicking).

- If the "Run as administrator" option is inactive, you cannot create an access point.


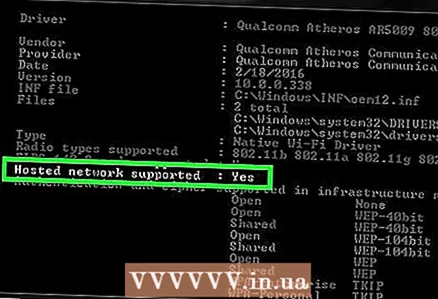
- If the word "Yes" is missing in the line, you will not be able to create a wireless access point using the command line.
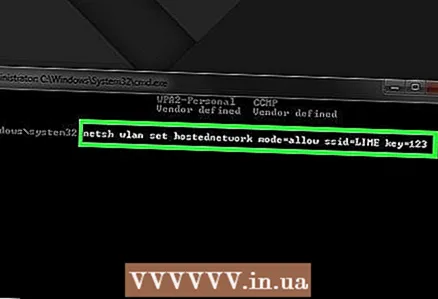
netsh wlan set hostednetwork mode = allow ssid = NETWORKNAME key = PASSWORD and press ↵ Enter... Replace the words "NETWORKNAME" and "PASSWORD" with the network name and password for the access point.


Part 2 of 2: How to provide access to an access point
 1 Open the start menu and in the search bar enter Control Panel. This will find the Control Panel utility.
  2 Click on Control Panel. It will appear at the top of the Start menu.
 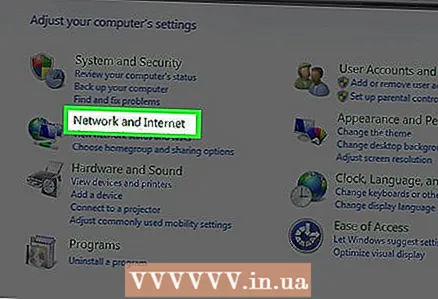 3 Click on Network and Internet. It's in the middle of the page.
  4 Click on Network and Sharing Center. You will find this option at the top of the page.
  5 Click on Change adapter settings. This link is located in the upper left side of the window.
  6 Right click on the name of the active internet connection. You will find it at the top of the Network Connections window.
  7 Click on Properties. It's near the bottom of the drop-down menu.
  8 Click on the tab Access. It's at the top of the window.
  9 Check the box next to “Allow other network users to use... ". It's near the top of the window.
 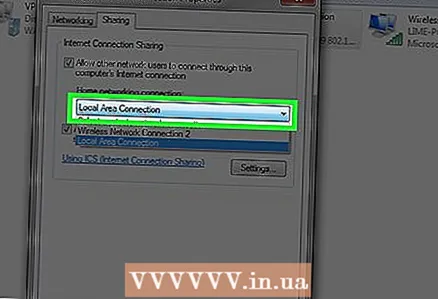 10 Check the box under the "Home network connection" option. It's in the middle of the page.
  11 Click on the name of the created access point. It will be named something like this: "Local Area Connection * #".
 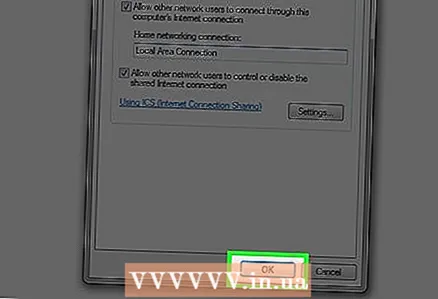 12 Click on OK. Now other users (devices) can connect to the created wireless access point.
Tips
- At the command prompt, enter netsh wlan stop hostednetworkto turn off the access point.
Warnings
- Creating a hotspot makes your internet connection public. Therefore, be careful when setting up a hotspot in crowded places such as an airport or coffee shop.


