Author:
Gregory Harris
Date Of Creation:
14 August 2021
Update Date:
1 July 2024
Content
- Steps
- Part 1 of 3: Brew the tea
- Part 2 of 3: Apply the tea to the paper
- Part 3 of 3: Dry the paper
- Tips
- Warnings
- What do you need
- Brew tea
- Apply tea to paper
- Dry the paper
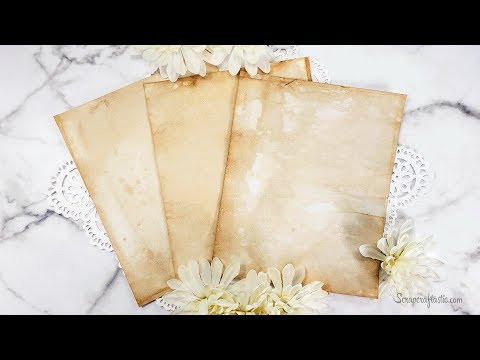
If you need to age the paper for something, you can easily do it with tea. Whether you want to use paper in a photo album, age an entire book, or make the right accessory for play, tea can make your paper look like it has survived for years. You can dampen the paper with tea bags to age it slightly, or soak it well in tea for a darker look. After tea treatment, you can air dry the paper or use the oven to give it an even more ancient look.
Steps
Part 1 of 3: Brew the tea
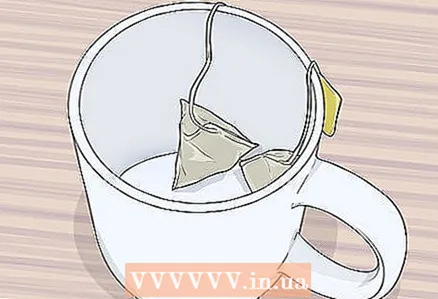 1 Place 1-2 tea bags in a heat-resistant mug. The amount of tea depends on how much you want to color the paper.In most cases, one tea bag is enough for one sheet of paper, and if you are going to apply only a few stains, one bag will be enough for several sheets. However, if you want to completely saturate the paper with tea and achieve a very dark color, you need 2 tea bags per leaf.
 - If you use a cup that is not designed for hot drinks, you may burn yourself painfully. Take a tea or coffee cup and do not use plastic or metal utensils that are not designed for boiling water.
- You can take any tea, although black tea is most often used for such purposes. You may not want to use green and red teas as they can give a different color and the paper will not look old.
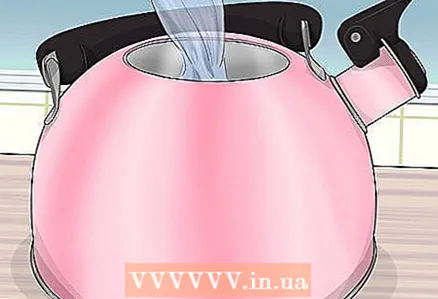 2 Pour water into a kettle or small saucepan. You will need enough water to fill the cup, which is about 250 milliliters, but note that water evaporates when boiling, so add a little more. If you are brewing tea in several mugs at the same time, add enough water to fill all the mugs.
 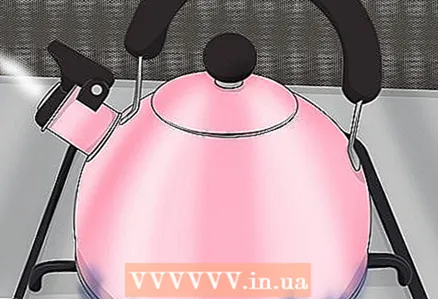 3 Place water on the stove and bring it to a boil. To properly brew tea bags, you need to use as hot water as possible. If you are using a saucepan, you will see gas bubbles on the surface of the water as it begins to boil. If you have a whistling kettle, you will hear a subtle whistle when the water boils.
 - Be very careful when handling boiling water. If the pan has a metal handle, grab it with an oven mitt or towel to avoid scalding yourself, and be careful not to spill the boiling water on your skin.
- If you are a child, ask an adult to boil water for you.
- You can also boil the water in the microwave if you like, but use a microwave-safe plate and place a non-metallic object such as an ice cream stick in it, or the water may overheat and explode.
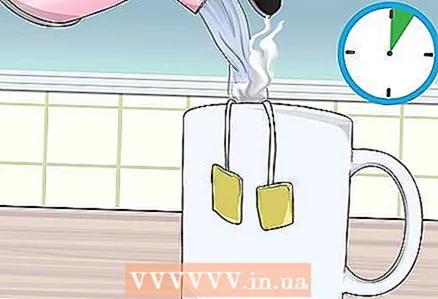 4 Pour boiling water over the tea bags and let it brew for about 5 minutes. Gently pour the boiling water into the mug to brew the tea. Do not pour water all the way to the rim of the mug to avoid spilling. Wait about 5 minutes for the tea to brew or until the water is the color you want.
 - Do not add about 3 to 5 centimeters of water to the rim of the mug.
- If you want a very dark color, brew 2 tea bags in one mug. If you need a lighter shade, 1 sachet will suffice.
Part 2 of 3: Apply the tea to the paper
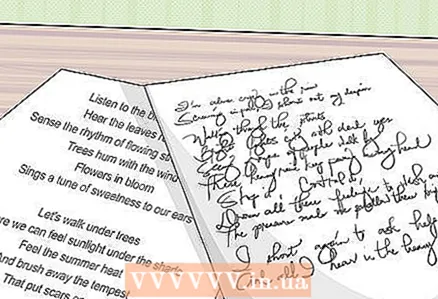 1 First, write or type on paper what you need. After you paint the paper, it cannot absorb the ink evenly, and handwritten or printed text will look sloppy and messy. It is best to write, print or draw everything in advance. Then wait until the ink is completely dry so that it doesn't bleed.
 - Any paper will work, from plain white printer paper to heavier landscape paper. The thicker the paper, the lighter the color will turn out and the longer it will take to dry.
- Some ink bleeds easily on wet paper, especially if you use a washable marker or inkjet printer. Better to use a laser printer or waterproof ink. If this is not possible, try not to rub the paper when you apply tea to it, so as to smudge the ink as little as possible.
- If you wish, you can wrinkle the paper slightly and then straighten it again. This will give the impression that the paper has been sitting for years.
- To make the paper look even more tattered and reminiscent of an ancient treasure map, tear off the edges.
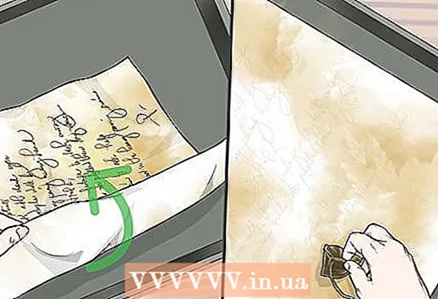
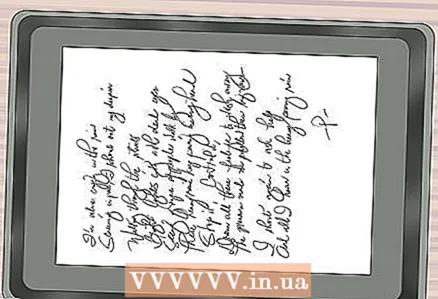 2 Place the paper on a baking sheet. Use a baking sheet with raised edges to avoid spilling the tea on the sides. The baking sheet should be slightly larger than the sheet of paper. For example, if you want to age a 22 x 28 cm sheet, a 23 x 33 cm baking sheet is perfect.
 - Tea can spill onto the table, so try to protect your work surface.
- If you don't have a suitable baking sheet, you can cover your work surface with plastic trash bags.
 3 Blot the paper with one tea bag. Take the bag from the top and press it against the paper. Continue pressing it against the paper until you have tea over the area you want. If the bag starts to dry out, dip it in a mug of water.
 - Depending on your desire, you can cover the whole leaf or part of it with tea. In any case, do not try to apply the tea perfectly evenly. A slightly uneven yellow color will give the paper a more natural look.
- Experiment with techniques for applying tea to paper. For example, you can use a brush, a straw, or even your fingers to achieve different effects.
 4 Flip the paper over and color the second side. Even if you are only going to show one side of the paper, it will look more natural if you apply the tea on both sides. It also makes the paper darker.
 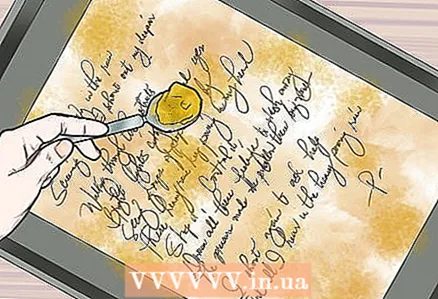 5 Sprinkle turmeric on the paper if you want it to be more yellow. While you can do without this step, a thin layer of turmeric will help enhance the yellowness the tea has created. Rub the turmeric with your fingers over the tea-dampened paper.
 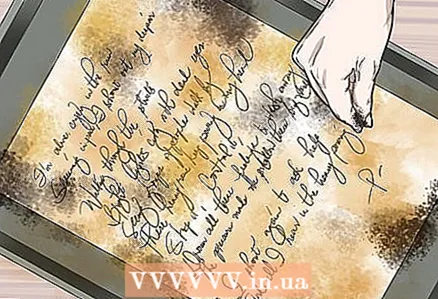 6 Add some coffee grounds to give the paper a brown tint. If you want to give the impression that the paper has been exposed to various elements over its long history, you can sprinkle some coffee grounds on its damp surface. Rub the coffee grounds over the damp paper to help it adhere better.
 - Tea leaves are also suitable for this, but they will give a less pronounced effect. You can even rip open one of the tea bags if you like.
- You can remove excess coffee grounds after the paper is dry.
 7 Remove excess tea with paper towels. There should be no puddles left on the paper and the baking sheet. This will dry the paper evenly and not curl too much in the oven.
Part 3 of 3: Dry the paper
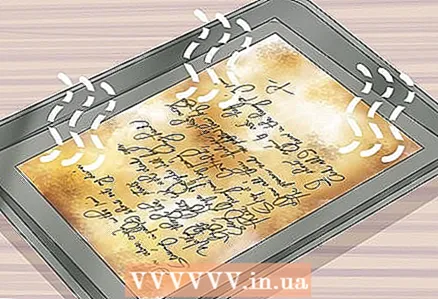 1 If you're not in a rush, let the paper air dry for 24 hours. Although it is quickest to dry the paper in the oven, it can be left to air dry if desired. Just place the paper in a well-ventilated area.
 - Do not dry the paper in direct sunlight, or it may become too brittle.
- Air dry the paper for about 24 hours.
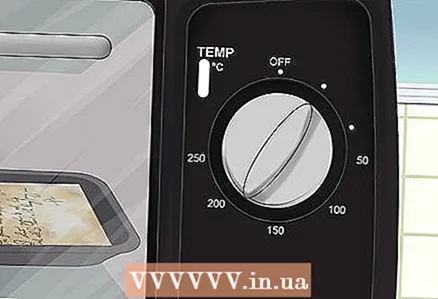 2 If you want to quickly dry the paper, preheat the oven to the lowest temperature. The oven dries quickly and you can finish everything in one day. However, do not dry the paper too quickly, or it will become brittle and may even char. To avoid this, set the oven to the lowest possible temperature.
 - In most ovens, the minimum temperature is around 90–100 ° C. If there is a “Warm up” mode, use it.
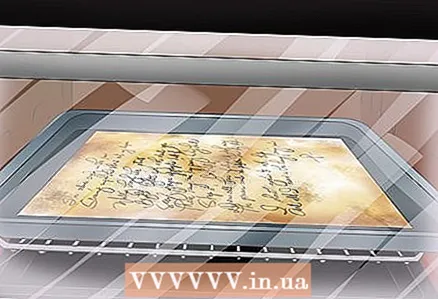 3 Dry the paper in the oven for about 5 minutes. At the lowest temperature, this time should be enough for all the tea to evaporate. Watch the paper constantly while it is in the oven as it may catch fire.
 - If you have used too much liquid or very thick paper, it may take a little longer.
- After the paper is dry, the edges will begin to curl.
- Use oven mitts to protect your hands when removing the baking sheet from the oven.
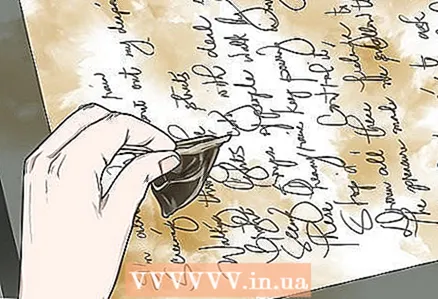
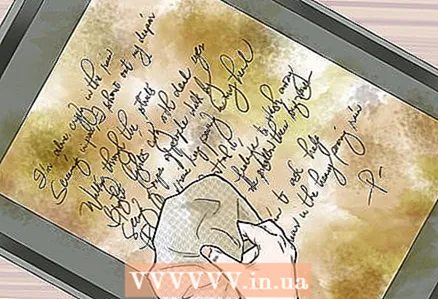
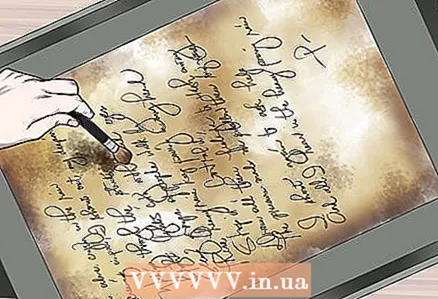 4 Brush off any deposits with a soft brush. This is not necessary if you used one tea only. However, if you added turmeric or coffee grounds at the end, you need to peel off the paper that has not absorbed and has settled on the surface. Take a soft brush and brush off any sediment from the paper.
 - If you don't have a brush, you can use a soft, dry cloth such as microfiber instead.
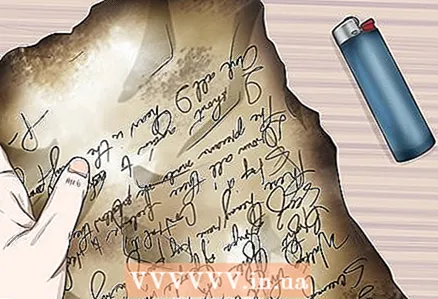 5 Ruffle the paper if it doesn't look old enough. For some purposes, simply giving the paper a yellow look is sufficient.However, if you want it to be more damaged, remember it, burn it in some places with fire, add more spots and tears.
 - For example, if you are creating an antique treasure map, you might wrinkle it up and gently burn the edges to make it look old and weathered.
- If you want to make holes in the paper, crumple it up and sprinkle it lightly with water, then scratch out small tears with your nails. Then let the paper dry.
Tips
- It is best to use tea bags for these purposes. However, if you only have loose leaf tea, this is fine: brew it in the same way as tea bags and apply to the paper with a sponge or brush. Since you are not going to drink the tea, there is no need to strain it to remove the leaves.
- If the paper is very curled after drying, place it between two heavy books overnight.
Warnings
- Do not leave paper unattended in the oven as it may catch fire.
What do you need
Brew tea
- 1-2 tea bags of any type per sheet of paper
- Kettle or saucepan
- Mug
Apply tea to paper
- Paper
- Turmeric (optional)
- Coffee grounds (optional)
- Baking tray or tray
- Brush or sponge (optional)
Dry the paper
- Oven
- Potholders


