Author:
Gregory Harris
Date Of Creation:
15 August 2021
Update Date:
1 July 2024

Content
- Steps
- Part 1 of 5: Preparing Your Natural Hair
- Part 2 of 5: Choose quality strands and a wig cap
- Part 3 of 5: Make a strand wig
- Part 4 of 5: Adjust your wig
- Part 5 of 5: Put on the wig
- Tips
- Warnings
- What do you need
Whether it's wanting to grow your hair or experimenting with a new look, learning the basics of wig weaving can come in handy in life. Natural hair care and the right wig are essential for a natural look. Make sure you have enough time to create the look you like, especially if this is your first time weaving strands into your hair.
Steps
Part 1 of 5: Preparing Your Natural Hair
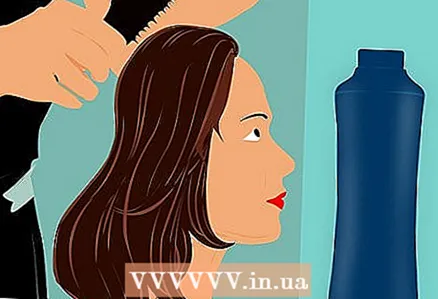
 1 Take care of your hair. Depending on your hair type, you may need a special series to improve and heal it. From natural oils like coconut to specialty products like hair mayonnaise and protein kits, there are great products at your disposal to keep your curls healthy.
 - Talk to a stylist or hair care professional about the best products that are right for you.
- If you do not trust your hair to the chemical components of the product, then there are natural essential oils and blends that keep the curls moisturized, such as lavender and rosemary oils.
 2 Braid your hair. Whether it's done by a professional or your own curled strands, divide your hair into six rows and braid your hair. Be sure to leave the front of your hair hanging loose. In particular, do not use hair along the temples and forehead when braiding.
  3 Curl and pin up the hair that is not in pigtails. Tie up the remaining hair or use a clip to pull it away from your face. Nourish your hair with a special product like Jamaican castor oil to moisturize and strengthen it. Let the wig show its benefits as you move on to creating the wig itself.
Part 2 of 5: Choose quality strands and a wig cap
 1 Shop online or at your local beauty and perfume store. When it comes to choosing the strands that work best for you, there are many options, depending on your budget and time frame. Whether it's curls, curls, or straight hair, talk to a hair care professional or consult a beauty and perfume store consultant for the most appropriate options. Synthetic hair strands are less expensive than natural hair strands.
 - Almost all synthetic hair looks unnatural. Since they are made from shiny plastic fibers, choose ones that look natural. Curly strands appear more natural than straight strands.
 2 Choose a hairstyle that suits your hair type. Some people have more curly and curly hair than others. Don't go for a wig with long, dull curls if you have incredibly shiny and curly hair.
 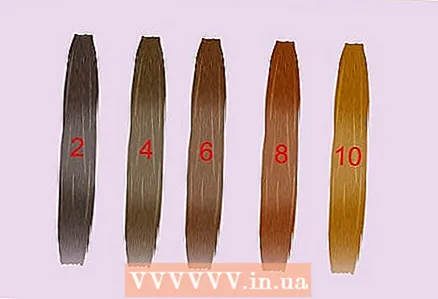 3 Pick a color that best matches your hair color. You can find strands in a wide variety of colors at the moment, so don't stop at ones that are completely different from your natural shade. Bunches, in which a gamut of dark or light strands plays, look more natural than plain ones.
  4 Decide on the size of your wig. One set of three tufts is enough for a full wig. Use two textures, natural and false, to cover the top of your head. But if you want to get larger curls or more volume, then choose the appropriate bundles of strands to complete the look.
 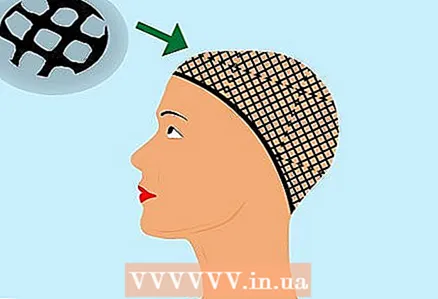 5 Choose a wig cap with a mesh lining. If you have sensitive or irritable skin, then it is recommended that you choose a breathable mesh-lined wig cap. Mesh is less likely to itch than plastic or synthetic liners. The mesh is also easier to manipulate and mask.
 - The breathable wig cap allows you to wash it and shortens the drying time. Find a soft, flexible plisse to prevent itching and irritation of the scalp and neck.
Part 3 of 5: Make a strand wig
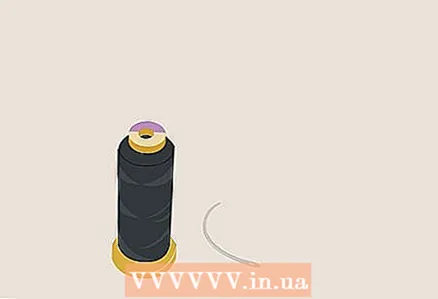
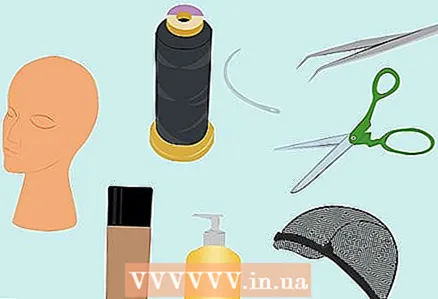 1 Collect all materials. Whether you borrow what you need from friends or buy the necessary items in a cosmetics and perfumery store, you will in any case need: a foam head for a wig, a stand for it, a cap for a wig, professional threads and needles for sewing on hair, scissors, tweezers, a base for a wig and hair care products. After calculating your budget, make sure you pick the best materials at an affordable price. You can search the Internet for used accessories to cut costs.
  2 Use a tape measure to measure the circumference of the head to be able to adjust the size of the wig relative to the result. Compare the circumference of your head and the foam head under the wig. The second measurement should be taken from the hairline to the very back of the head. If your head is larger than the wig head, then use wrapping tape and wrap it around the mannequin as many times as necessary to obtain the desired volume. Do the same from the hairline to the back of the head.
 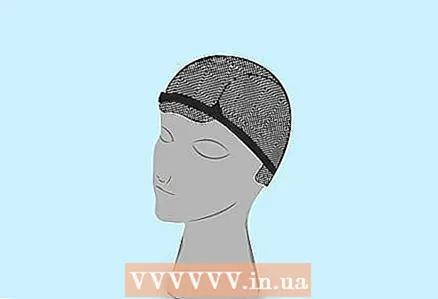 3 Place the wig cap over the mannequin's foam head. Use pins to secure it. Pin elastic tape along the front of your head, above the ears, and along the back of your head to create a domed appearance. Also, attach loose, overhanging elastic fasteners to keep them out of the way. Attach the styrofoam mannequin head to the wig stand.
 - Stretch the wig cap completely over the surface of the mannequin's head.
 4 Use a hemstitch to sew a row of strands through the wig cap. Place a weft of hair, namely small sections or tufts, over the wig cap. Thread the needle and sew a row or weft of hair through the wig cap. Pass the needle through the loop and form a secure stitch from the thread. This method allows the wig cap to be stitched.
 - Do not sew the rows of the strand, as this slows down the work and leads to hair loss after excessive wear.
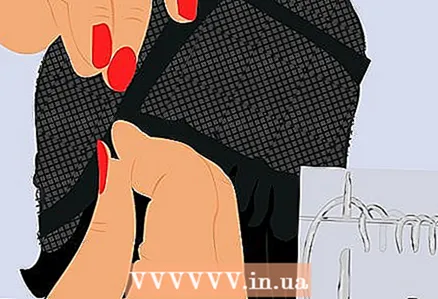
 5 Fold in the weft to start a new row of stitches to be sewn. The fold should go along the edge of the cap. Use needles to secure a new row of strands to hold it in place. Pass the needle and thread back over the hem of the cap and both wefts. Use the same overlock stitch twice on a small fold at the end of the row so that the fold is perfectly straight and snug against the edge of the beanie.
 - There should be nothing sticking out and unnecessary around the wig if you passed the overlock twice to secure the fold.
 6 Use your fingers to adjust the row spacing. Use 2 fingers to determine the distance between each row of hair that you are laying. As you get closer to the crown of your head for your wig, start closing the gaps between each row by using just one finger.
 - Use the fold as a guide to make the layers of the strand look like a wig together. Start stitching through the thickest part of the cap and work your way through the actual hair weft, which will surely secure your hair tightly and tightly.
 7 Finish the work with the sewn invisible part before embedding the last 2 bundles. Bring the bun from the forehead to the back of the head and sew all along to secure in place. Sew down the center of the styrofoam head from the front to the back of the head. Make sure you hide the stitching for sure and the rows are securely fastened. Use a regular stitch to hide the stitching nicely and secure it tightly to the wig cap with a vertical seam.
Part 4 of 5: Adjust your wig
 1 Cut off any rough edges. Whether it's uneven hair, odd tufts, or extra mesh on the lining, grab a pair of scissors and tweak your wig. Trim any excess hair mesh to prevent it from puckering when you put on your wig.
 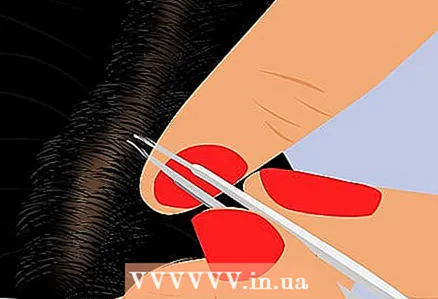 2 Use tweezers to enhance the appearance of the wig. Pluck off excess strands and strands to keep the wig tidy and create a smooth transition to your natural hair. Do not remove too many strands, otherwise it will look like you have sparse hair or bald patches on your head.
 - Create a natural look. Don't try to recreate a perfectly straight line, or it will look unnatural.
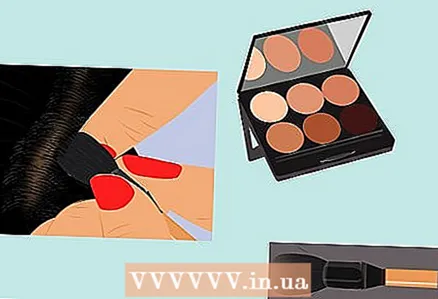 3 Use basic cosmetics suitable for styling your wigs to match your scalp. This may require trial and error, and the result will vary depending on the materials the wig is made from. The wig will not be the same shade as your actual skin color, so you will most likely need to use colors that are a couple of shades darker or lighter than you would normally use.
 - Feel free to experiment with different shades until the wig matches your skin tone and looks natural. Use your discretion when choosing the cosmetic products that you intend to apply to the wig. Keep in mind that it will take a long time for your wig to get the look you want.
 4 Remove shine with talcum powder. Add some talcum powder to the comb and run it over the wig. Brushing with talcum powder removes some of the shine from artificial hair. This will give the wig a more natural and decent look.
 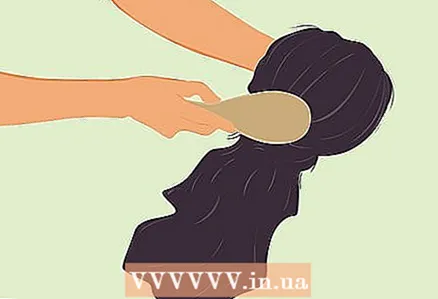 5 Add volume to your hair. Use your fingers to separate the curls from each other to add volume to the wig. For a natural look, the hair on a wig should not be loose. Give shape and depth by adding volume.
 - Use your hands daily to treat the wig with a tangle free product to help prevent tangling. Using a comb can pull out hair or damage your wig.
 6 Use a moisturizing lotion or water-based mousse for colored ends. Breathe life into your hair before adding strands, especially if it looks dry and matted. Do not use any oils, otherwise it will lead to sticking of the ends.
Part 5 of 5: Put on the wig
 1 Fix the wig firmly on your head. For maximum security, use a needle and thread to sew on the hair. If you are short on time, use thin hairpins. Hair strands are much more reliable than hairpins, which can fall out if you fiddle with curls or plan to engage in vigorous activity.
 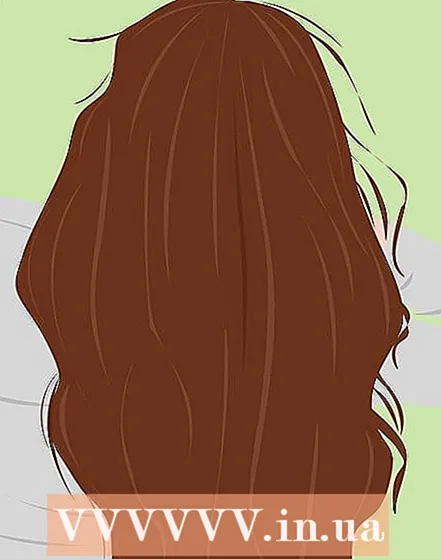 2 Match the wig properly with your hair. Slip the wig right behind your natural hairline and then attach it with threads to your braided hair at the middle, back of your head, the back of your head, and on both sides of your head. If you decide to do your hair, then in this case you will also need to fix a specific section of hair.
 - Depending on the time and budget, you may want to seek help from a hairdresser who can properly secure the wig to your head. Don't be discouraged if this is your first time trying it. Over time, you will gain experience in the art of securing the wig, and it will look natural on you.
 3 Detach your natural hair. When you've secured the fake head of hair to your natural hairline and are finally happy with how the wig sits on your head, braid the hair around the edges of your face that has been braided or held in with bobby pins.
 - Adjust your hair over a wig for a natural look. Check that the layering of the hair remains even over the entire surface of the head. Make sure your own hair has the same type of curl or curl as your wig.
Tips
- Be sure to remove your wig before bed. You don't want to damage it when you start tossing and turning and rolling from side to side. Synthetic fibers can easily lose their shape depending on the quality of the material.
- Braid your hair before going to bed if you want curls on your natural hair the next day.
- Fix the wig on the same areas of the head with each subsequent use.
- In order to extend the life of your wig, care for it as if it were your own hair.
Warnings
- When creating a wig, you need to calculate the time frame and budget.If this is your first try, then it will take a lot of time and practice for the wig to look as natural as possible.
What do you need
- Scissors
- Tweezers
- Wig base
- Needle and thread for hair
- Oil, moisturizing lotion and hair care product
- Wig stand
- Foam female head under the wig
- Wig cap


