Author:
Helen Garcia
Date Of Creation:
16 April 2021
Update Date:
1 July 2024

Content
The built-in microwave allows you to efficiently use the space in your kitchen by mounting it together with the stove, as well as integrating both lighting and ventilation in the structure of the microwave itself. If you are going to install the microwave oven in this way, then let it be better to have ventilation installed before that. If you do not, then this is a job for professionals - with your own installation, there is a risk of gas leakage from below and water flow from above.
Steps
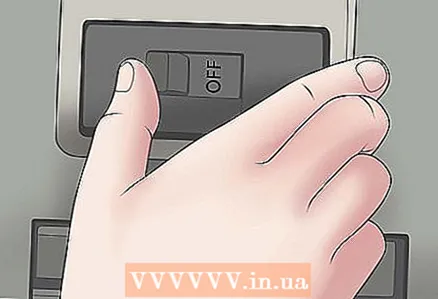 1 Turn off all electricity around the surrounding area and nearby outlets. This often means turning off everything in the kitchen - so make sure you finish all the kitchen work before starting.
 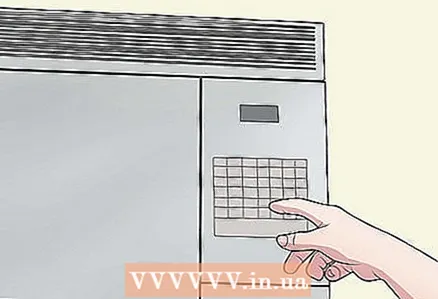 2 Check that there is no power supply to the hood by clicking on the button to turn it on. If it works, consider all wiring until you turn off all power successfully.
 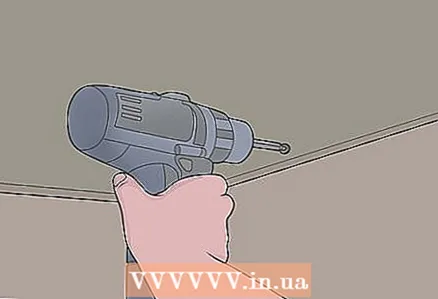 3 Locate the fixing screws in the existing hood. Unscrew them to remove the hood from the walls and ceiling.
 - From now on, it is best to have an assistant close at hand, as it will be very difficult for you to complete all these steps on your own.
 4 Remove the existing hood from the wall and cabinet. Locate the end caps and unscrew them to completely remove the hood.
 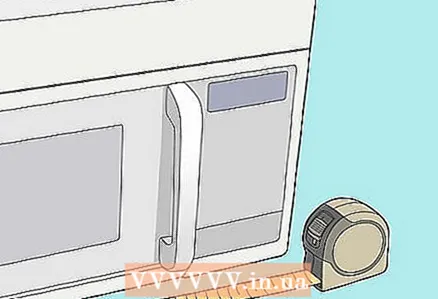 5 Measure the height and width of your microwave oven.
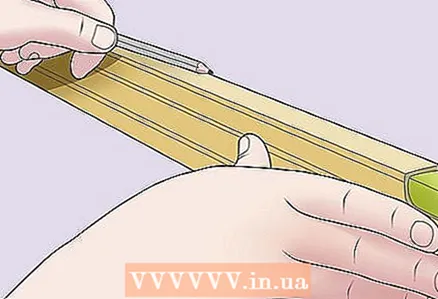 6 Mark a horizontal line on the wall at a distance from the cabinet so that the height of your microwave allows you to leave enough space above the stove, as indicated by the manufacturer. Mark on the wall the width of your microwave oven with two vertical lines where it will be installed.
  7 Find all the beams in the area where you marked the lines. Use a hidden material detector in the wall thickness to do this by guiding it along the wall and marking a point where the indicator light comes on.
  8 Attach the microwave mounting plate along the wall, positioning the mounting holes above the joists. Mark the location of the mounting holes by pushing the tip of a pencil through them to the wall.
  9 Drill pilot holes at each of your marks using a drill bit 3.1750 mm narrower than the diameter of the mounting screws supplied with your microwave oven.
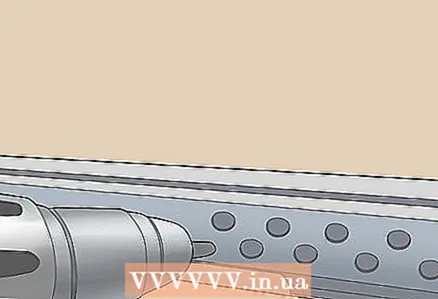 10 Reattach the mounting plate to the wall and secure it by screwing the mounting screws through the mounting holes straight into the pilot holes behind it.
 11 Attach the microwave to the mounting plate. Have a helper hold the microwave in the desired position while you attach it to the ventilation duct in the ceiling.
  12 Connect the microwave wires to the electrical wires that were used to connect to the hood. Secure them with the connecting insulating clamps.
 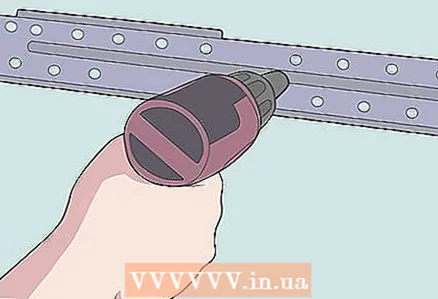 13 Attach the microwave to the mounting bracket using the hardware that came with the microwave.
 14 Turn on the power. Test the operation of the microwave, fan and lighting.
What do you need
- Screwdriver
- Measuring tape
- Level
- Pencil
- Detector of hidden materials in the thickness of walls
- Drill with drill and screwdriver blades
- Connecting insulating clamps


