Author:
Virginia Floyd
Date Of Creation:
12 August 2021
Update Date:
1 July 2024
Content
Composting is an efficient and environmentally friendly solution for converting household waste into beneficial soil fertilizer. The traditional composting method is to create a large waste pile in the open air. However, if this method is too unpleasant for you or too cumbersome, then you can consider various alternatives. One option is to dig a hole for this waste. This underground composting method, sometimes also called "composting trench", is a compact and neat way to organically decompose waste and enrich your soil.
Steps
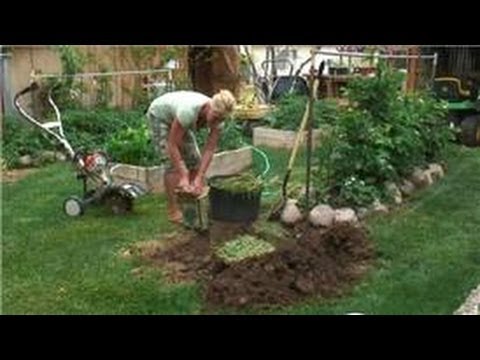
 1 Dig a waste pit. The hole should be about 1 foot (30 cm) deep. The area of the hole will be determined by the amount of organic matter that needs to be added. Keep in mind that the waste will be finely chopped and stacked 4 inches (10 cm) at the bottom of the hole.
 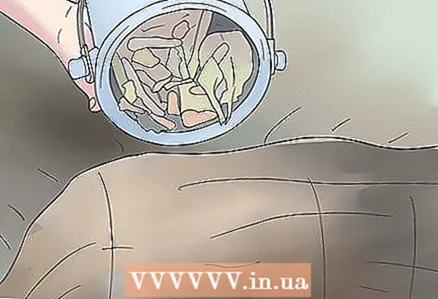 2 Finely chop the waste. Underground composting is slower than aboveground composting, so maximizing the surface area of your waste is key to speeding up the process. Household waste can be ripped apart, cut with a knife, or even shredded in a food processor. The grass can be chopped with a lawn mower. Aim for pieces no larger than 2 or 3 inches (5-8 cm).
  3 Add organic materials to the waste pit. Place your household waste and debris in the hole you dug about 4 inches (10 cm) deep. Make sure your carbon-rich waste (such as paper and dried leaves) is thoroughly mixed with your nitrogen-rich waste (such as vegetable waste and fresh cut grass), and you do not mix the underground heap.
 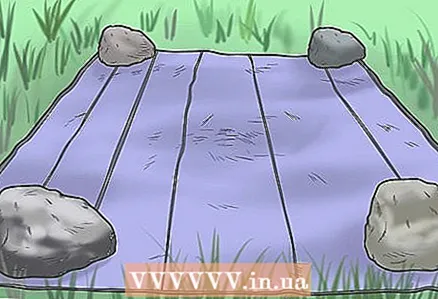 4 If you plan on adding more waste, place a board over the hole in the hole. If you want to be able to add waste to the pit at all times, cover it with a thin layer of soil or carbon-rich material. Then place a wooden plank over the hole so no one falls into it. Be careful not to add debris deeper than 4 inches (10 cm) as this will result in ineffective further interaction with the soil.
 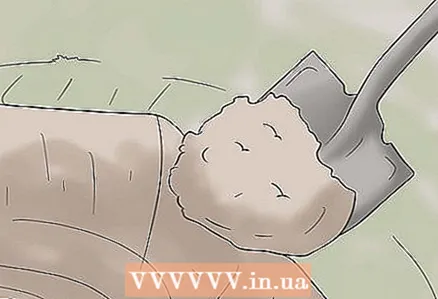 5 Cover the waste with soil. After you finish adding your organic materials to the hole, you can fill it with soil. Pour soil over the top of the debris, filling the hole until the ground is level again with the surrounding soil. Replenish the soil with turf or grass seed, if desired.
 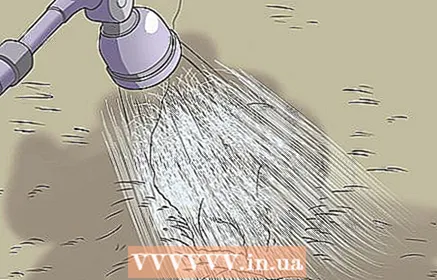 6 Keep the waste pit moist during decomposition. Underground waste decomposes slowly because it does not have access to large volumes of fresh oxygen. To speed up the decomposition process, provide the area in the pit with sufficient moisture. In dry weather, dampen the soil with a garden hose. Insufficient moisture will prevent germs from destroying your waste. If the soil area is kept sufficiently moist, then the underground debris should decompose completely within a year.
 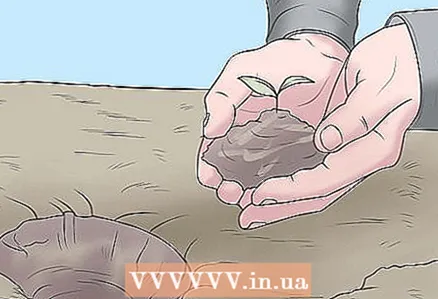 7 Plant the plants on top after decomposing. The main benefit of underground composting is that you don't have to take any extra steps to improve your yield and fertilize your soil. The job is done for you, as the decomposed waste will naturally act on its own. The best way to take advantage of this method is to plant your plants directly over an area where waste has decomposed. Each season, you can choose a different place to grow the plant and dig these waste pits; you will provide fertile soil for your plants.
Tips
- If you are not sure that your underground waste is not completely biodegradable, then dig a small test hole in the hole. When the decomposition is complete, the individual food waste should not be recognizable and should turn into fertile, black humus.
Warnings
- Never add animal products to the pit. Meat, bones, dairy products, and fats can turn rancid and pose a health hazard, as well as attract rodents and unwanted insect pests.
What do you need
- Shovel or front shovel of an excavator
- Organic waste
- Knife
- Food processor
- Lawn mower
- Wooden plank
- garden hose
- Bamboo (for ventilation)


")