Author:
Sara Rhodes
Date Of Creation:
9 February 2021
Update Date:
1 July 2024

Content
- Steps
- Method 1 of 6: Formatting your resume title page
- Method 2 of 6: Create a fax cover sheet
- Method 3 of 6: Formatting the title page for a manuscript
- Method 4 of 6: Using the APA Style for the Cover Page
- Method 5 of 6: Using the MLA Style for the Cover Page
- Method 6 of 6: Chicago Style for Cover Page
Many professional and academic documents require a cover page, but the information required for a cover page may vary depending on the nature of the document. Some cover pages, such as the one you send with your resume, can actually be regarded as full letters. Others that are used for academic papers are indeed title pages. For cover letters, it is recommended that you use a standard font such as Times New Roman, at least 12 point in size.
Steps
Method 1 of 6: Formatting your resume title page
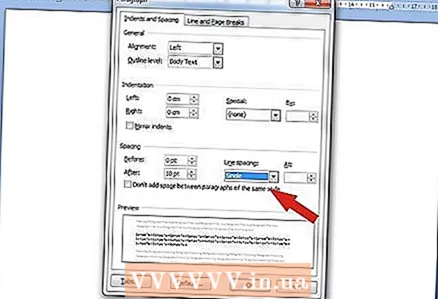 1 Try to fit the letter on one page. The title page for a resume should be formatted like a professional letter, which is only one page long. The document should be left justified, single-spaced, with a blank line separating each paragraph.
 - It is generally recommended to use standard 2.5 cm margins, but in some cases the margins may be 1.8 cm if they are the same on all sides.
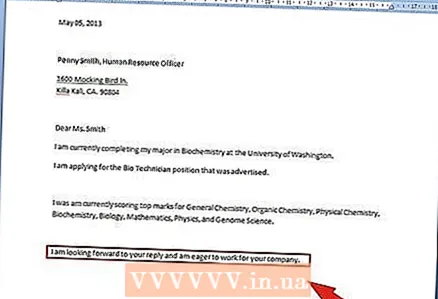
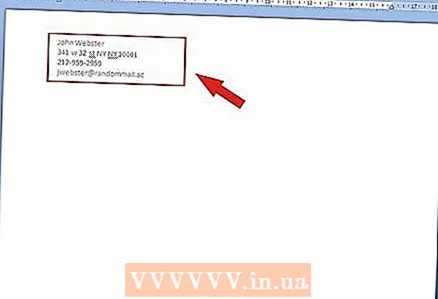
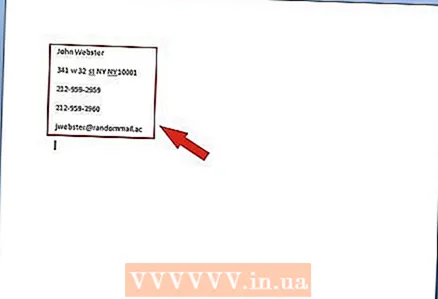 2 In the upper left corner, enter your contact information. Each of these items should be placed on a separate line. Be sure to include your full name, address, telephone number, and email address. This will help potential employers get in touch with you.
 - If you have a fax, you need to enter it under the phone number and above the email address.
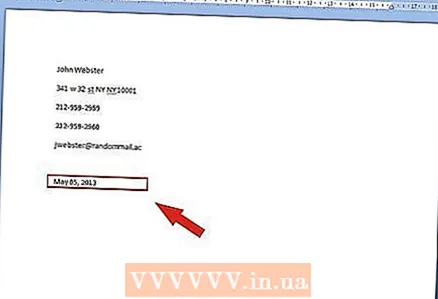 3 Write today's date under your contact information. The date must be written in the format “day, month, year”. If you are abroad, such as the United States, use the month, day, year format, and in China and Japan, use the year, month, day format.
 - On the territory of the Russian Federation, there are two formats for writing dates: numeric and verbal and numeric. Write the full name of the month or abbreviate it by writing only its number. For example, you can write: "01.01.2001", or you can write "January 1, 2001".
- Leave a blank line above and below the date.
 4 Enter the name and address of the recipient. Indicate the specific contact person to whom you are sending your resume (and, if necessary, his academic title or degree) and the address of the organization. The recipient's name and title should be entered on one line and separated by a comma. Enter your company name under your contact name and place your company address below.
 - Please note that you do not need to provide an email address, telephone number or company fax number.
- If you do not know the name of a specific recipient, please skip this information.
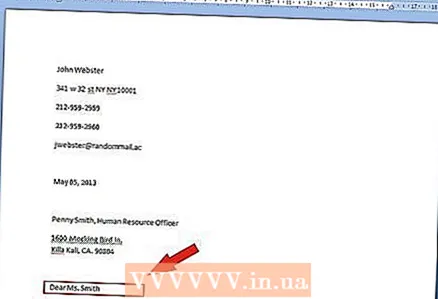 5 Contact the recipient by name and patronymic. In an official letter, it is better to use the address "respected". If possible, it's best to address your letter to a specific person. But when you don't know his name, you can send a letter to the Dear Human Resources Manager, Dear Human Resources Specialist, or Dear Selection Committee.
 - Even if you know the gender of the recipient, you should not use the words "master", "citizen" and so on. Just write: "Dear Valentin Dmitrievich" or "Dear Lyudmila Konstantinovna".
- If you do not know the gender of the recipient, you can skip the appeal or just write "Dear ... (position)".
- Leave a blank line before and after contacting the recipient.
 6 Write an introduction. The introduction should be short and contain basic and important information. If you have previously contacted this organization or its representative, please let us know in your introduction.
 - If you are a student, please indicate the university where you are studying and your specialty.
- Indicate which position you are applying for, as well as how and where you found out about the vacancy.
- You can also mention the name of someone from the organization's specialists or scientists with whom you are familiar and who would help you to get the sympathy of the addressee.
 7 Highlight your skills in one to three paragraphs. Structure your letter to explain why you are a good fit for the position and why you can be a good employee. Be sure to write some specific examples that support your point.
 - Review job advertisements and mark any specific qualities requested by employers. Describe these qualities on your resume.
- List any special projects, awards, or achievements that are clearly related to the skill set requested by the employer.
 8 Briefly complete the letter. Write a short concluding paragraph expressing your commitment to the position. At this stage, you can also request an interview or indicate that you intend to contact the reader in a few weeks.
 - You can also provide your phone number and email address, but this is optional as this information is included in the header.
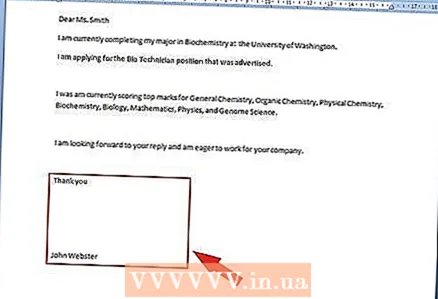 9 Complete the letter formally. The polite ending of the letter can be the phrase "Thank you" or "Sincerely", then add your name four lines below the conclusion. In the interval between the conclusion and the name, put your signature.
 - It is better to sign official documents with a black pen.
Method 2 of 6: Create a fax cover sheet
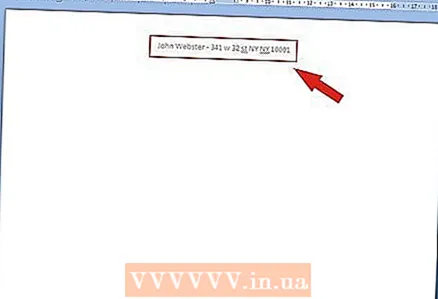 1 Include your name and address in the header. Use an official letterhead if you have one. Otherwise, enter your full name and address of your company or institution at the top of the title page.
 - Please include your phone number and fax number under your name and address.
- Leave at least two blank lines below this heading and the rest of the document.
 2 Format the title page in two columns. Contact information for you and the recipient should be listed at the top of the page. These columns must be double spaced.
 - It would be nice to save the document as a template for future fax use, as the general format will remain the same.
- The main thing is that the information on the title page is clear and legible.
 3 Enter the date, recipient's name, sender's name, and sender's phone number in the left column. Separate each piece of information with a capital letter and a colon after.
 - Sign the date ("DATE"), the recipient's name is "FOR", your name is "FROM", the phone number is "TELEPHONE".
- Remember that in most European countries the format is "day, month, year", while in the United States they write in the format "month, day, year".
 4 Enter the time, fax numbers and your email address in the right column. Separate each piece of information with a capital letter and a colon after.
 - Enter the time ("TIME"), the recipient's fax number is "FAX", the fax number is "FAX", the e-mail address is "EMAIL".
- Please note that the recipient's name and fax number must be on the same horizontal line. Likewise, your name and fax number should be on a separate horizontal line.
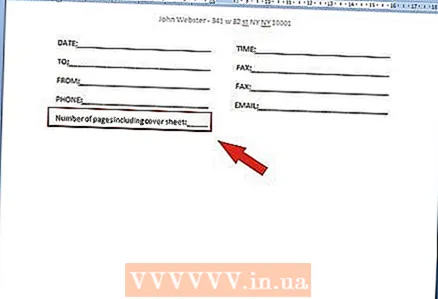 5 Indicate the number of pages. Immediately below the information in the left column, enter the number of pages contained in the fax. Enter this information something like this: "Number of pages including title page: .."
 - Note that this line does not need to be capitalized.
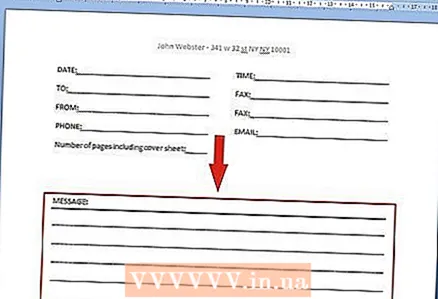 6 Include a short message. The message should not contain more than a few lines. Be clear about which document is being faxed and why you are faxing it to the recipient.
 - If you have previously contacted the recipient regarding this fax, please include this information.
- Enter a message labeled "MESSAGE:".
- Below the message, ask the recipient to confirm receipt of the document by calling the specified phone number or using the specified email address.
 7 Please write a disclaimer if necessary. If the information is confidential, clearly state that it is for the intended recipient's use only and that use by another recipient is strictly prohibited. Include a request to be contacted if the full fax is not received, or if the fax is sent in error, that is, to the wrong fax number.
 - Specific privacy rules for the transmission of protected information may vary. If you work for a healthcare provider, you may need to follow additional guidelines to protect client privacy.
Method 3 of 6: Formatting the title page for a manuscript
 1 Enter your contact information. Enter your name, address, phone number and email address in the upper left corner of the cover page. While you can include the title of your manuscript on the title page, it is a separate document from the title page.
 - Use your real name. If you are submitting a manuscript under a pseudonym, you can include your real name under it. You can write an alias in this format: "AKA" (Also Known As - "also known by the name ...") or this: (alias: John Doe).
- If you are submitting your work for the purpose of anonymous review, you must include your contact information on the cover letter and remove your name and contact information on the title page.
 2 Indicate the number of words. The approximate word count should be placed in the upper right corner. If you are writing a work that will be judged strictly on length (word count), make sure you follow these guidelines, otherwise your work will be automatically disqualified.
 - It is not necessary to specify the exact number of words.For example, if your manuscript is 63,472 words, round up to 63,000 or 63,500.
- State the number of words using "Approximately ______ words."
 3 Write the title of your manuscript. In the center of the page, enter the full title of the manuscript. Keep in mind that the title should not be longer than one line.
 - It is common practice to write the name in capital letters, but it is not necessary.
- There is no need to underline, italicize, or bold your heading.
 4 End with the name of the author. In the line below the title, enter the name under which you want to publish. This could be your real name or a nickname.
 - You don't need to supplement your work with a copyright notice, as your work is automatically protected.
- Never link, staple, or join the pages of a manuscript. Your cover letter, like other pages of the manuscript, should be loosely assembled and placed in an envelope or box.
Method 4 of 6: Using the APA Style for the Cover Page
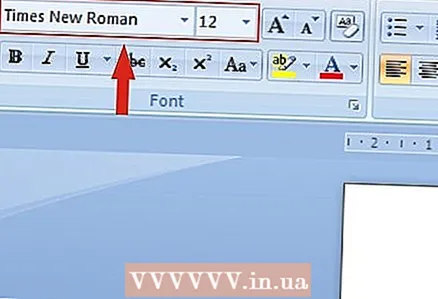 1 Use a standard font and margins. Unless otherwise specified, your title page should be in Times New Roman 12-pt, double-spaced. Use a standard (2.5 cm) margin on all sides of the cover sheet.
 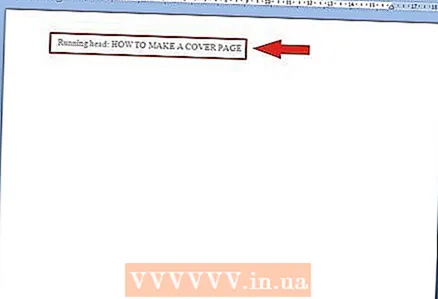 2 Make a header and footer in the upper left corner. A footer is a heading that will be found on every page of your article. Your footer should include the abbreviated form of the title.
 - Enter a header with the words "header and footer". Enter the name after the colon.
- The footer itself must be capitalized.
- Header and footer must not exceed 50 characters, including spaces and punctuation marks.
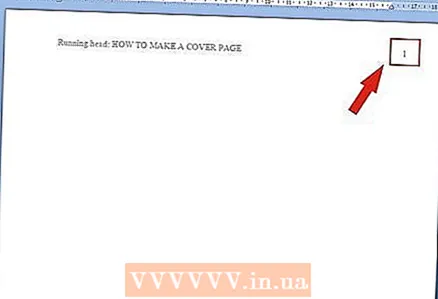 3 Insert the page number in the upper right corner. Since this is the first page of your manuscript, the page number will be "1". The numbers should be standard (Arabic), not Roman.
 - The page number and footer must be evenly aligned horizontally.
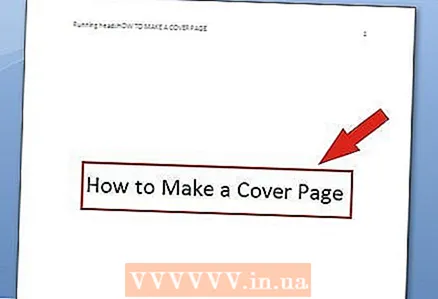 4 Center the title. The heading should be about one third from the top of the page. Typically, the heading is located about 5 cm below the heading line.
 - Major words should start with a capital letter, but not minor ones. For example: "How to make a title page."
- Don't italicize, bold, or underline your heading.
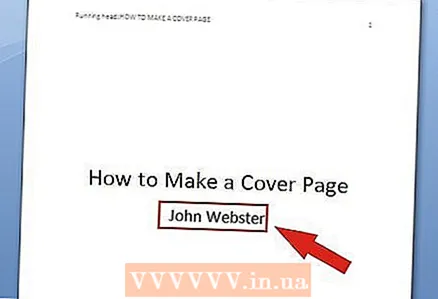 5 Please include your name below the heading. In the line immediately below the heading, enter your first name, patronymic and last name. If other students participated in your study or essay, their names must also be included. Separate each name with a comma.
 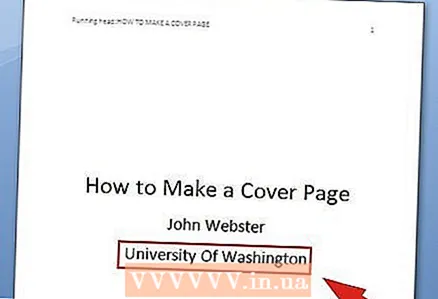 6 Include the name of the institution. In the line under your name, indicate the institution to which you are linked. Capitalize the first letter of each basic word.
 - For example, if you are submitting a document for classes at Peoples' Friendship University of Russia, you must include it in the line below the author's name (your name and the names of your co-authors).
- Consult your academic advisor or other mentor for additional guidance on this matter.
Method 5 of 6: Using the MLA Style for the Cover Page
- 1 Use a standard font and standard margins. Use 12-pt Times New Roman font and 2-centimeter margins on all sides, center alignment.
- Please be aware that MLA cover pages are the exception rather than the standard, but some supervisors ask for them.
 2 Center the title. The heading should be about one third from the top of the page. All primary words should start with a capital letter, but not minor ones. For example: "How to make a title page." If you have a subheading, then place it below the heading.
 - Do not bold or italicize or underline the heading or subheading.
 3 Enter your full name. Skip a few lines below the heading and be sure to include your first and last name. If other people have collaborated with you, include their names.
 - Your name should be written in the same font and size as the other words on the title page.
- Do not try to use a "nice" or "strong" font for any part of the title page, as the professors do not pay attention to this.
 4 Indicate the recipient of your work. Under your name, write your instructor's name, subject title, and date. Each of these elements must be specified on a separate line. Make sure each line is double spaced.
 - Indicate your professor ("Academic Supervisor" or "Professor" if he has any scientific title and high position). If you cannot indicate a scientific title for one reason or another (for example, "Doctor of Medical Sciences"), you should indicate at least the position (for example, "Head of the Department, Gnatenko V.A.").
- Please include the course name and number.
Method 6 of 6: Chicago Style for Cover Page
- 1 Use a standard font and standard margins. Most teachers prefer students to use 2.5 cm margins on all sides and Times New Roman 12 pt. The cover page should be centered.
- In Chicago style, the title pages are the same.
- Your professor may have other requirements. Make sure you use the formatting your supervisor prefers.
 2 First, provide a title. Your headline should be about one third from the top of the page and centered.
 - Major words should start with a capital letter, but not minor ones. For example: "How to make a title page."
- Alternatively, some style guides suggest that the heading should be in all caps.
- Do not underline, italicize, or bold your heading.
- If you have subheadings, put a colon after the title and write the subheadings on the next line.
 3 Write your full name. Skip a few lines below the heading and be sure to include your first and last name. If other people have collaborated with you, include their names.
 - Your name should be placed in the lower third of the page.
- Use the same font and size that you used throughout the title page.
 4 List subject, supervisor or instructor and date in the last section. Note that the last section must be double-spaced, and each of these items must be on a separate line.
 - Enter the name and number of the course.
- Indicate the full name of the teacher and his academic title or position. For example, "Doctor of Medical Sciences Gnatenko V.A." or “Professor VA Gnatenko”, “Head of the Department VA Gnatenko”.

")

