Author:
Laura McKinney
Date Of Creation:
3 August 2021
Update Date:
1 July 2024
Content
The ability to print the job over the wireless connection can be extremely helpful. Most newer printers can connect directly to a wireless network, allowing you to send commands to the printer from any computer on the network. You can also do it from an Android or iOS device. Usually, though, you'll have to do a bit of configuration to use this feature.
Steps
Part 1 of 3: Connecting the printer
Place the printer within range of the wireless router. Most modern printers have a wireless function, allowing setup to be done without connecting to any computer. The printer will have to be within range of the wireless router to be able to connect to it.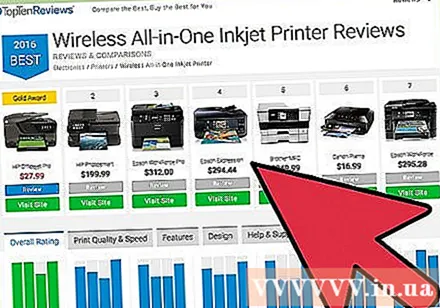
- If the printer is not capable of receiving Wi-Fi, proceed to the next section.
Turn on the printer. You will connect the printer to the wireless network, so there is no need to connect to the computer first.
Connect the printer to the wireless network. This procedure is not consistent across different printers. You need to know your Wi-Fi network name (SSID) and password.
- Many printers connect to the wireless network through an inbuilt menu system. Refer to the printer's instruction manual to determine its exact location. If you can't find the documentation, you can almost always download a PDF version of it from the manufacturer's Support site.
- If the printer and router both support the WPS push-to-connect function, just press the WPS button on the printer and press the WPS button on the router within two minutes. The connection will be established automatically.
- With some older wireless printers, you may need to connect to the computer first to set up the wireless connection. This is common in printers that do not have a control menu but still support wireless networks. Connect the printer to the computer via a USB port and use the software supplied with the product to establish its wireless connection. After you have configured the wireless network settings on the printer, you can disconnect the computer and place it in the desired location.
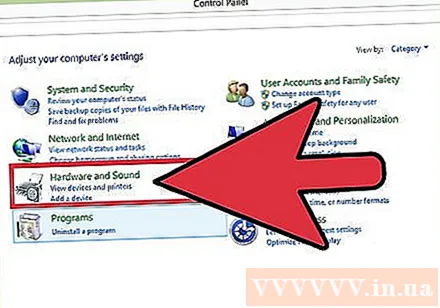
Add the printer to your Windows computer. Once the printer is networked, you can add it to your computer to start sending print jobs.- Open the Control Panel from the Start menu with Windows 7 or earlier, or by right-clicking on the Windows button with Windows 8 or later.
- Select "View devices and printers" or "Devices and Printers".
- Click the "Add a printer" button at the top of the window.
- Select your printer from the list. It may take a while for the list to appear.
- Install drivers if required. Windows has the ability to automatically install drivers for most popular printers.
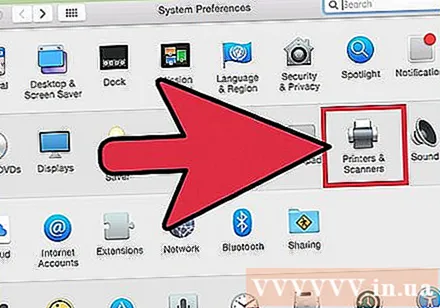
Add the printer to the Mac. If you are using a Mac and the printer is Mac-compatible, you can add it to your computer after connecting to the network.- Click the Apple menu and select "System Preferences".
- Click the "Print & Scan" button.
- Click the "+" button at the bottom of the list of printers.
- Select the new printer from the list and follow the prompts to install any necessary software.
Send the print job to the wireless printer. Once the printer has been added to the operating system, you can select it from any program that allows printing. The new printer will appear in the "Printer" selection menu when you proceed to print a photo or document.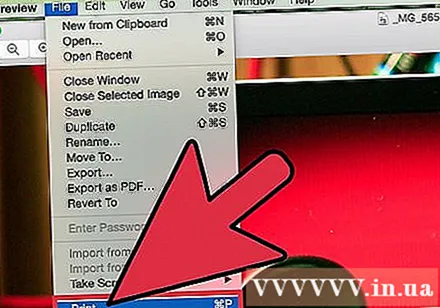
- If the new printer does not appear on that menu, make sure the computer is connected to the same network as the printer. Restarting the printer sometimes solves the problem.
Part 2 of 3: Print from Android device
Set up the printer so that it is connected to a network or a computer. Before you can print a job from your Android device, the printer needs to be properly connected to your home network using the steps outlined above or directly connected to your computer via a USB port. You'll add the printer to Google Cloud Print, a service that allows you to send print jobs from anywhere and any application that supports printing.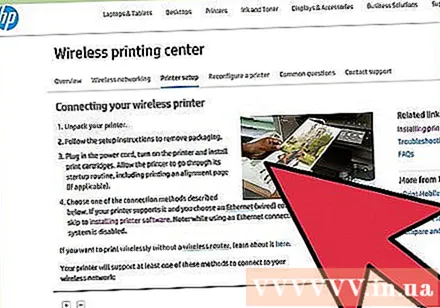
- If your printer supports Google Cloud Print then this is quite simple. If the printer doesn't support Google Cloud Print, you'll have to add it from the computer it's installed on.
Connect your network printer directly to Google Cloud Print (if possible). If your printer supports Google Cloud Print, you can set up a direct connection from the printer to your Google account with the control menu available on the printer. Follow the prompts to sign in to your Google account.Make sure it's the same Google account associated with your Android device.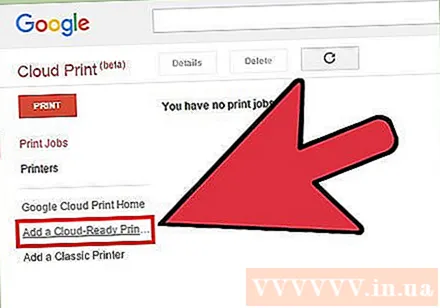
- If you can connect your printer to Google Cloud Print, go to step 9.
- If the printer doesn't support Google Cloud Print, you can still add it through your computer.
If the printer doesn't support Google Cloud Print, open Chrome on your computer. At this point, you will have to manually add it to your Google account. The downside is that the printer will only accept the command when you open and log into the computer.
- To set up the Google Cloud Print service, you need Chrome.
- Make sure that the computer you are using is already able to access the printer over the network. Follow the steps above to set up the connection between your computer and your wireless printer in advance.
Click the Chrome menu button and select "Settings" (Setting). A new card will open.
Click the "Show advanced settings" link and scroll down. You will find the Google Cloud Print section at the bottom of the menu.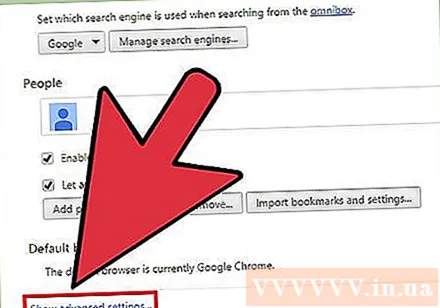
Click the "Manage" button to open the Google Cloud Print manager. A list of your currently connected devices will appear.
- If asked to sign in, make sure it's the Google account associated with your Android device.
Click "Add printers" and you'll see a list of printers connected to your computer. It is possible that the list will contain multiple devices, especially if the printer is also a fax machine.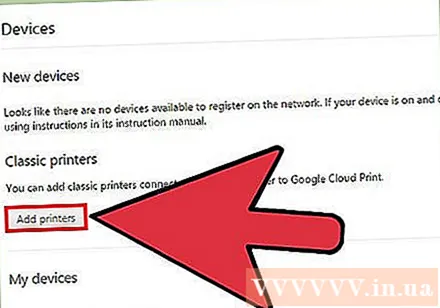
Make sure your device is selected and clicked "Add printers" (Add printer). This will add your printer to your Google Cloud Print account.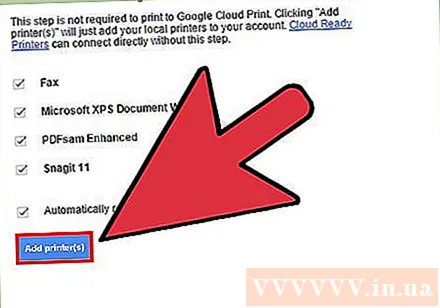
Download the Cloud Print app on your Android device. As a result, you will be able to access the Google Cloud Print app's printer from your Android device. It can be downloaded for free from the Google App Store.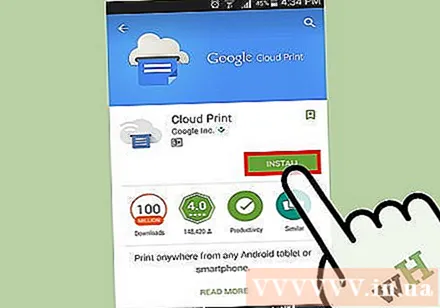
Print from your Android app. Once Google Cloud Print is set up, you can send print jobs to the Google Cloud Print app's printer from any print-enabled application. Each application has different levels of support for printing. However, most document reader, email and photo viewer applications support printing. You can usually access the "Print" option from the ⋮ menu.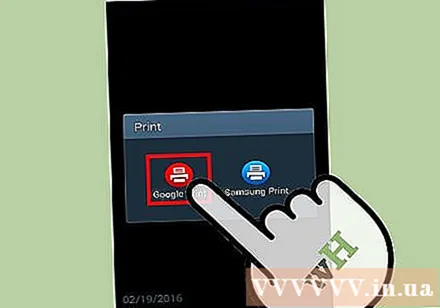
- If you added a printer from Chrome, to use it, you'll have to open the computer you used to operate it with, and open or let Chrome run in the background. If the printer can connect directly to Google Cloud Print, just turn on the printer and let it connect to the network.
Part 3 of 3: Print from iPhone or iPad
Determines if your printer supports the AirPrint feature. This feature allows iOS devices to send print jobs directly to the printer. Look for the AirPrint logo on the printer or the AirPrint option in its Settings menu.
- Some printers need to be configured to use AirPrint.
- The AirPrint printer needs to be on the same network as your iOS device. Follow the steps at the beginning of this article to network the printer.
- If your printer doesn't support AirPrint, you'll need to find a print app from the printer manufacturer.
Open the application that you want to use to print the job. Not all apps support AirPrint, but most apps from Apple and other major developers do. You will most likely find the AirPrint option in applications that read documents, email and view photos.
Open the item you want to print. Use the app to open the document, picture, or email that you want to print.
Click the "Share" button and select "AirPrint". This will allow you to choose your AirPrint printer.
- Make sure you are on the same network as the printer.
Select the printer and press "Print" (Print). The file will be sent to the AirPrint printer. advertisement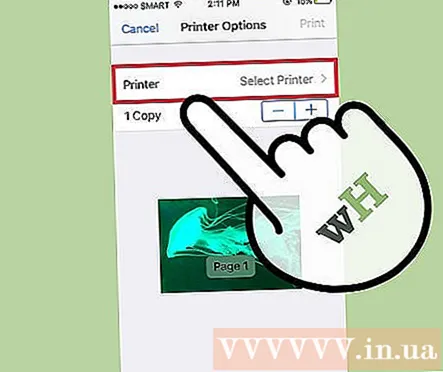
")


