Author:
Laura McKinney
Date Of Creation:
3 August 2021
Update Date:
1 July 2024
Content
HTML (HyperText Markup Language) is a basic language for building web pages. It was created as an easy and flexible coding language. Nearly every website on the Internet is developed with some form of this code (ColdFusion, XML, XSLT). HTML is easy to grasp, but you can keep learning about it for a long time if you are interested in its comprehensive functionality. To add color and fun to your website, you can learn basic CSS as soon as you get used to a basic HTML page.
Steps
Part 1 of 4: Building a Document
Open a simple text editor. NotePad is a good option and can be downloaded for free. You can write HTML with most text editors, but more complex software with automatic formatting capabilities can make it difficult to organize your HTML page.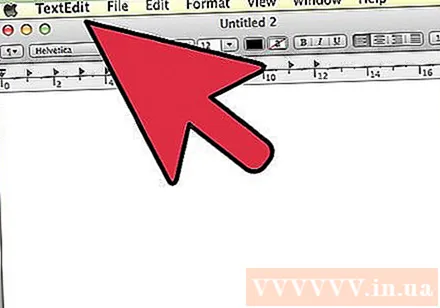
- Do not use TextEdit, as it usually saves the file in a format your browser may not recognize as HTML.
- You can also use an online HTML editor. Dedicated HTML editing programs are not recommended for beginners.
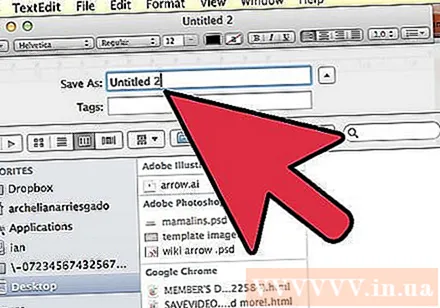
Save a file as a web page. Choose File → Save As in the menu at the top. Change the file format to "Web Page", ".html" or ".htm". Save the file where you can find it easily.- There is no difference between these three options.
Open the file in a browser. Double click on the file, and it will automatically open as a blank web page in your browser. Alternatively, you can open a browser, like Firefox or Internet Explorer, and then use File → Open File to select the document.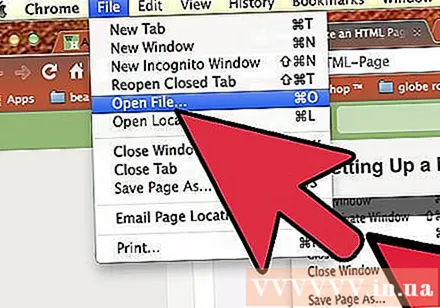
- This website is not online. It is viewable only on your computer.
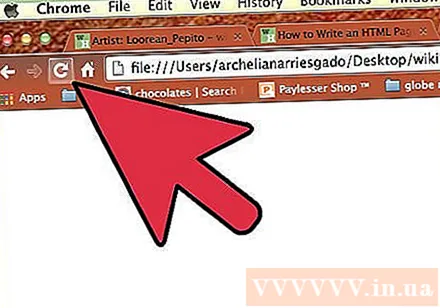
Refresh the web page and see the changes made. Type the following into your blank document: Hello. Save the document. Refresh the blank web page in your browser, and you should see the word "Hello" in bold appear at the top of the page. Whenever you want to test your new HTML during this tutorial, save the .htm document, and then refresh your browser window to see how HTML is compiled.- If you see the words ""and"'' Appears in your browser, the file has not been compiled correctly in HTML. Try a different text editor or a different browser.
Learn the tags. HTML commands are written in "tags" that tell the browser how to compile and display your web page. They are always written inside single quotes, and are not displayed on the web page as you used them in the example above: - is a "starting card" or "opening card". Anything written after this tag will be defined as "bold" (bold on a web page).
- is an "end tag" or "closing tag", which you can distinguish by the symbol / sign. It denotes the end of bold text. Most (not all) tags need an end tag to function, so be sure to include it.
Build your document. Delete everything in your HTML document. Start over with the following text, exactly as it was written (minus the bullet points). This HTML code tells the browser what type of HTML you are using, and that all of your HTML will be placed inside the tags. and .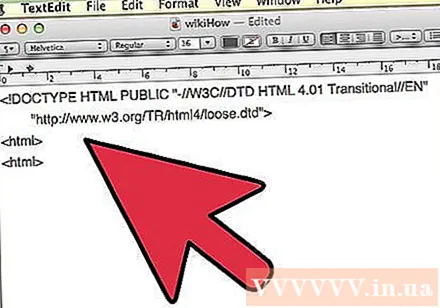
Add the head (head) and body tags. HTML documents are divided into two parts. The "top" section is for special information, like the title of the page. The "body" section contains the main content of the page. Add both of these sections to your document, and remember to include the end tags. The newly added text is bold: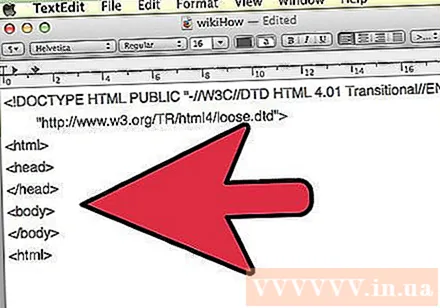
Give your page a title. Most of the cards in the head section are unimportant to learn with a beginner. The title tag is easy to use, though, and will determine what shows up as the name of the browser window or on the browser tab. Place your headline start and end tags inside the head tags, and write any headers you like between those tags: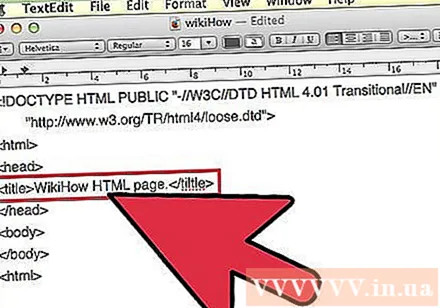
My first HTML page.
Part 2 of 4: Text Formatting
Add text to your body. For this section, we will only work with body tags. The other text will still be in your document, but we'll save space by not repeating it in this tutorial. Write whatever you want between the cards and , and it will appear as the first content on your page. For example: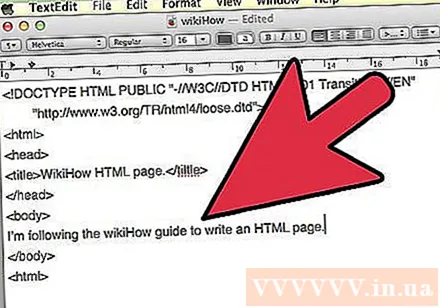
- I followed wikiHow instructions to write an HTML page.
Add headings for the text. Organize your page with heading tags, which instruct the browser to display text between them in a larger font size. These tags are also used by search engines and other tools to determine what your website is about and how it is organized.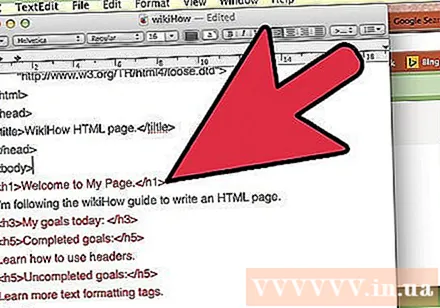
is the largest heading, and you can create smaller headings up to
. Try them out on your page:Welcome to my page.
- I followed wikiHow instructions to write an HTML page.
My goal today:
Completed goals:
- Learn how to use headings.
Uncompleted goals:
- Learn more text formatting tags.
Learn more text formatting tags. You've already seen the "strong" tag, but there are plenty of other ways to format your text. Try these tags, or with multiple tags at once for the same text string. Remember to add ending tags in the back!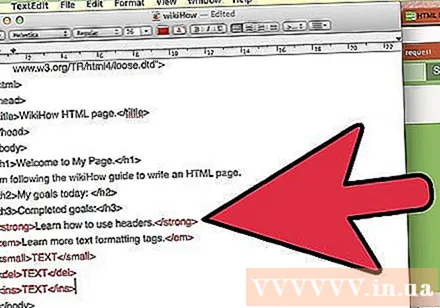
- Important text, displayed in bold in the browser.
- Emphasized text, displayed in italics in the browser.
- Text a bit smaller than usual. This text will automatically resize if used in a heading.
Text is no longer relevant, displayed with a body dash.- Text is inserted later than other documents, displayed with underlines.
Organize text on your page. You may have noticed that pressing the "enter" key is not enough for the text to show up on another line. These tags can help you create paragraphs and line breaks, or arrange your text in other ways: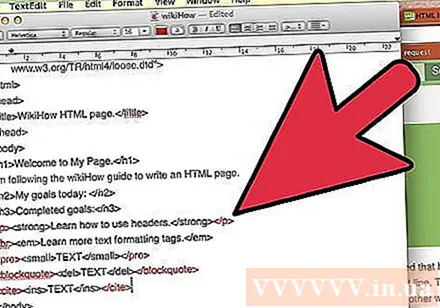
Short for "paragraph," this tag will keep all the text between these tags in a paragraph, and separate it from the text above and below it.
This tag will generate line breaks. Don't add an end tag to it, as it doesn't interfere with any other content. Use this tag in poems or address lines, not paragraphs.If you need to display text very accurately, this tag sets the text inside it to a fixed width font (each letter has the same width), and allows you to create intervals Blanks and line breaks as you like for regular editing instead of tags.
This tag defines the type of text that is quoted from a source.
You can describe the source later with cite card.
Add invisible caption text. Comment tags are not displayed on the web page. They allow you to annotate yourself into the HTML document without affecting the content. Don't add an end tag.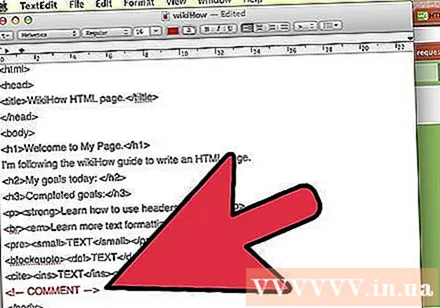
- The cards that go alone without ending tags are called "empty tags."
Combine them together. The best way to remember these tags is to use them on your website. Here is an example using the cards in the steps you have learned so far. Try to predict how they'll show up in the browser, then copy them over to your document and find out. advertisement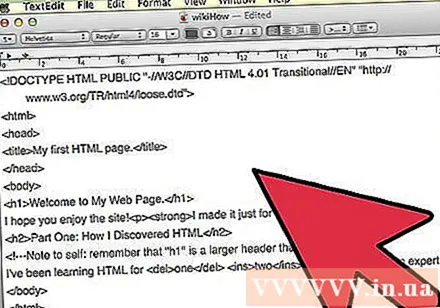
Part 3 of 4: Adding Links and Images
Learn about attributes. Tags can have additional information written inside them, called attributes. These attributes are represented by additional words within the tags themselves, in the form property name = "specific value". For example, any HTML tag can have the title attribute: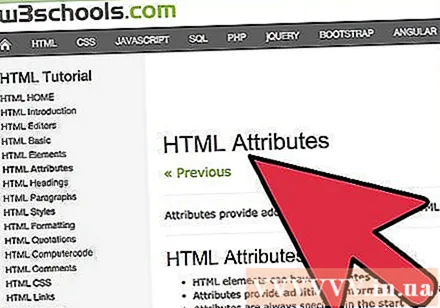
The introduction paragraph is here.
Title the paragraph "Introduction," which will appear when you hover over the paragraph on the web page.
Links to other websites. Use of cards to create a hyperlink to any other web page. Insert the URL of the web page to link to using the href attribute. Here's an example that links to the web page you're reading: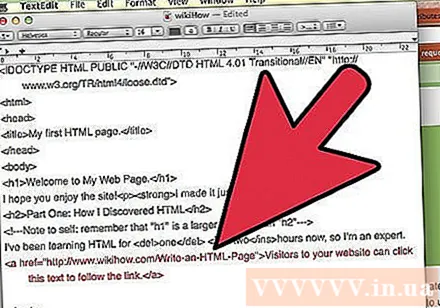
Add an id attribute to the tag. Another attribute that any HTML tag can use is the "id" element. In any card, write id = "vidu" or use any name that contains no spaces. It does not produce any visible effect, but we will use it in the next step.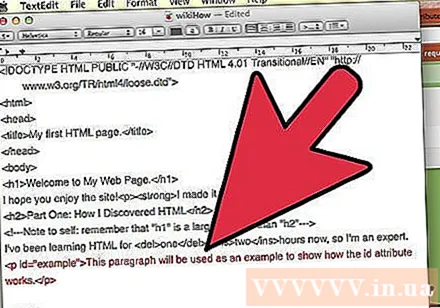
- For example, add the following to your document:
This paragraph is used as an example to describe how the id attribute works.
- For example, add the following to your document:
Link to an element with a certain id. Now we can use the hyperlink tag, , to link to another location on the same page. Instead of a URL, we'll use the # symbol, followed by the id value we want to link to. For example, This text will link to the text with the id "vidu."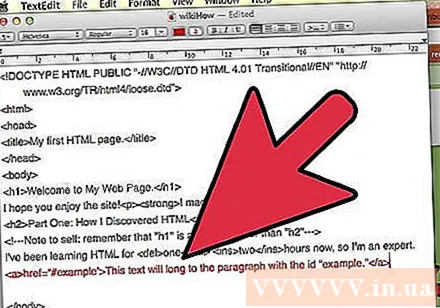
- All HTML values are case sensitive. "#VIDU" and "#vidu" will both link to the same location.
- If your page is short enough to display the entire page at once, you probably won't notice anything happening when you click the link in your browser. Resize the window until the scroll bar appears, and then try again.
Add photos. Card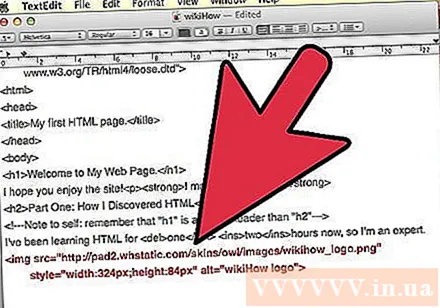
is an empty tag, meaning no end tag is needed. All the information the browser needs to display the image is added using attributes. Here's an example to display the wikiHow logo, with a description for each attribute behind:

- Properties src = "" tells the browser where the photo is. (Note that posting a photo from someone else's site is considered inappropriate - and the photo will disappear when the page is no longer active.)
- Properties style = "" It can do many things, but most importantly it is used to set the width and height of an image in pixels. (You can also use the separate attributes width = "" and height = "" instead, but this can lead to weird resizing problems if you use CSS.)
- Properties alt = "" is a brief description of the image that the user will see if the image failed to load. This is considered a requirement, as it is used for screen readers for website visitors who are blind.
Part 4 of 4: Learn More Adding and Getting Your Website Online
Confirm your HTML. HTML validation checks for errors in your code. If your site is not displaying correctly, validation can help you find the error that is causing the problem. It can also teach you more about HTML by determining that the code looks good on display, but it is no longer recommended because of new updates in the HTML standard. Using invalid HTML does not render your site useless, but may cause problems or display unstable on different browsers.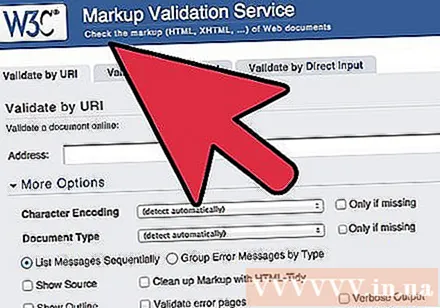
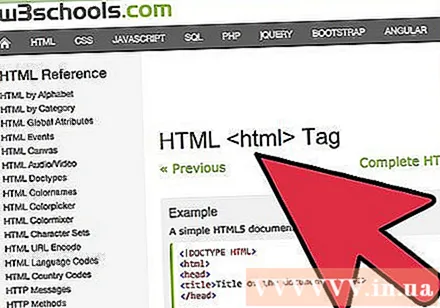
- Try a free online validation service from W3C, or search for another HTML 5 validation tool online.
Learn more tags and attributes. There are many other HTML tags and attributes, and many places to learn them: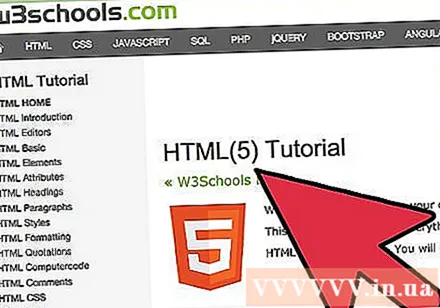
- Try w3schools and HTML Dog for more tutorials and complete lists of tags.
- Find a web page that you like the way it looks, then use your browser's "View Page Source" function to get the HTML code yourself. Copy it into your document and study how it works.
- Read other articles and learn about how to create tables in HTML, use meta tags to increase your chances of being found by search engines, or use a division. set an area on the page) and span (used to specify the style of the text element) to help style through CSS.
Get your website online. Choose a service to host your website, and then you can upload as many HTML pages as you want to your personal web domain. To do this, you will need to use FTP upload software, but many web rental services offer this service too.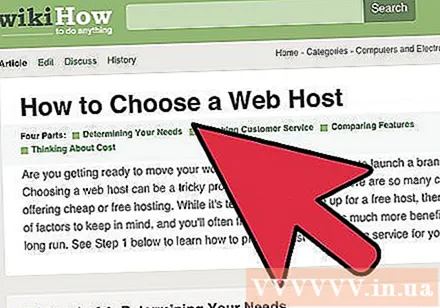
- When linking to pages or images that are directly on your site, you will need to use the full address. For example, if your domain name is www.chuyengiahtmlsieudang.com, then the text is in these tags will link to "www.chuyengiahtmlsieudang.com/nhatky/thuhai.html"
Add styles with CSS. If your HTML page looks a bit monotonous, try learning the basics of CSS to add colors, different fonts, and better control over where elements are placed. Linking a CSS "stylesheet" to an HTML page will allow you to make drastic changes on the fly, automatically adjusting the style of all text within a given tag. You can play around with the basic formatting layer a bit here, or dig in more with a more detailed tutorial in HTML Dog's CSS Tutorial.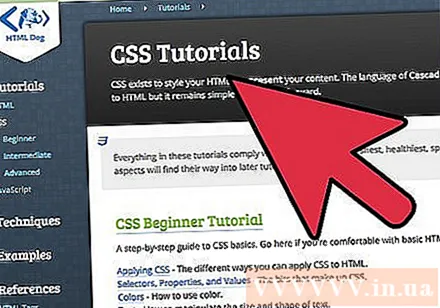
Add JavaScript to your website. JavaScript is a programming language used to add a lot of functionality to your HTML pages. The JavaScript commands are inserted between the start and end tags , and can be used to add interactive buttons, calculate math problems, and more. Find out more in the w3c examples. advertisement
Advice
- The doctype declaration (Document Type Declaration used) used in this tutorial is "loose HTML 4.0.1 transitional" (HTML 4.0.1 not tight transition), an easy format. for novices to use. Use () an alternative to having the browser compile it in a strict HTML 5 format, which is the recommended (though less commonly used) standard style.
Warning
- The purpose of HTML is to keep content in a global format. It has no control over the presentation of your website, such as the background color and the exact placement of the elements. While there are still tags that allow you to do this, it's a good idea to use CSS to create a more controllable and consistent website.
What you need
- A simple text editor, like NotePad or TextEdit
- A web browser, such as Internet Explorer or Mozilla Firefox
- (Optional) An HTML editor such as Adobe Dreamweaver, Aptana Studio, or Microsoft Expression Web


