Author:
William Ramirez
Date Of Creation:
18 September 2021
Update Date:
1 July 2024

Content
- Steps
- Method 1 of 3: Using nail polish
- Method 2 of 3: Using glue
- Method 3 of 3: Using fire
- What do you need
Synthetic and natural fabric ribbons often unravel at the edges. You can extend the life of any ribbon by cutting the edges diagonally and applying nail polish or glue to them, or by melting the edges of the ribbon with fire.
Steps
Method 1 of 3: Using nail polish
 1 Get some sharp fabric scissors. The sharper the scissors, the better the cut will be.
  2 Measure the length of the tape. Cut the edges of the ribbon at a 45 degree angle, or in a "V" shape.
 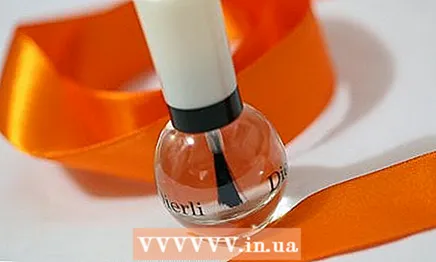 3 Buy clear nail polish. Use a tried and tested high quality brand to keep the varnish lasting and lasting.
 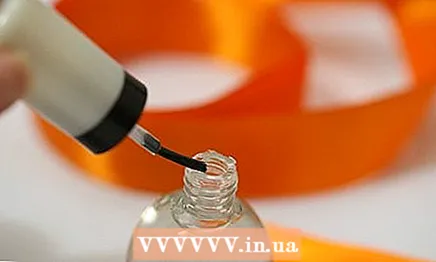 4 Dip the brush into the varnish. Excess varnish can be removed from the brush by wiping it over the neck of the bottle.
 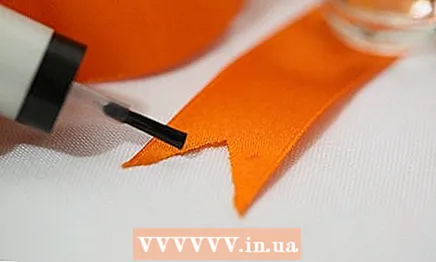 5 Apply a thin layer of varnish to the edges of the ribbon. You can either hold the ribbon in your free hand or lay it on a straight surface and work one side first and then the other.
 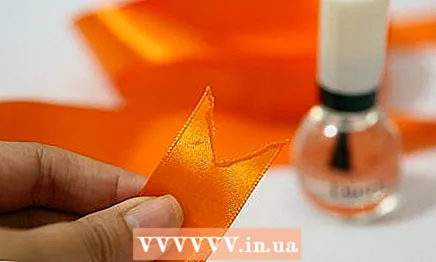 6 Lift the tape off the surface to prevent it from sticking.
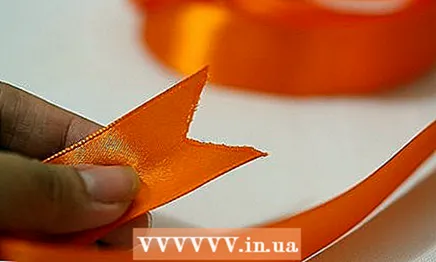 7 Apply a second coat of nail polish for more effect. Try not to leave a thick layer of varnish on the tape or step over its edges. If the varnish layer is too thick, the tape may darken and look wet.
 - For best results, test the varnish on a separate piece of tape to make sure it won't ruin the fabric when applied.
Method 2 of 3: Using glue
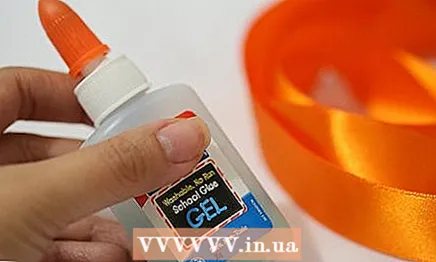 1 Buy a special anti-blooming liquid or spray from a craft store or online. If you plan on washing your ribbons frequently, this is the best option. If you can't find a special liquid, buy regular clear glue.
 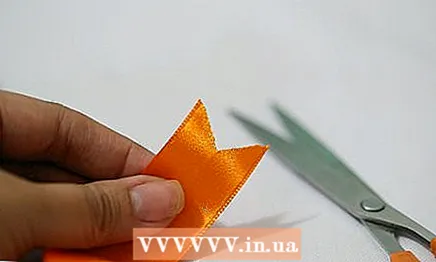 2 Cut the edges of the ribbon at a 45-degree angle or "V" shape.
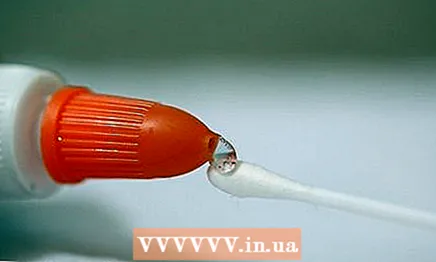 3 Squeeze out a small amount of glue or special liquid.
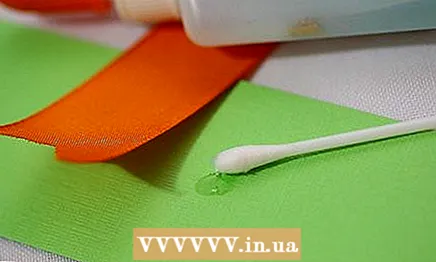 4 Dip a cotton swab into the glue. To get rid of excess liquid, run your wand over a paper towel.
 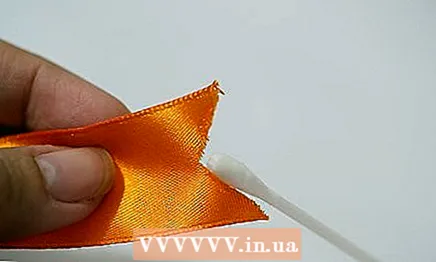 5 Run a Q-tip along each end of the ribbon on both sides.
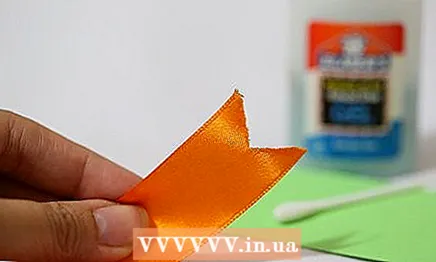 6 Keep the ribbon hanging until the glue dries so that the ribbon does not stick to anything. You can also hang it from a clothesline.
Method 3 of 3: Using fire
 1 Make sure your ribbon is made of synthetic fabric. Most of the satin and grosgrain ribbons available in stores are synthetic. Matting and cotton ribbons must not be melted.
 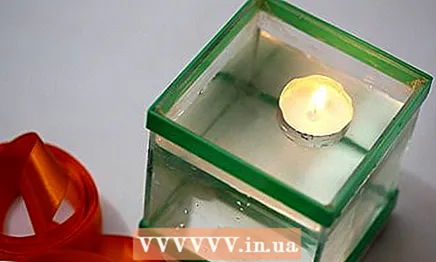 2 Light a candle near a sink or bucket of water. If the ribbon starts to burn, you can immediately throw it into the water. Open the window.
  3 Cut the edges of the ribbon at a 45-degree or "V" shape.
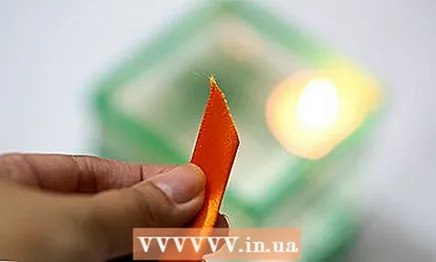 4 Take the edge of the ribbon between your thumb and forefinger. Try to hold the ribbon in such a way that the edge is secured in one position, but your fingers are as far away from the edge of the ribbon as possible.
 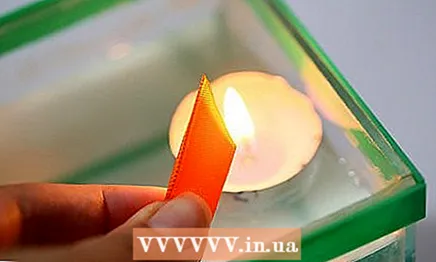 5 Bring the edge of the tape to a fire. In most cases, this is enough to melt the edges; there is no need to dip the tape into the fire itself. Move the tape across the fire with quick but steady strokes.
 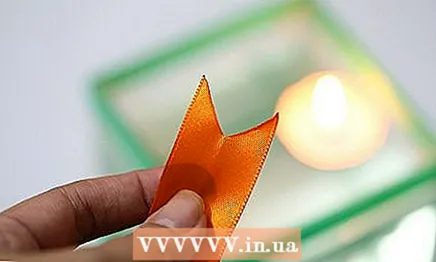 6 Hold the ribbon in your hand to cool it down. Check if it has cooled down by quickly running your fingers along the edge of the tape after 30 seconds. The melted edges of the tape should be firm to the touch.
 - If the edges are not hardened, repeat the entire procedure one more time.
What do you need
- Ribbon
- Fabric scissors
- Nail polish
- Anti-blooming special liquid or spray
- Transparent glue
- Cotton swab
- Clothesline
- Candle
- Water


