Author:
Joan Hall
Date Of Creation:
6 July 2021
Update Date:
1 July 2024

Content
Toy chests of all price categories, sizes and shapes are widely available in stores. However, no chest is more prized than a handmade one. You can complete this task with simple hand and power tools in 4-6 hours. Use fiberboard or plywood and follow the steps below.
Steps
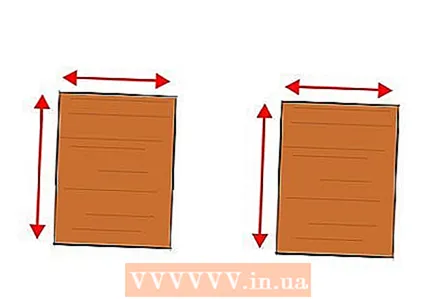
 1 Draw a sketch of the chest on paper. Mark the shape and size of the chest you want to build. Add a list of equipment and cutting tools to the toy chest details in the sketch.
  2 Buy the supplies and equipment you need from a hardware store.
- The list of materials will include 19mm MDF or plywood, matching hinges and (if using # 8 MDF, 3.8mm) flat head star screws or (for plywood) 3.8cm square head screw ...
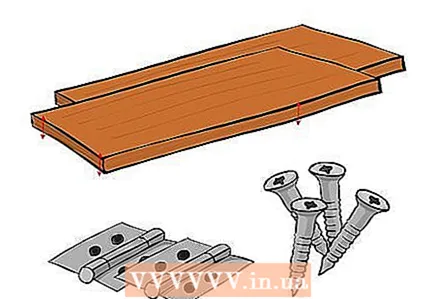
- Ask your hardware store to cut the sheet to the approximate dimensions you need for the lid, bottom, front, back, and sides.
- The list of materials will include 19mm MDF or plywood, matching hinges and (if using # 8 MDF, 3.8mm) flat head star screws or (for plywood) 3.8cm square head screw ...
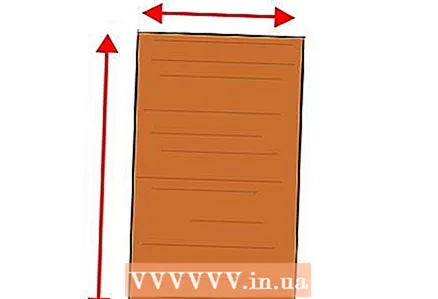
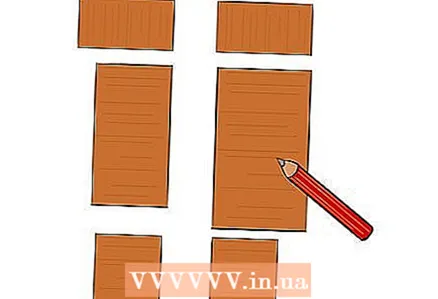
 3 Using a square and a pencil, mark the parts you need to cut on the fiberboard or plywood.
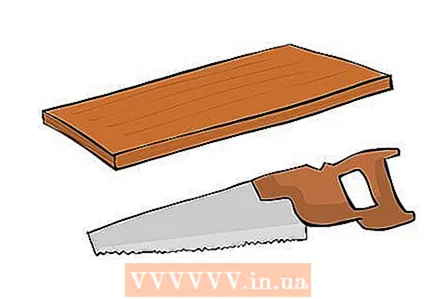
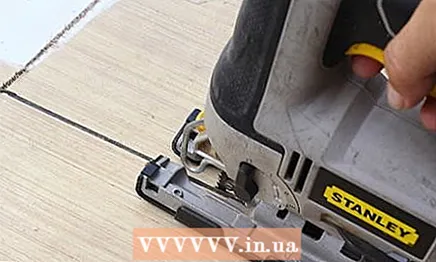 4 Cut the fiberboard or plywood to size with a circular saw.
- It will be two pieces measuring 45.7 x 91.44 cm for the front and back.

- You will need 1 piece measuring 41.9 x 87.6 cm for the bottom.

- Use one 48.3 x 94 cm piece for the lid.
- The sides will be made from 2 pieces, cut to size 44.5 X 41.9 cm.
- Before cutting, mark the parts by lightly pressing with a pencil to mark where each part will go.
- It will be two pieces measuring 45.7 x 91.44 cm for the front and back.
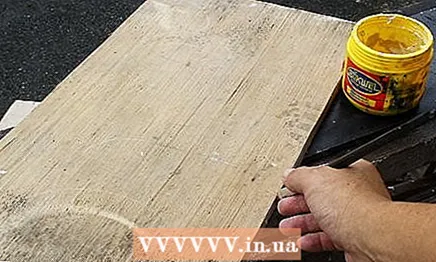 5 Begin assembling by applying adhesive to the front and back edges of the bottom.
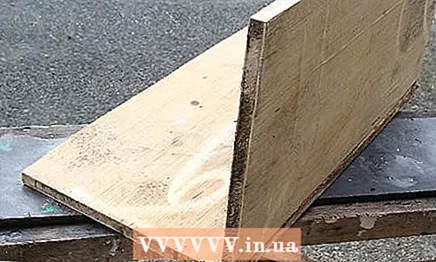 6 Clamp each piece in 70 cm bar clamps to hold it in place during the screwing process.
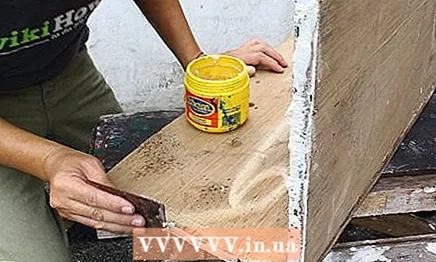 7 Apply glue to each side and bottom of the two side pieces.
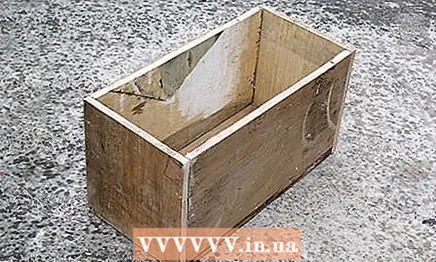 8 Attach all of these pieces to each other using bar clamps to hold them while screwing the front, back and bottom pieces to the sides.
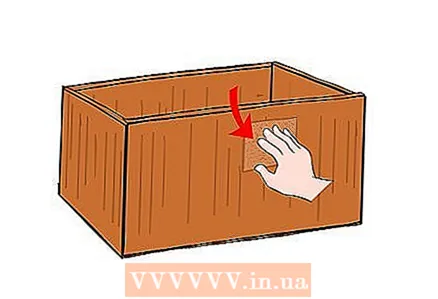
 9 Use a soft cloth to wipe off any glue that has squeezed out of the seams.
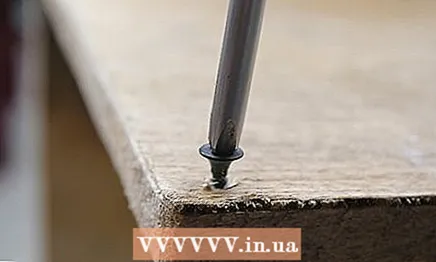 10 Make sure you sink the heads of all the screws under the surface of the boards.
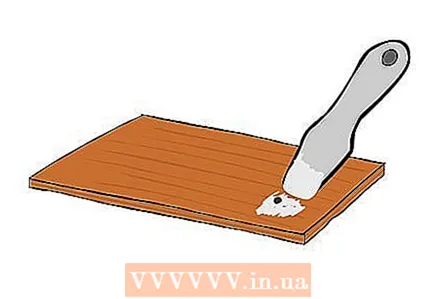
- Fill all recessed screw holes with paintable wood putty.
- Once dry, sand the chest to prepare for painting.
- Fill all recessed screw holes with paintable wood putty.
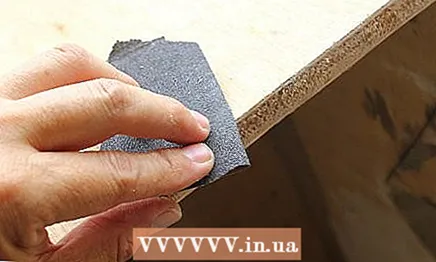 11 Round or smooth out any sharp corners by gently sanding the surface. Start with 120-grade sanding paper and finish with 240-grade paper.
  12 Paint the outside and inside of the chest, as well as the lid and bottom, with the paint of your choice. Follow the manufacturer's recommendations.
 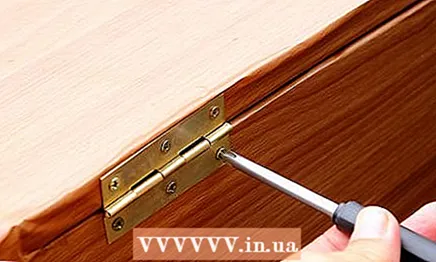 13 Attach the chest lid with a 76cm piano hinge centered on the rear edge of the lid.
- Make sure the hinge is attached flush with the back of the cover.
- In addition, it must be centered so that on each side there is a distance of 13 mm from the edge of the box and, accordingly, the lid.
- An easy way to center the hinge is to mark the center of the hinge on the lid and back of the drawer. The center for the 76cm piano hinge will be 38cm. Then mark the center on the lid and back of the drawer. Match the marks and attach the loop.
- This will create a 2.6-centimeter overhang on the front of the lid to make it easier to open.
 14 Attach castors to the hinges at each corner to make the toy chest easy to move when loaded.
Tips
- The countersink will re-drill the screw hole and the head recess, making it easier to screw on parts and recess the heads.
- To keep the lid open, use the toy box stops available at wood supply stores.
- If you are making a fiberboard box, use the flat head sprocket screws for the fiberboard to prevent the screws from splitting the material.
Warnings
- When operating a power tool, adhere to the manufacturer's safety guidelines and wear safety glasses when cutting and scraping.
- Be sure to follow the paint manufacturer's safety guidelines.
What do you need
- 19mm fiberboard or plywood
- Flat head sprocket screws for number 8 MDF, 3.8 cm or 3.8 cm square head screw for plywood
- 76.2 cm piano hinge
- Stoppers for the lid of the toy chest
- Plywood Blade Circular Saw
- Corded or cordless electric drill
- Centimeter
- Paint and brushes
- Putty for wood
- Swivel castors
- Electric sander
- Sandpaper of various grades from - 120 to 240
- Protective glasses
- Respirator
- Wood glue
- Phillips or Phillips screwdriver
- 62 cm bar clamp
- Countersink

")

