Author:
Mark Sanchez
Date Of Creation:
4 January 2021
Update Date:
1 July 2024

Content
Skeletonized leaves are leaves with holes in their surface. In this article, we will tell you how to make a sheet like the one shown in the picture.
Steps
Method 1 of 2: Using baking soda
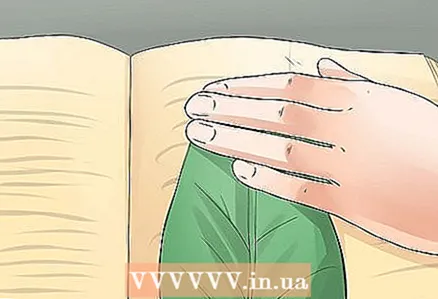 1 Tear off the sheet and place it between the pages of a thick book. Leave it in the book for a few weeks until it dries.
 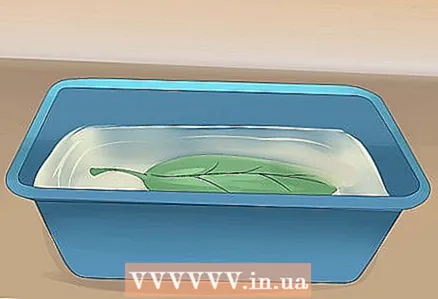 2 Make a baking soda solution. Place the sheet carefully in the solution.
  3 When the surface of the leaf becomes soft, pulp forms on it, then remove the leaf from the solution. Rinse the sheet in cold water.
  4 Take a toothbrush and gently brush the surface of the sheet. The sheet is now ready for the next step.
Method 2 of 2: Biological Cleansing Agent
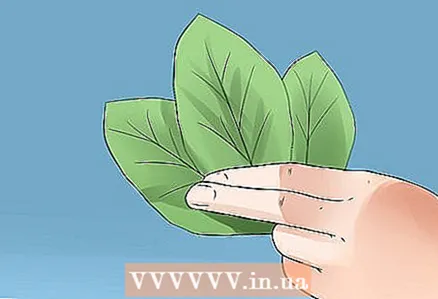 1 Select several sheets that have been treated with mortar.
 2 Pour 600 ml of water into a large saucepan. Add 100 g of organic detergent.
 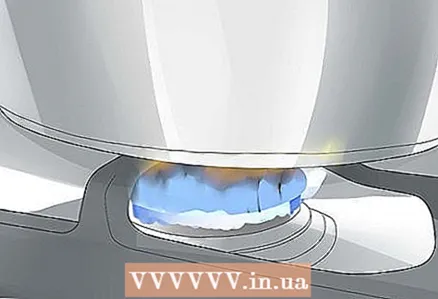 3 Boil the leaves in the solution over medium heat for 30 minutes.
 4 Remove from heat and drain water.
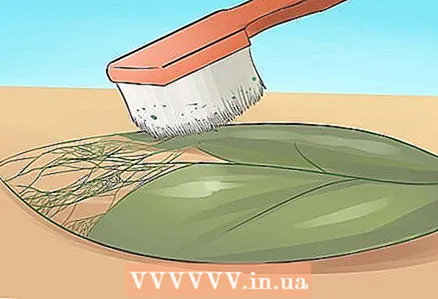 5 Take an old toothbrush and scrub the surface of the sheet. Moving from the central branch inside the leaf to its edges.
 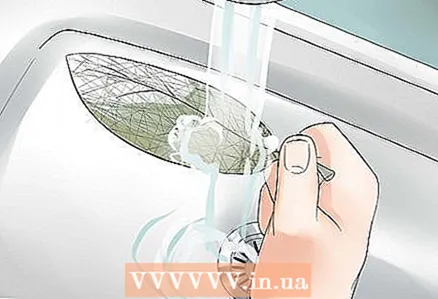 6 Rinse the sheet with water and dry it.
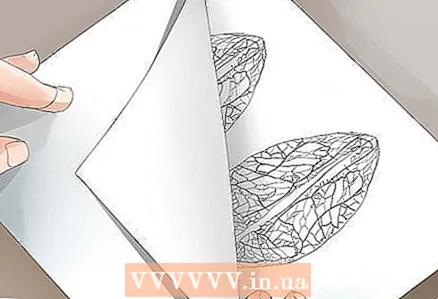 7 Place the sheet between two sheets of absorbent paper for 2 weeks.
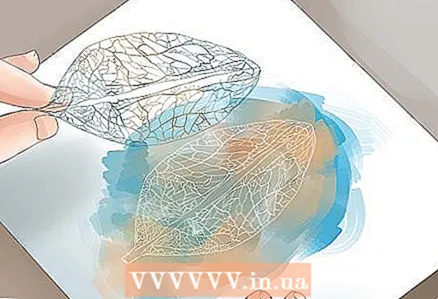 8 Take out the sheet, now it will look like in the picture. You can color it if you like.
Tips
- For this, bay leaves, magnolia leaves and maple leaves are ideal.
Warnings
- Children should not undertake this project without parental supervision.
- Wear gloves before handling chemical solutions.
- The baking soda solution releases a caustic agent. Therefore, it is best to wear gloves.


