Author:
Ellen Moore
Date Of Creation:
14 January 2021
Update Date:
29 June 2024

Content
- Steps
- Method 1 of 3: frame selection
- Method 2 of 3: Choosing a Lens and Attachments
- Method 3 of 3: Setting up your camera
- What do you need
Close-up photographs of the eyes are some of the most stunning photographs, as the intricate patterns of the iris evoke an unearthly otherworldly landscape. With the right perspective, lighting, and lens, you too can create phenomenal macro photographs of the eyes! And this article will help you figure out all this.
Steps
Method 1 of 3: frame selection
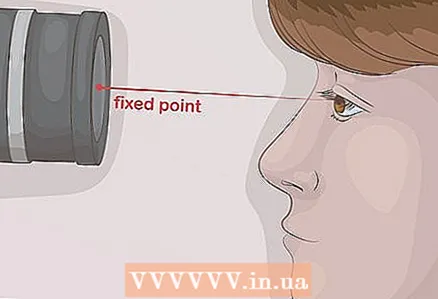 1 Ask your model to look through the lens or focus on a fixed object. Looking directly into the lens will provide a full, detailed view of the iris and pupil of the eye. If you want to shoot the eye from a different angle, ask the model to fix the gaze on some object so that you can find the best shooting angle.
 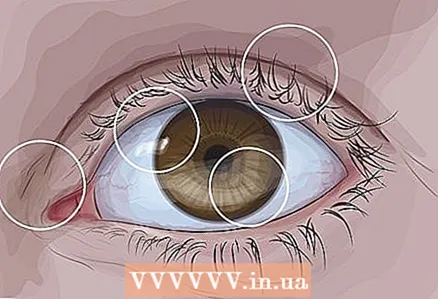 2 Take a close look at the eye and decide what interests you the most about it. Are you attracted to the colors and patterns of the iris, or are there reflections of light on the pupil? Do you want to focus on the wrinkles around the eye or on the eyelashes? Your answers to these questions will determine the main subjects of focus in photography.
 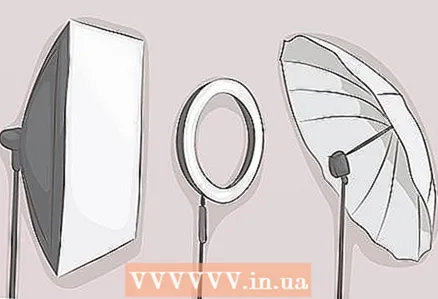 3 Create interesting highlights with a constant light source. Occasionally, photographs show small white specks of glare in people's eyes. Interesting highlights can be created with a constant light source. For example, you can use a lighting softbox, a photo umbrella, a ring lamp, or natural sunlight to create the desired effect.
 - Also make sure that the camera itself will not cast a shadow over the subject.
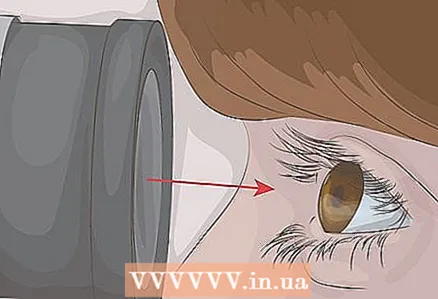 4 Bring the camera as close to your eye as possible. Often, photographs of the eyes do not come out in the best way just because the photographer was simply not close enough to the subject of photography. Position the lens as close to the eye as possible without blurring the focus.
 - Be careful not to block the light from the camera that you need to get the shot.
 5 Use the zoom to bring your eyes closer in the frame. Adjust the zoom to get exactly the shot you want. Expanding the boundaries of the frame to include additional detail can give the photo additional context. However, this may shift focus away from the subject you originally wanted to photograph.
  6 Keep the camera still by placing it on a tripod or other stable surface. When shooting at close range, the slightest shake of the hand can blur the frame. Use a tripod or shoot from a fixed surface that will support the camera to help prevent blur.
 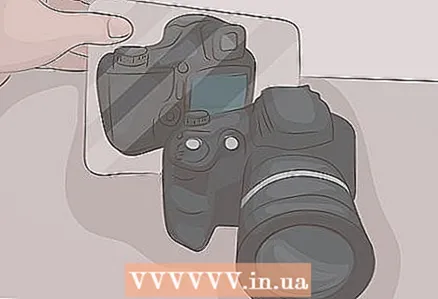 7 Place a mirror behind the camera to take a photo of your own eye. If you want to take close-up shots of your own eye, the easiest way is to use a camera with a tilting screen, which will allow you to make sure you have the correct angle and focus. But if your camera does not have a tilt screen, placing a mirror behind the existing camera screen will also allow you to see the frame displayed on it.
 - If you are going to use a phone for photography, then you also need to use a mirror in the above way. This is due to the fact that taking pictures in Selfie mode (with the front camera) does not have the best effect on the lighting of the picture.
Method 2 of 3: Choosing a Lens and Attachments
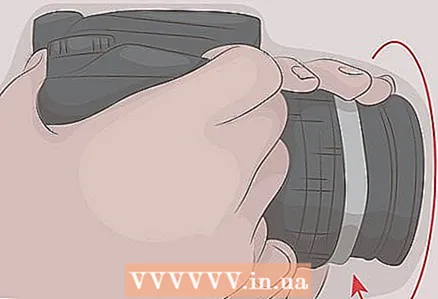
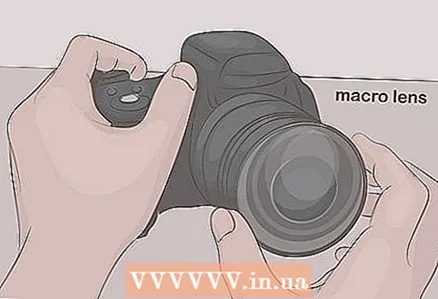 1 Attach a macro lens to the camera. A macro lens will allow you to capture the eye in the most detail. The focal length of macro lenses can vary from 50 to 200 mm. Of course, you can get good eye shots with a regular lens, but the eye does not fill the entire frame and does not come out as detailed as you would like.
 - If you don't have a macro lens and don't want to invest in one, try using a magnifying filter as an alternative.
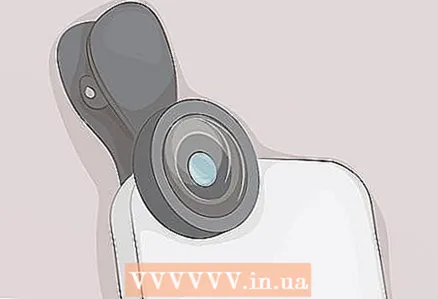 2 When shooting with your phone, use the macro mode or the dedicated macro lens for your phone. Many smartphones have a dedicated macro mode that will allow you to take a more detailed photo of the eye than with standard phone camera settings. And a dedicated macro lens for your phone will give you even better results.
 - You can find macro lenses for cell phones in almost any store that sells this kind of electronics.
- If you are planning to purchase a macro lens for your phone, make sure it is suitable for your device model.
 3 Consider using an extension ring to reduce the focal length of the lens. The macro ring is installed between the camera body and the rear of the lens. The use of the macro tube allows you to bring the eye closer to the frame and thereby capture more detailed details.
Method 3 of 3: Setting up your camera
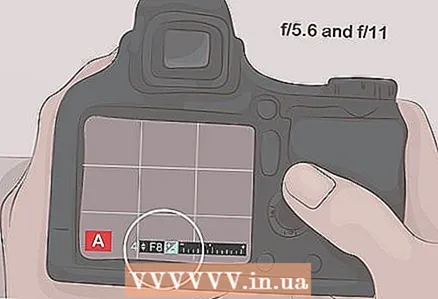 1 Reduce the camera aperture to increase the depth of field. Close-up shots look better with good sharpness. Reduce the aperture size to f / 5.6 - f / 11.
 - The exact aperture value will depend on what kind of eye detail you want to emphasize in your photograph. Experiment with aperture to see how different settings affect your shot.
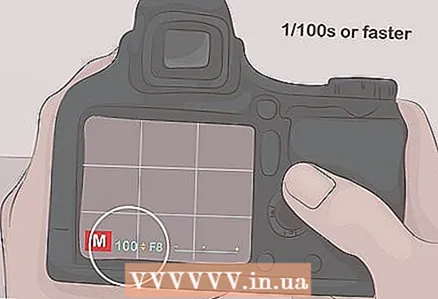 2 Use a faster shutter speed to avoid blurring the frame. The eye is constantly moving, which can cause the frame to be blurry. For a sharp image, set the shutter speed to 1 / 100th of a second or less.
 - Using a tripod will also allow you to use a shorter shutter speed.
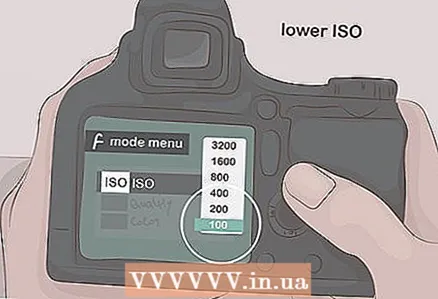 3 Decrease the ISO value to avoid graininess in the digital image. Increasing the ISO allows you to take pictures in low-light subjects, but the pictures become grainy. If you are taking photos in good lighting, keep your ISO as low as possible.
  4 Adjust focus manually. Autofocus may not focus the lens on the exact details of the eye that you need to capture, so it is best to turn it off and focus manually. To adjust the focus yourself, rotate the lens focus ring until the frame is completely blurred. Then start spinning it backwards until the details you want to capture are in focus.
 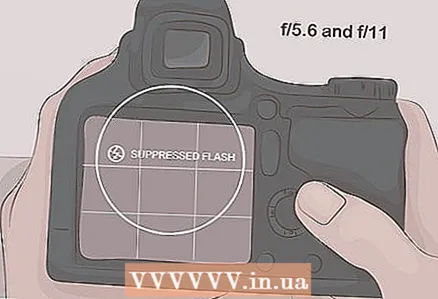 5 Disable flash. Avoid using flash or other bright lights directed into your subject's eyes. Bright light can damage your eyesight, and it can also make your subject squint, preventing you from getting a good shot.
 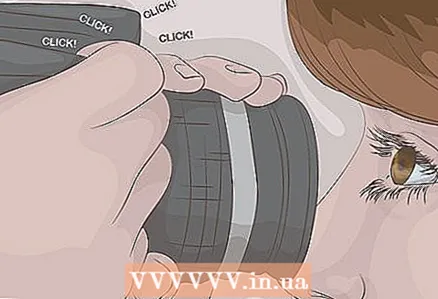 6 Take a lot of shots at once so you can choose the perfect one among them. It is impossible to guess which combination of angle, composition, focus and depth of field will give you the best shot. Therefore, try to shoot as many frames as possible with different settings. When shooting close-ups, even the smallest setting changes can give you completely different shots.
What do you need
- Macro lens or 1: 1 aspect ratio
- Tripod
- Constant light source or natural light from a window


