Author:
William Ramirez
Date Of Creation:
20 September 2021
Update Date:
1 July 2024
Content
Beloved by many, pinhole photography is the art of shooting in a "lensless" manner; instead, the pinhole is placed over the normal lens, creating soft, "artsy" images. You can make your own pinhole camera lens (digital or film) from a lens cap using simple materials and tools.This will even improve the effects on older, less advanced cameras and you can capture some of the nifty effects on film.
Be aware that pinpoint lenses do not produce exceptionally sharp images, especially when using a very low sensitivity digital camera, but the artistic effect is definitely worth the loss of sharpness. Here are some guidelines on how to make a pinhole lens at home.
Steps
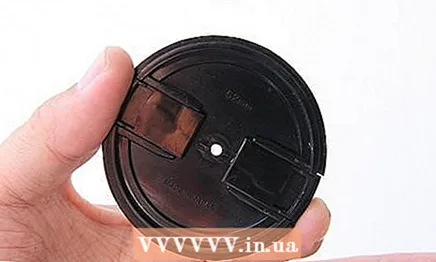
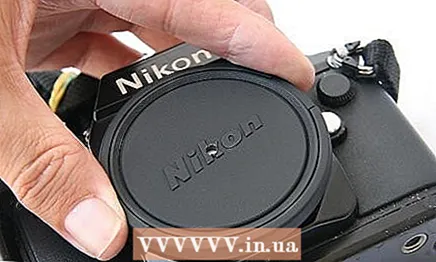
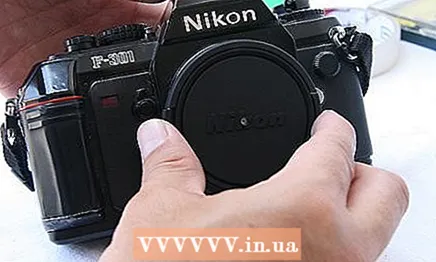
 1 Locate the center of the housing cover.
- Mark the dimple in the center of the case cover with a center punch.

- You can use a nail or other similar tool.
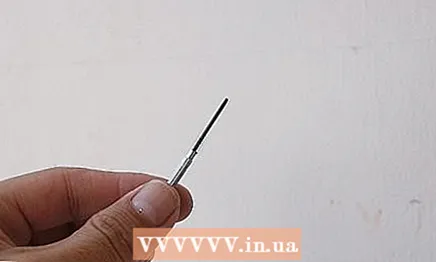
- Mark the dimple in the center of the case cover with a center punch.
 2 Drill a hole about 6 mm. Using the center mark you made in the previous step, drill a hole in the case cover.
 - Place something under the housing cover to protect the working surface of the camera.
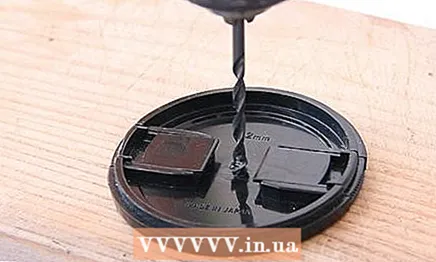
- Place something under the housing cover to protect the working surface of the camera.
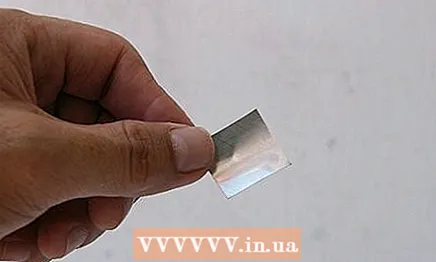 3 Cut a square piece of aluminum sheet approximately 2 x 2 cm.
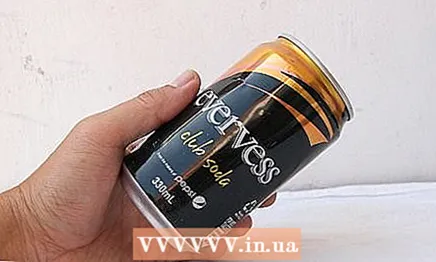
- Use a beverage can with the top and bottom cut off, and cut out a 2 to 2.5 cm square.The size may not be accurate or well square, but the size must be small enough to fit flat on the inside of the case lid and large enough to hold on while sanding.
- Round off the square corners for safety.
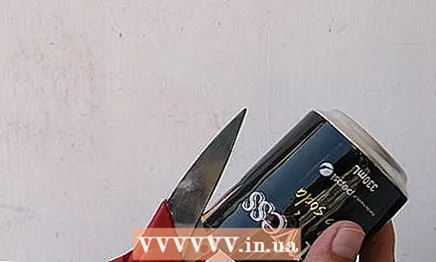
- Use a beverage can with the top and bottom cut off, and cut out a 2 to 2.5 cm square.The size may not be accurate or well square, but the size must be small enough to fit flat on the inside of the case lid and large enough to hold on while sanding.
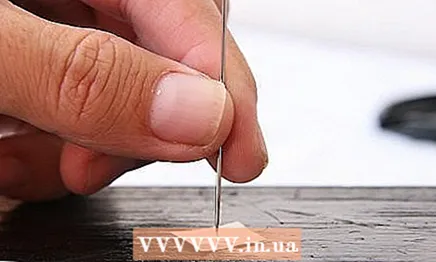 4 Make a groove in the center of the aluminum square. Take a thick, sharp needle, and slowly rotate with light pressure, make a depression in the center of the aluminum blank.
 - Continue slowly and gradually to avoid making the hole too large.
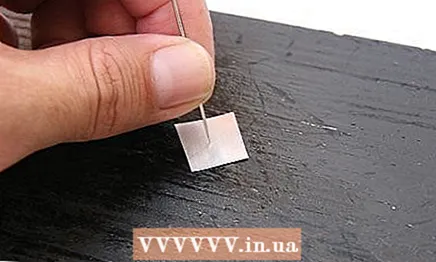
- The recess should be barely visible on the underside of the aluminum blank.

- Do not press with the needle so that it goes through the hole its full length; the hole should not be visible at this point, only the indentation.
- Continue slowly and gradually to avoid making the hole too large.
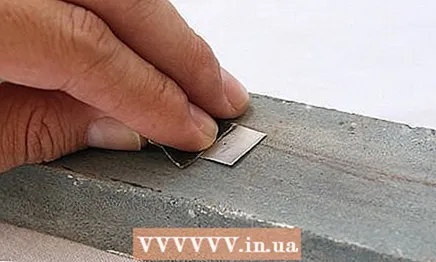 5 Sand the recess. Take a very fine wet / dry sanding paper, 600-800 grit or finer, and gently sand the indentation so that it is flush with the aluminum surface.
 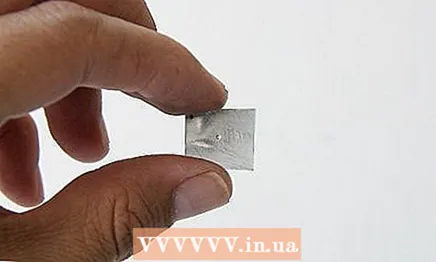 6 After the recess has been sanded, a small hole should appear, reapply the needle to gently smooth the edges of the hole (on both sides).
- The optimum pinhole diameter depends on the distance from the hole to the film or sensor surface in digital cameras. For most digital cameras it is about 50mm. Using the pinhole calculator, the optimal hole size is about 0.3 mm.
- The size does not have to be exact, anyway a hole close to 0.3mm diameter will work well.
- If the hole is too small, carefully use the needle again to enlarge the hole and sand the hole again on both sides.
- If the hole is too large, test the lens to see how well it works, or remove the blank and make a new one.
- It is important that the hole is round and flush with the surface. Jagged edges will produce diffraction effects that will appear in the final image.
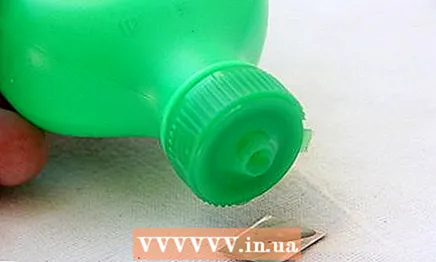 7 Once you have made the correct size hole, clean the aluminum blank with rubbing alcohol and blow the hole. This is important because debris can get into the hole and cause image distortion, or worse, it can get onto the camera sensor and require cleaning.
  8 Apply glue. Using a toothpick or similar, sparingly apply the glue to the aluminum part, being careful not to get any glue close to the hole.
 - Use silicone glue; if you need it, you can easily remove the pinhole blank from the case cover and the glue itself.
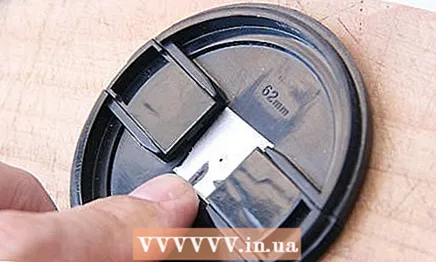 9 Carefully place an aluminum blank in the center of the back of the enclosure cover. Make sure the pinhole is centered on the hole drilled in the center of the cover.
 - Try to accurately position the workpiece the first time to keep the body cover from getting glue on the cover and possibly into the hole itself on the aluminum workpiece.
 10 Tape the aluminum blank until the glue dries. Finally, make sure the pinhole is centered on the hole in the case cover.
 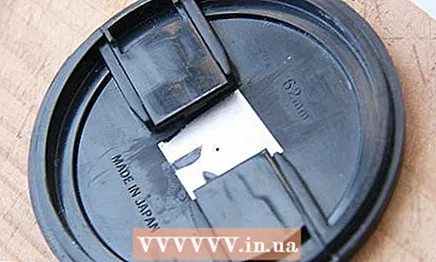 11 After the glue dries, carefully remove the tape.
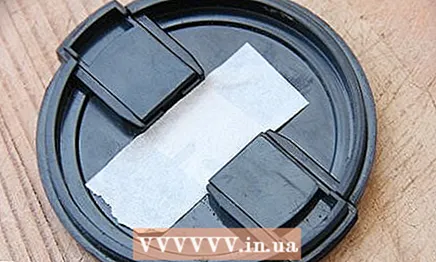
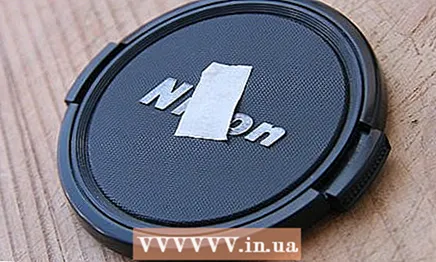 12 Cut out a very small piece of tape and glue the pinhole over the top.
- 13 Tape the housing cover with tape. Leave the aluminum square unprotected so it can be painted black.
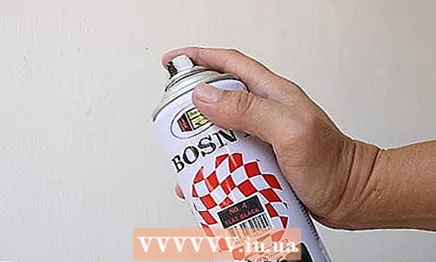 14 Spray black paint onto the aluminum square. This will significantly improve the image quality.
 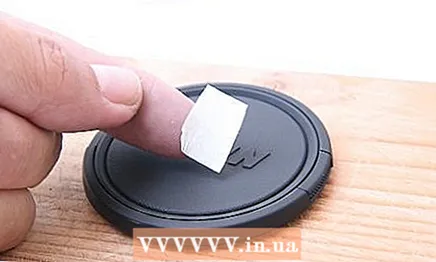 15 Remove the small piece of tape that covered the pinhole.
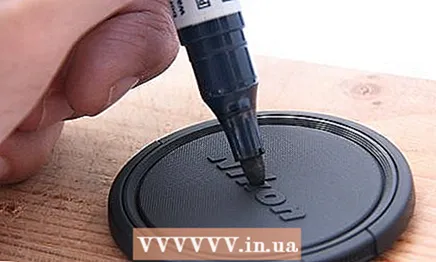
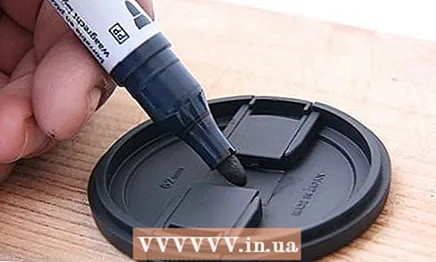 16 Use a black permanent marker to dot the remaining aluminum surface to paint it black. It is better to use the ink rod to mark the dots rather than to draw smoothly over the surface, since the aluminum surface has no roughness in which the ink would linger.
 - Be careful not to dot the pinhole. This area doesn't have to be perfect, as it won't reflect as much light as the entire aluminum surface would.
- Be careful not to dot the pinhole. This area doesn't have to be perfect, as it won't reflect as much light as the entire aluminum surface would.
- 17 Remove the tape completely and clean the lid completely.
- Attach the body cover to the camera body.
- Attach the body cover to the camera body.
 18 Set the camera to manual mode and set the shutter speed to 2 seconds to begin with. Take a photo. Take a look at the histogram. If the graph shows the photo is overexposed (the histogram shows data grouped at the far right) or underexposed (histogram data is grouped to the left), adjust the shutter speed to compensate.
 - After the exposure is set, you can use this exposure value when shooting in similar lighting conditions.

- Depending on how bright the subjects are, the exposure time can vary from 1/2 second to several seconds. The picture of the yellow flower shown here was taken with a 1/2 second exposure at ISO 400 and in bright sunlight.

- The sun through the leaves was captured at 1 / 15th of a second at ISO 400.
- If you are shooting in varying lighting conditions, check the histogram and adjust the shutter speed accordingly.
- After the exposure is set, you can use this exposure value when shooting in similar lighting conditions.
Tips
- Use a tripod or place the camera on a stable surface. Since the pinhole lens aperture is so small, the longer the shutter speed, the more blurring problems there will be.
- Using high ISO values will allow faster shutter speeds.
Warnings
- A cold camera from an air-conditioned room will give fog on the sensor when shooting outdoors on a warm, humid day. Give the camera time to acclimate before filming.
- Be sure to thoroughly remove dust and small pieces of material from the body cover before attaching it to the camera. Failure to do so could result in dust getting inside the camera body, and ultimately there is a risk of dust getting onto the image sensor.
- Pinhole cameras by their nature can have dust build-up on the digital image sensor, which requires periodic cleaning.
- Pinhole cameras will display dust on the sensor that might have been overlooked when shooting with a regular glass lens. This is due to the very small aperture of the pinhole camera. This is completely normal and should not be a cause for concern. Dots are easily removed with digital image processing.
What do you need
- A housing cover that fits your camera
- Aluminum billet tin can
- Silicone glue
- Matte black paint / large marker
- Large sewing needle
- Drill with a diameter of about 0.5 cm
- Drill (optional)
- Durable scissors
- Paper scissors
- Toothpick (or something similar)
- Sandpaper with a grain of 600-800
- Kerner (optional)
- Scotch tape (to hold the aluminum blank while the glue dries and to protect the enclosure lid while painting)


