Author:
Carl Weaver
Date Of Creation:
21 February 2021
Update Date:
1 July 2024
Content
- Steps
- Method 1 of 6: Before You Begin: Choose the Right Tartan
- Method 2 of 6: Part One: Dimensions and Preparation
- Method 3 of 6: Part Two: Creating Creases
- Method 4 of 6: Part Three: Adding a Belt
- Method 5 of 6: Part Four: Adding the liner
- Method 6 of 6: Part Five: Strokes
- What do you need
A traditional kilt can be quite difficult to make, but with enough time and patience, even a beginner in sewing can do it. This article will teach you how to create this manly look.
Steps
Method 1 of 6: Before You Begin: Choose the Right Tartan
 1 Choose a tartan by clan. Clans and large families of Scottish descent have often had their own Scottish look since the early 1800s. You can only wear a certain type of tartan if your family has ancestral ties to that clan.
 - Look for which clan you belong to. Think of your ancestor's last name or family as long as you can remember, relating to Scottish ancestors, if any.You can find surnames on the Internet, like the name of your clan. You can find your clan name here: http://www.scotclans.com/what_my_clan/
- Find information about your clan. When you know the name of your clan, you can look at more detailed information about it in order to find out the tartan pattern or shape. Find your clan here: http://www.scotclans.com/scotch_clans/
 2 Choose tartan (plaid) that is suitable for the area. The District Scots are as old as the Clan, if not older. There are the Scottish neighborhoods that cover all of Scotland and many places around the world. You can wear a local plaid if you or your family come from the area.
 - You can view Scottish counties here: http://www.scotclans.com/which_my_clan/District_Scottish/Scottish_district_Scottish/
- See other UK counties here: http://www.scotclans.com/which_my_clan/District_Scottish/British_District_Scottish/
- You can view American counties here: http://www.scotclans.com/which_my_clan/District_Scottish/American_District_Scottish/
- You can view Canadian counties here: http://www.scotclans.com/which_my_clan/District_Scottish/Canadian_District_Scottish/
- You can view any other county here: http://www.scotclans.com/which_my_clan/District_Scottish/World_District_Scottish/
 3 Choose a regimental plaid. Some Scottish and other military regiments in different parts of the world have their own tartan patterns. If you are a member of a particular regiment, or otherwise have a direct relationship to it, then their tartan would be a good choice for you.
 - You can view various regimental plaids here: http://www.scotclans.com/what_my_clan/regimental_scots/
 4 If your searches are not crowned with results, you can take as a basis for the universal look of the tartan. Universal plaids can be worn by anyone, regardless of clan, district, or other identification.
 - Older, more traditional options: Black Clock, Caledonia and Jacobite.
- Modern versatile options are National, Warrior's Brave, Flower of Scotland, and Pride of Scotland.
Method 2 of 6: Part One: Dimensions and Preparation
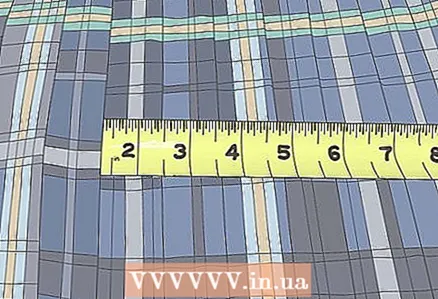
 1 Measure your hips and waist. Take a tape measure and measure around your hips and waist. These measurements will determine how much material you need for your kilt.
 - For women, measure around the thinnest part of the waist and the widest part of the hips.
- For men, the area near the top edge of the pelvic bone and the widest part of the buttocks.
- When measuring, make sure the tape is strong and parallel to the ground.
 2 Determine the length of the kilt. The traditional kilt length is equal to the length from the waist to the middle of the knee. Use a tape measure to calculate this distance.
 - If you plan on wearing a wide kilt belt, you should add 5cm for the high belt.
 3 Calculate how many materials you need, because you will have to fold the material and you will need a much longer material than the distance around the waist.
- Measure the width of the pattern or pleat you want on the plaid. Each pleat will add approximately 2.50 cm wide of open pleats. In other words, if the curl on your fabric is 15 cm wide, then each fold will be 17.5 cm.
- You can calculate the amount of material by multiplying half the length of the thighs, the amount of material needed for each fold, and add this value to the total volume of the thighs. Add an extra 20% for extra pleating and centering to get the length you want. Divide this value by 72 to get how many meters you need per double width. width.
 4 Hem material if necessary. Secure the top and bottom edges of the fabric, making sure to fold the fabric along the outer edge at both ends. Sew the scars with a straight stitch or use waterproof glue around the edges.
 - This will not be necessary if the material has finished edges at the top and bottom.
Method 3 of 6: Part Two: Creating Creases
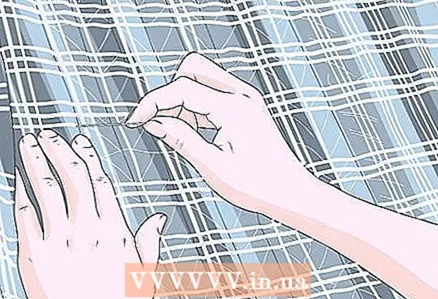
 1 Make the first folds. The first folds will help center the material, so they will end up not much different from other folds.
 - Fold about 15 cm of fabric inward along the right side of the fabric. Fasten at the waist.
- On the left side of the fabric, make a fold that covers two folds. Secure with a safety pin at the waist.
 2 Measure the folds. On a piece of cardboard or heavy paper, mark the width of one fold. Divide this area into 3-8 equal parts.
 - Think about how many pieces to divide the fabric. The center section will show through the folds, so your center should include the most attractive parts of the design.
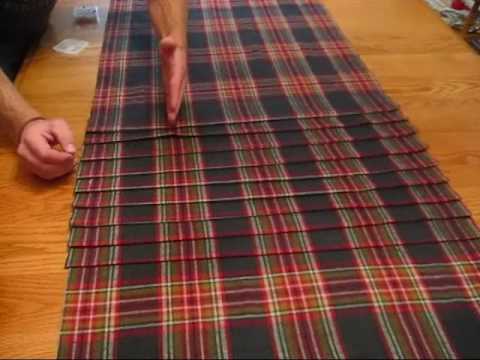
 3 Fold the rest of the fabric into folds. Place cardboard over each fold as you fold it. Slide each edge of the folded fold over the portion of the template that matches it. Securely pin in place with a pin.
 - The cardboard should give you an idea of where to fold the first few folds. Once you start folding, you may find that you don't need it anymore, as it should be just a model for putting the pieces together.
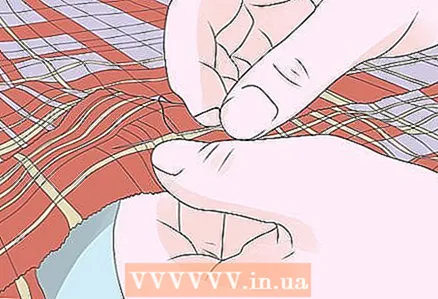
 4 Baster the folds along the bottom of the fabric. Use stitches to grab the edge of each fold, holding it in place at the bottom of the fabric.
 - You should make two rows of basting. The first stitch stroke should be about 1/4 of the length up from the bottom of the fabric, and the second should be about 1/2 of the length from the bottom.
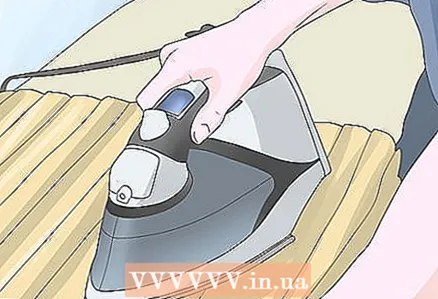 5 Smooth the folds with an iron. Use a steam iron to hold the folds in place, making them stronger and helping the folds stay in shape. Iron along each folded fold along the edge.
 - If your iron does not have a steam function, you can dampen a thin cloth and place it over the creases. By placing a damp cloth between the iron and the kilt, you create a steam bath.
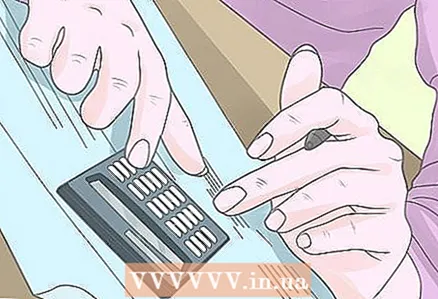
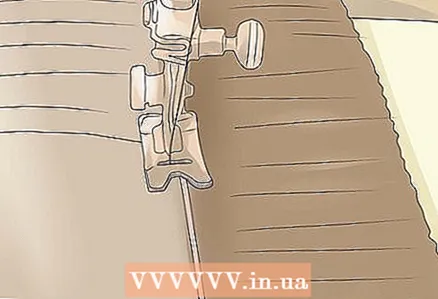
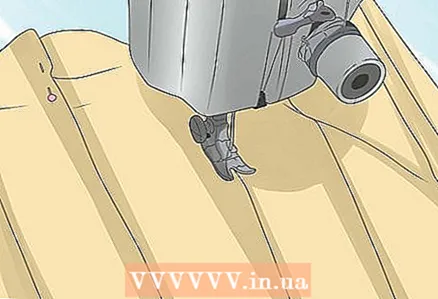 6 Stitch the folds at the bottom. Sew the pleats all the way down and each fold along the fold.
 - Sew a straight stitch on the sewing machine at the top of the fold, about 2.5 cm from the top edge.
- Sew a straight stitch on the sewing machine over the folded, vertically ironed edge. Only sew about 10 cm of material. Do not sew the entire fold completely.
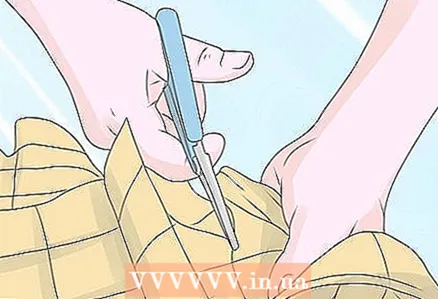 7 Cut off the back of the fold. This method of pleating can result in excess material, so you can trim it.
 - Trim off excess material, starting at 2.5 cm along the hip line and ending at the waist. Do not cut the fabric from the first and last folds.
Method 4 of 6: Part Three: Adding a Belt
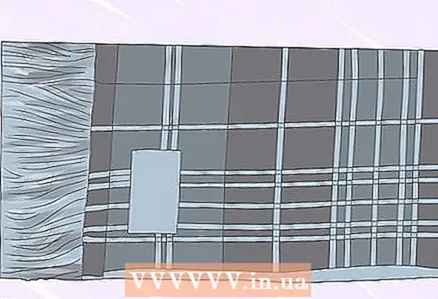
 1 Cut a piece of material for the belt. The material should be 12 cm wide and should match the length of the top edge of the kilt apron.
 - This piece should be slightly longer than the waist.
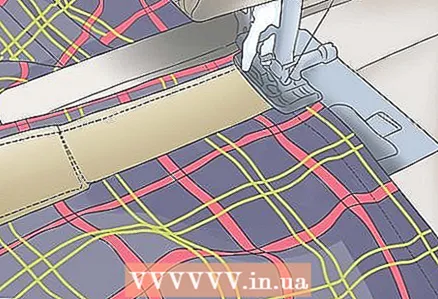
 2 Sew the belt so that the top edge is outside the apron of the kilt. Turn the bottom edge of the waistband less than 2cm. Sew this folded edge 2.50cm from the top edge of the kilt apron on the outside.
 - The remaining belt width should be folded over the top of the kilt.
Method 5 of 6: Part Four: Adding the liner
 1 Cut a piece of lining into sections. Cut 91 cm of backing or canvas into 25 cm sections. 18.webp | center | 550px]]
 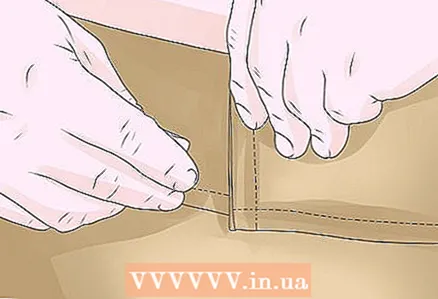 2 Gradually wrap sections of fabric around your waist. The lining will be formed from three strips of 25 cm wide.
 - Wrap the first section along your back.
- Attach two extra sections for one place on the right and left where the side seam is usually found.
- Bring these two side sections together by wrapping them around the front section until each section matches a side seam on the opposite side.
- Secure everything.
 3 Sew the lining to the waistband.
- Stitch along the inside top of the apron to attach the lining to the apron of the kilt.
- Only the top needs to be attached. You don't need to stitch the base of the lining to the outer apron.
- Note that the inside of the waistband will also be sewn under the lining, thereby securing it in place.
 4 Hem material. Fold the bottom edge of the lining and sew a straight stitch along the fabric, hemming in place. Do not sew it to the outer apron.
 - You can also use waterproof glue if you don't want the sewn hem to come off.
Method 6 of 6: Part Five: Strokes
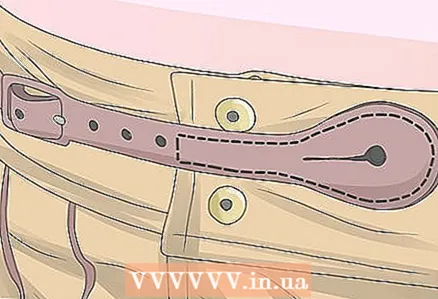
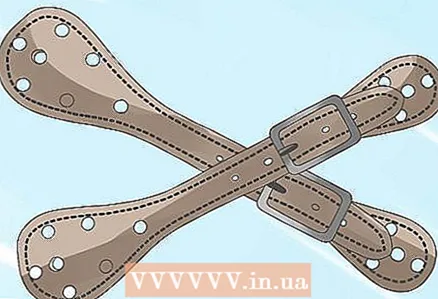 1 Place two thin straps inside the kilt. You will need two leather straps that are approximately 2.50 cm wide and long enough to wrap around your waist.
 - The first leather belt should go just below the waist, from the bottom of the kilt.
- The second leather strap should go just above the bottom of the cut, at the bottom of the folds. Again, it should be on the bottom of the kilt.
- Sew on the straps. The leather part of the belt should be attached to the lining, while the buckle should be attached to the folds.
 2 Sew on the Velcro on the apron. For extra support, sew a strip of Velcro to the top of the apron.
 - Half of the Velcro should be sewn on the upper right side of the front sash, while the other half should be sewn on the upper left side.
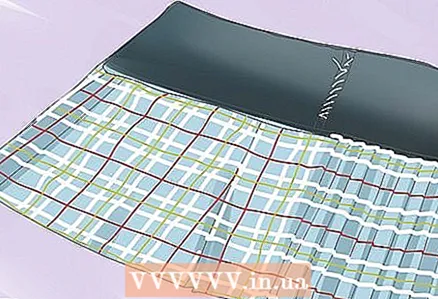
 3 Put on your kilt. In this case, your kilt should be complete. Wear it by wrapping the material around your waist and using the straps to keep the fabric in place. Use Velcro to provide extra support for your kilt. It must hold firmly in place.
What do you need
- Roulette
- Tartan or checkered plaid
- Lining fabric or canvas
- Sewing machine
- Matching thread
- Waterproof glue
- Pencil
- Cardboard or thick paper
- Safety pins
- Two wide belts of 2.5 cm
- Velcro


