Author:
Joan Hall
Date Of Creation:
2 July 2021
Update Date:
1 July 2024
Content
1 Take thick paper. Not too thick so that it can be cut normally with scissors. For example, use a pack of cereals or corn / oatmeal. You can also use an old dress or shoe box.- For beauty, take a box with a pretty picture or pattern, or draw your own.
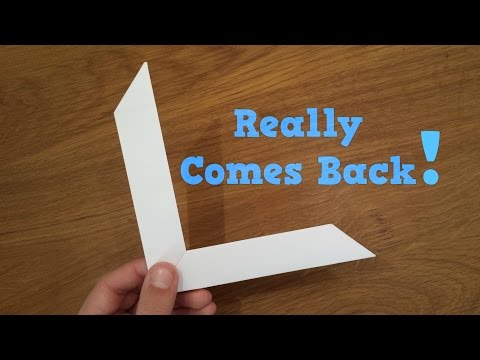
 2 Draw a boomerang on a piece of cardboard. You can use a pencil or marker to do this. Draw two wings of the same shape and size. If you want the boomerang to fly well, the sides must be proportional and symmetrical.
 - If you want the boomerang to come out new and beautiful, use a piece of paper. Cut out one wing of the boomerang out of paper, attach the paper to the cardboard and circle it with a pen. Then both wings will be the same.
3 Now you need to cut out what you drew. Try to cut straight along the line. To avoid seeing the drawn line, draw with a pencil or simply on the back of the cardboard. 4 Fold down each wing of the boomerang. Flip it over and fold the right side of each wing. Fold it back 2.5 cm. Fold the wings of the boomerang equally on one side. 5 Try to throw a boomerang. For this, of course, it is better to go outside. Hold it by one end and throw it straight in front of you. Throw the boomerang so that it flies parallel to the ground. Tips
- The boomerang should be strong and firm to the touch.
- Check if you did everything right.
- Use felt-tip pens or pencils to paint the boomerang.
What do you need
- Thick paper or cardboard
- Scissors
- Felt pen or marker
- Pencils for coloring boomerang


