Author:
Florence Bailey
Date Of Creation:
24 March 2021
Update Date:
1 July 2024
Content
- Steps
- Preparatory work
- Method 1 of 5: Stencils
- Method 2 of 5: Reverse Stencils
- Method 3 of 5: Freehand Drawings
- Method 4 of 5: Geometric patterns
- Method 5 of 5: Decorating Ideas
- Tips
- Warnings
- What do you need
- Stencils
- Reverse stencils
- Drawings by hand
- Geometric patterns
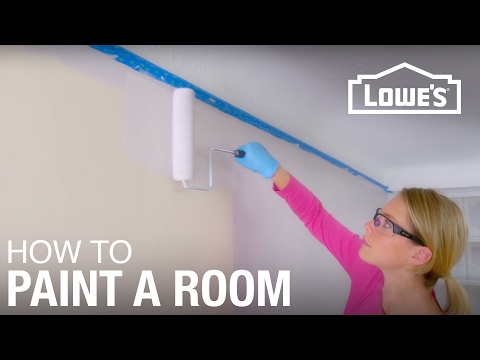
Artistic patterns on the walls are a great way to add uniqueness and vibrant colors to a room. You can use both hand-painted and a variety of stencils. Our article will tell you about several ways to paint walls indoors.
Steps
Preparatory work
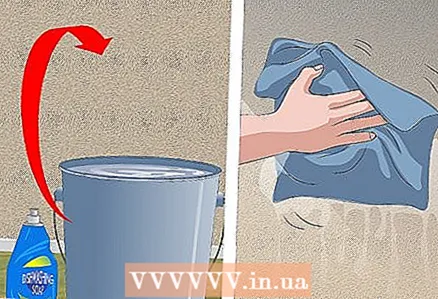 1 The wall must be clean. If the wall is dirty, the paint will not adhere well to the surface. Clean the wall with a microfiber cloth using a solution of one part mild dish soap and four parts warm water. Then dry the wall with a clean cloth.
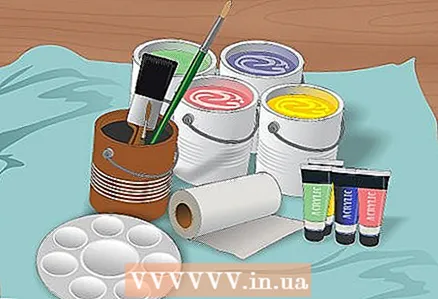
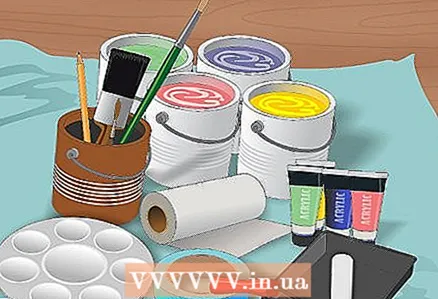
 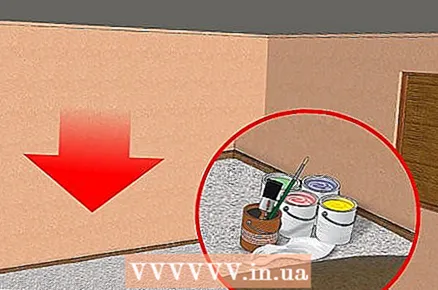 2 Prepare your workspace. Cover the floor with bedding, old newspaper, cardboard, or plastic wrap. These materials will help protect the floor from spills and paint drops. Remember to prepare your paint, brushes, masking tape, and paper towels.
 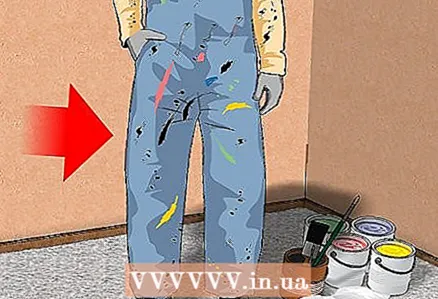 3 Overalls and protection. Wear paint coveralls or old clothes that you don't mind getting dirty. If you have very sensitive skin, then use a pair of vinyl or latex gloves, although almost all acrylic paints are considered safe and non-toxic.
 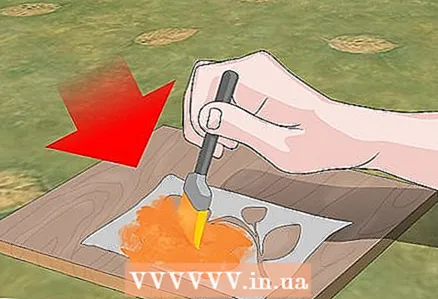 4 Work out the pattern on a piece of cardboard. If you are going to use stencils for the first time, it is better to practice on a piece of cardboard first to learn how to work with a foam roller or stencil brush. It also does not hurt to work out the technique of applying the pattern before painting the wall.
 - You can apply the same paint to the cardboard with which you plan to paint the wall. This will make it easier to evaluate the texture and the final color of the surface.
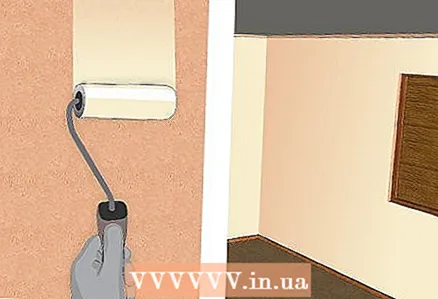 5 Apply a fresh coat of paint to the wall (optional). Use the same or a completely new color. Better to use residential latex paint. If you are going to use reverse stencils, then keep in mind that the chosen color will become the main color of your patterns and drawings.
Method 1 of 5: Stencils
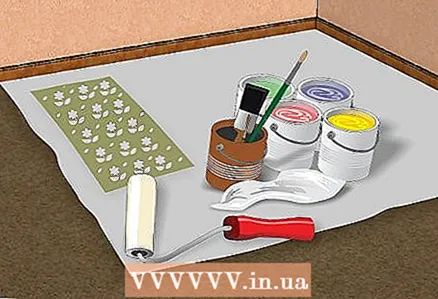 1 Prepare materials. Stencil painting is a great way to paint simple or complex patterns on the wall. You can even apply a second color to add tints. It is important to allow for a sufficient amount of time, because stencil painting is a long job. What you need:
 - stencils for walls;
- masking tape or sticky spray;
- foam roller or high-quality stencil brush;
- acrylic or paint paint;
- paint tray or palette;
- paper towels.
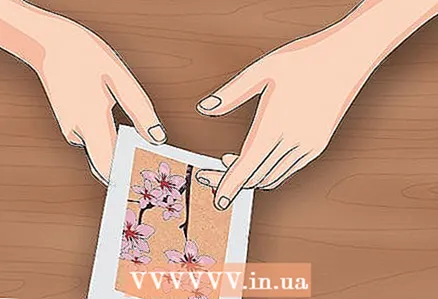
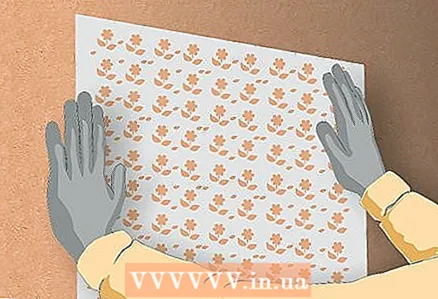 2 Place the stencil in the desired location. You can choose any place. If you need to cover the entire wall with patterns, then start from the upper left corner of the wall or right in the middle. Place the stencil on the surface and lightly mark the corners with a pencil. You can also use masking tape to mark the corners.
 - Always use a spirit level to place the stencil perfectly horizontally. It looks like a metal or plastic ruler, and in the middle is a short tube that is filled with liquid. When the instrument is tilted, an air bubble moves inside the tube. It allows you to position the level horizontally or vertically.
 3 Attach the stencil to the wall. You can secure the stencil around the edges with masking tape, or apply a sticky spray to the back of the stencil and wait until it becomes sticky, then press the stencil against the wall.
 - Seal the outline of the stencil with a few strips of masking tape, especially if the pattern is close to the edge. The tape will protect the wall around the stencil from accidental painting.
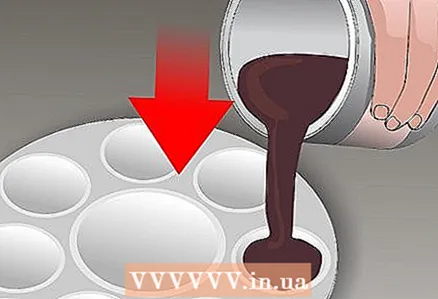
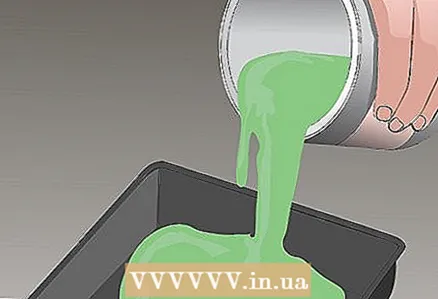
 4 Pour some paint into the tray. Acrylic paint is great for small areas, but painter's paint is best for stenciling an entire wall. Choose a finish that matches the original wall texture: glossy, satin, matte, or egg (rough).Do not pour too much paint at once so that it does not dry out in the process. Don't waste paint.
 - If using a foam roller, pour paint into the tray. The roller is convenient for working on large stencils and painting large surfaces.
- If using a stencil brush, pour paint onto the palette. Stencil brushes are very handy when working with small stencils. They will also allow you to create a pattern of several colors.
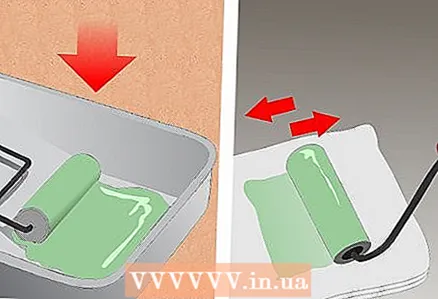
 5 Dip a roller or stencil brush into the paint, then blot off excess paint with a folded paper towel. Do not apply too much paint in one go, otherwise the wall will drip. Also, paint can seep under the stencil and stain the wall. For these reasons, it is best to apply several thin coats of paint instead of one coat.
 - If using a stencil brush, you can tape several folded paper towels to the wall for convenience. You can hold the palette with one hand, and work with a brush with the other. Everything will be within reach. Fold all the towels thick enough to prevent paint from seeping onto the wall.
 6 Start applying paint to the stencil. Do not apply excessive pressure. If you press down on the roller or brush too hard, the paint will not apply evenly enough. Apply colors one at a time and use a clean roller or brush for each color.
 - When painting with a foam roller, follow the stencil back and forth.
- When painting with a stencil brush, move the brush gently over the stencil.
 7 Apply as many coats as needed to achieve the desired look. Sooner or later, you will need to dip the roller or brush into the paint again, but first roll the paint completely out of the roller. Also remember to blot the excess ink with a paper towel each time.
 - If you accidentally paint the wall outside of the template, wipe off the paint with a damp paper towel or baby towel.
- Use a stencil brush to decorate the patterns in different shades. Use a slightly darker color, but not black, so the transitions are not too harsh. Apply shades around the edge of the pattern or on the ends.
 8 After painting, remove the stencil and touch up the patterns in the desired places. If paint gets under the stencil, clean the wall with a damp cotton swab. If there are unpainted areas around the edges of the stencil, paint over them with a thin brush.
 - If you apply drawings like a branch with flowers and leaves, then gaps may remain between the different elements. Paint in the gaps with a thin brush to make the wall look like it was painted by hand.
 9 Inspect the back of the stencil before reuse. If you need to glue the stencil to the wall again, make sure that no paint gets on the back side. If paint does get under the stencil, it can stain a new section of the wall, so wash off the paint with a damp paper towel.
 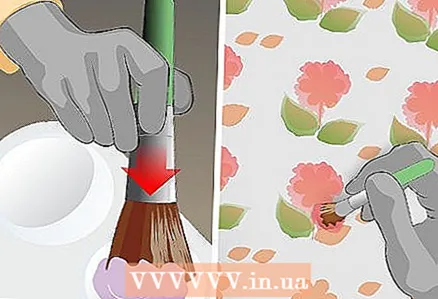 10 Apply the pattern to the rest of the wall. If the stencil was secured with masking tape, peel off the old tape and then use new ones. When fixing with a sticky spray, reapply the spray to the back of the stencil and press it against the wall.
 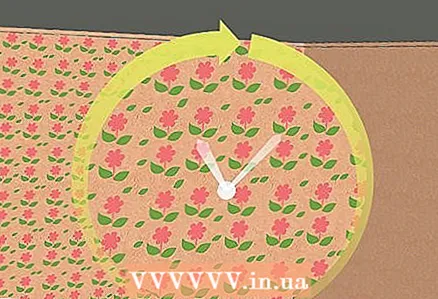 11 Wait until the paint is completely dry, then erase the marks with a pencil. The drying time is indicated on the label. If the surface is dry to the touch, this does not mean that the paint is completely dry. Usually acrylic paint dries in 20 minutes, but sometimes it takes up to two hours. Latex wall paint dries much longer.
Method 2 of 5: Reverse Stencils
 1 Prepare materials. Reverse stencils are used in the same way, except that paint is applied around the design. What you need:
 - cardboard;
- finishing knife;
- double-sided tape or sticky spray;
- foam roller or paint sponges;
- acrylic or paint paint;
- paint tray or palette;
- paper towels.
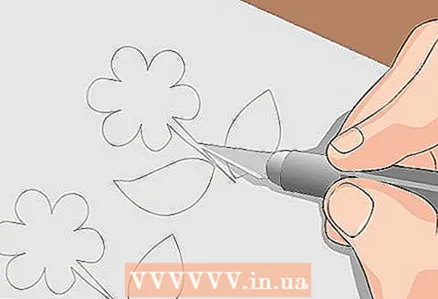 2 Cut out decorative items or patterns from cardboard. You can also use plastic for patterns or a stencil without a pattern.
 - You can buy plastic for your patterns at a fabric store.
- You can buy unprinted stencils at a stationery or craft store.
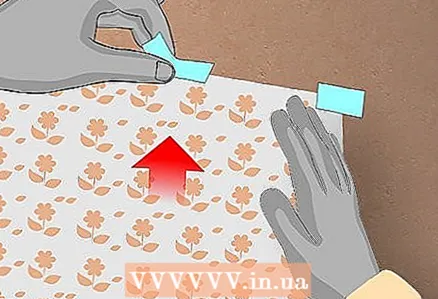
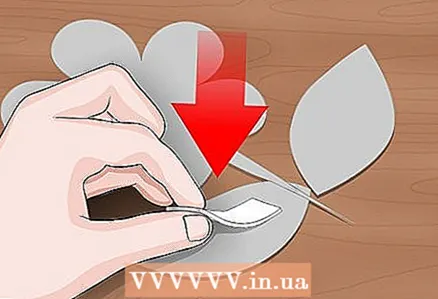 3 Place double-sided tape on the back of each piece. You can also use a sticky spray.
  4 Place the items on the wall. All pieces can be arranged in a grid or checkerboard pattern. Use any pattern you like.
 - For elements of different sizes, you can use an asymmetric layout. It is better to place all large elements closer to the center, and smaller ones at the edges.
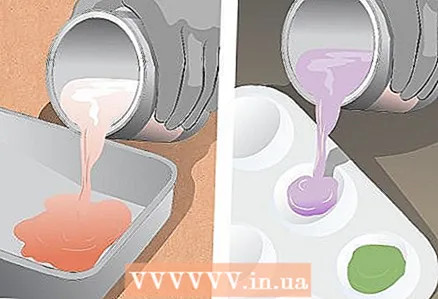
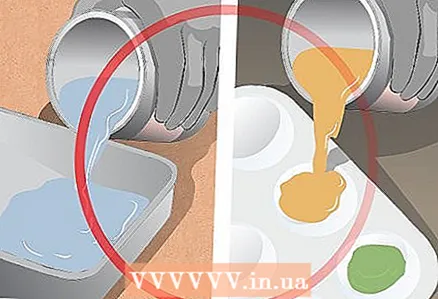 5 Pour in some paint. Do not pour too much at once so that the paint does not dry out in the process. You can add paint to a tray or palette at any time. For painting large areas, it is best to use wall paint. For small areas, acrylic paint is fine.
 - If using a foam roller, pour paint into the tray.
- If you use a paint sponge, it is more convenient to work with the palette.
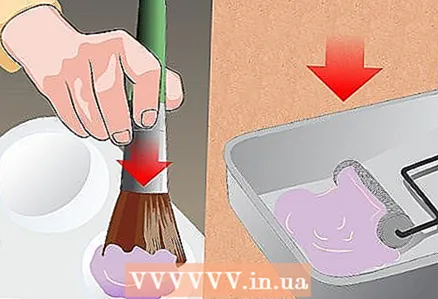
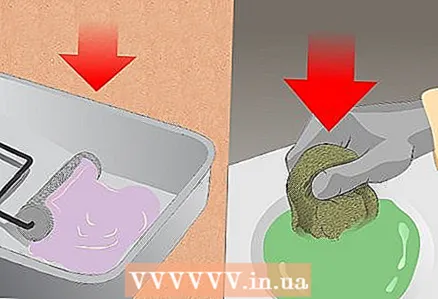 6 Dip a roller or sponge into the paint, then blot off excess paint with a folded paper towel. Do not apply too much paint at a time so that the coat dries evenly and does not leave bubbles on the surface. For these reasons, it is best to apply several thin coats of paint instead of one coat.
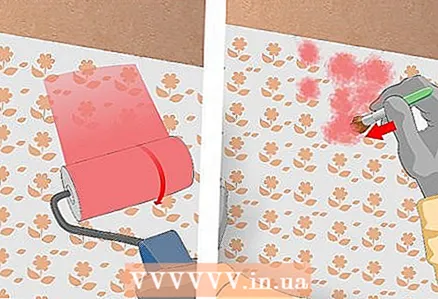
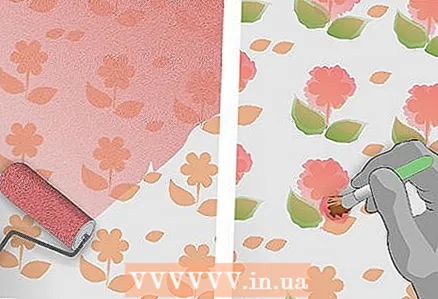
 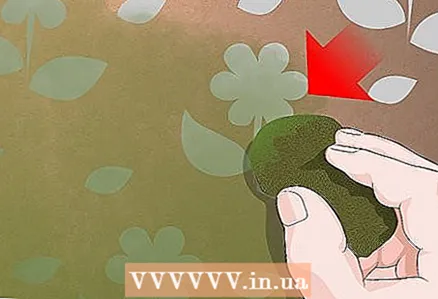 7 Start applying paint over the stencils. Roll the foam roller all over the wall, including decorative items. For a less contrasting result, gently sweep the outline of the patterns with a sponge.
  8 Apply a second coat if necessary. Wait for the paint to dry and then apply a second coat. When painting with a sponge, a slightly lighter or darker shade of paint can be used for the second coat.
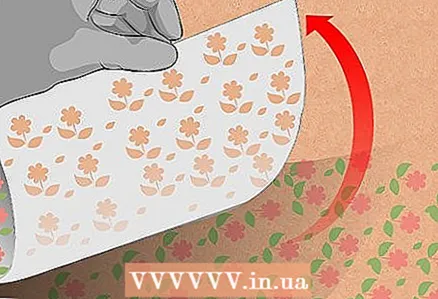
 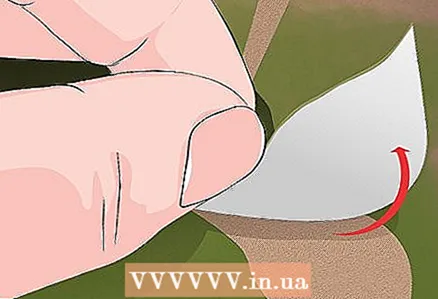 9 Remove the stencils while the paint is still wet. If you remove the stencils after the paint is dry, it can peel off at the edges. Gently pry the stencils with your fingernail and peel them off the wall.
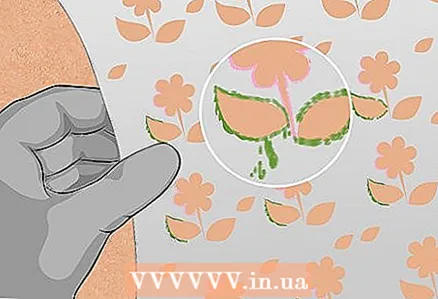
 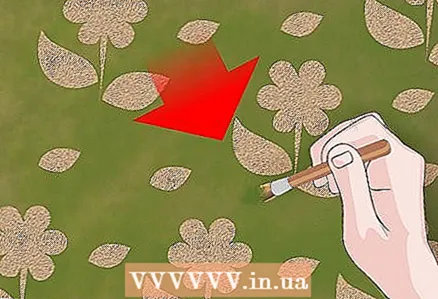 10 Paint the patterns and elements with a brush in the right places. Inspect the work and touch up in the right places with a thin brush. Excess paint on patterns can be gently removed with a damp cotton swab.
  11 Wait for the paint to dry completely. Acrylic paint dries from 20 minutes to two hours. Latex wall paints vary in composition and can take longer than six hours to dry. Drying times are indicated on the label.
Method 3 of 5: Freehand Drawings
 1 Prepare materials. Drawing patterns directly on the wall without stencils is quite difficult, but very interesting. The final result will always be unique, and each brush stroke will allow you to touch the beauty. This method is great for floral patterns such as twisting branches and vines. What you need:
 - paint brushes;
- acrylic paint;
- palette;
- crayons, pencils and watercolor pencils;
- a glass of water;
- masking tape (optional);
- paper towels.
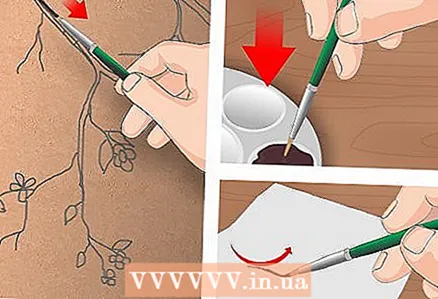
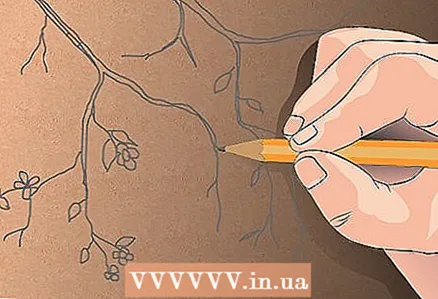 2 Draw a sketch on the wall. Apply outlines in a light color to a dark wall or vice versa. First of all, you should draw large elements, and then smaller ones. For example, to depict a flowering cherry branch, first draw the outlines of the branch, and then add flowers. Take your time to paint small details that will hide under the paint. Such drawings are applied in several layers.
 - You can use watercolor pencils in the same color as the paint. This will make the contours invisible when the paint is dry. For example, draw the outline of a brown branch with brown watercolor pencil. For green leaves, use a green pencil.
 3 Paint over the large elements first. Pour some paint onto the palette. Start with the largest items. Don't pour too much paint as it dries quickly. If you pour too much paint on the palette, it will dry out before you have time to use the entire volume.You can add paint at any time.
 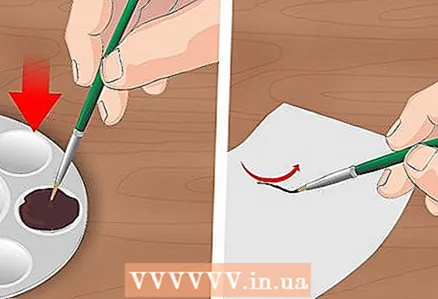 4 Dip a small pointed brush into the paint and gently blot off excess paint with a folded paper towel. Do not apply too much paint, otherwise the strokes will be too noticeable. It is best to use a small pointed brush when painting curvy plant patterns. For straight lines, it is more logical to use a small flat brush. Fine work always requires precise control over the process.
 - You can use tape to glue the folded paper towel to the wall. The towel should be folded in a thick layer to prevent paint from seeping onto the wall.
 5 Draw the outlines of the largest elements with a small brush. Move the brush in the direction you want. Right-handers should start on the left side of the pattern, while left-handers should start from the right.
 - The brush will need to be dipped into the paint several times. Remember to blot your brush with a paper towel to remove excess paint.
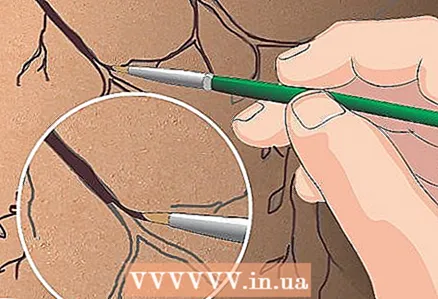 6 Finish the path and paint over the largest element. Use a large brush over a large area and a small brush for small areas. Accidental overshoots can be wiped off with a damp cotton swab. If the paint behind the outline does not rub off, then continue painting. Errors can be "corrected" when the paint is completely dry. To do this, simply cover them with paint in the color of the background or wall.
 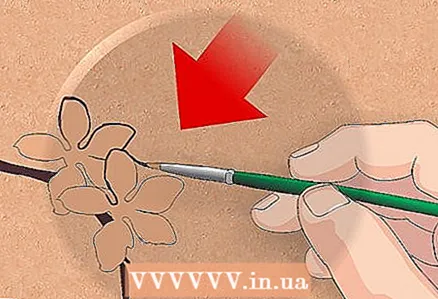 7 Trace the paths and paint over small elements. Work in the same way as with larger elements. If the details are very small, then a larger brush may not be required at all. Small elements can be painted over with the same brush with which you outlined the contours of the picture.
  8 Draw the details when the paint is completely dry. For example, bark or white flower petals are best applied over dry paint. Work with a small pointed brush.
 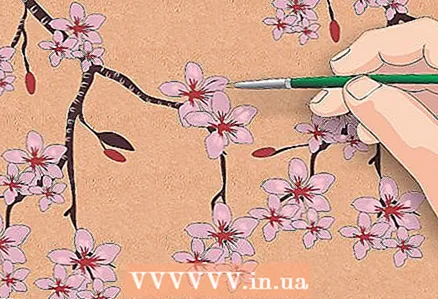 9 Touch up the missing dry paint strokes. All mistakes can be "corrected" by paint in the background color (the main color of the wall). Fill in all the blanks carefully. Use a small brush.
Method 4 of 5: Geometric patterns
 1 Prepare materials. Use masking tape and wall paint to create simple patterns. This method works best for geometric patterns like stripes, zigzags, or chevrons. What you need:
 - masking tape;
- Wall paint;
- paint roller;
- pallet for paint;
- paper towels;
- pencil.
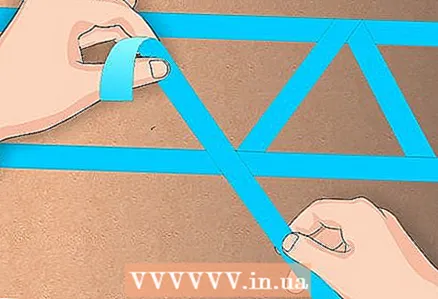 2 Apply masking tape to the wall for the desired pattern. The width of the ribbon will become the line that separates the patterns. Then paint the wall and carefully peel off the tape to reveal the original color of the wall. Use large, bold patterns. A small pattern will look out of proportion on a large wall. Ideas for patterns:
 - chevrons;
- zigzags;
- stripes (vertical or horizontal);
- triangles.
 3 Spread the ribbon with your fingers or a rule. The tape should fit snugly against the wall. If the tape is not adhered to the entire surface, paint may get underneath.
 - You can leave a small crease on each side to make it easier to peel off the tape after painting.
 4 Pour some paint into the tray. Do not pour too much at once so that the paint does not dry out in the process. You can add paint to the tray at any time.
 - The type of paint must match the finish of the wall. For example, for a satin finish wall, choose the same paint to match the surface better.
 5 Dip a roller in paint, then blot excess paint with a folded paper towel. Do not apply too much paint at one time, or it may seep under the tape. Also, bubbles are possible on the surface, and a thick layer of paint dries longer. For these reasons, it is best to apply several thin coats of paint instead of one coat.
 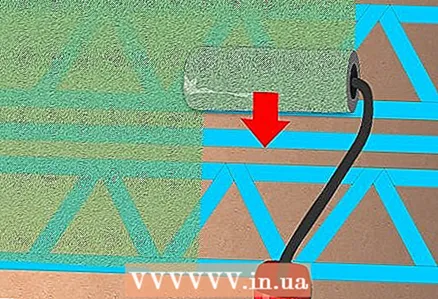 6 Roll the entire wall gently with a roller. Do not apply excessive pressure and always work in the same direction: right and left or up and down.If the roller starts to get dry, dip it in the paint again and blot the excess with a paper towel.
 - If the drawing has multiple colors, apply the colors one at a time and use a clean roller and fresh paint for each color.
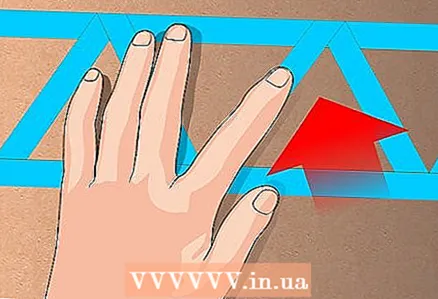
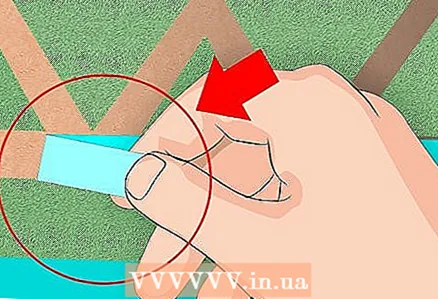 7 Peel off the masking tape after painting. Gently pour the tape towards you at a 135-degree angle. Don't wait for the paint to dry. Peeling off the tape after the paint is dry may flake off or flake off.
 - If the paint has dried on top of the masking tape, carefully peel off the paint along the seam with a finishing knife.
- If the paint is dry and flaking when you peel off the tape, take a small pointed brush and touch up the damaged areas.
Method 5 of 5: Decorating Ideas
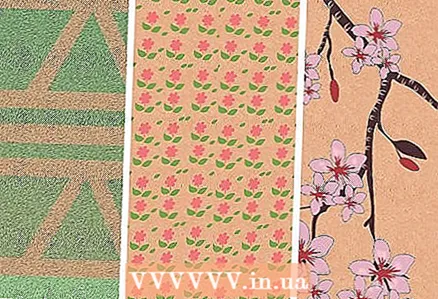
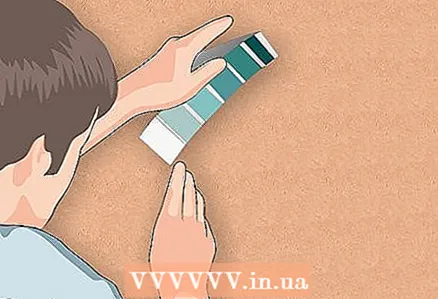 1 Determine the color scheme. If you are not doing wall painting, it is sufficient to choose two or three colors, including the main color of the wall. If you overload the wall with flowers, then it will distract attention from the rest of the room. Consider the following color ideas and solutions:
 - For added sophistication, use two different shades of color for the wall and pattern. For example, paint the wall blue, and then use the template to draw blue bird silhouettes.
- Contrasting colors will be more daring. For example, a wall can be painted a fresh, bright green, and the outlines of branches and foliage can be painted in a bright white.
- You can also apply colored patterns. For example, start by drawing a dark brown or black branch on a white wall. Then add light pink cherry flowers to the branch.
 2 Choose a topic. The wall should be painted in a specific theme. The easiest way is to draw silhouettes and outlines. These patterns will be enough to bring a solid wall to life without distracting attention from the rest of the room. Consider these options:
 - natural motives: branches, leaves and birds;
- abstract designs: various curls and damask patterns.
 3 Determine the location of the drawing. Will the patterns cover the entire wall or a small part of it? The location of the drawings on the wall plays an important role. Consider the following ideas:
 - If you need to paint the entire wall with patterns, then you can use a grid or a checkerboard pattern.
- If the drawing will occupy a small section of the wall, then it is better to make it asymmetrical. In a drawing with elements of different sizes, large parts should be placed closer to the center, while small elements are best placed at the edges of the wall section.
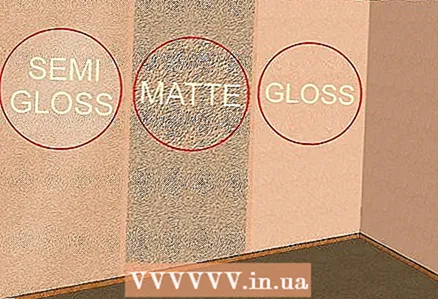 4 Consider the type of finish. Acrylic paint produces glossy, satin and matt finishes. Most often, satin and matte versions are used for walls. The same finish on the entire wall surface and patterns looks more uniform. The patterns will look like an integral part of the surface on the wall. Contrasting finishes (such as glossy patterns on a matte wall) allow for a bolder result. The patterns will stand out from the rest of the wall.
  5 Consider the specifics of the room. Some patterns are more suitable for a particular room type. For example, bright and energetic patterns are quite appropriate in a common room. The bedroom is a resting place, so it's better to use quieter patterns here. Consider the following ideas:
 - In a picturesque dining room or common room, you can use dark, rich colors. Curls and a damask pattern are suitable as a pattern.
- Bright and warm colors will be appropriate in the kitchen. The walls can be painted with a thematic pattern - vines or citrus.
- It is better to use calm colors in the bedroom. Consider light blue, purple, soft green, or pastel colors. The patterns are usually dominated by natural motives: sweeping long curls, leaves, flowers or branches.
Tips
- If you need to take a break, cover the paint tray or palette with plastic wrap.Wrap the brush in a plastic bag from the bristle side, and secure the top of the bag to the handle with a regular rubber band. Thanks to these measures, the brush and paint will not dry out during the break.
- The stencil brush must be of very good quality. A cheap and low-quality brush can leave bristles all over the wall.
- Always stir the paint before using to ensure that the pigments mix evenly in the jar.
- If sticky residue remains after the masking tape, wait until the paint is completely dry, and then wash off the adhesive with a soft cloth and warm soapy water.
Warnings
- Keep children and pets out of the room. Dyed wool or spoiled clothing can fall prey to this curiosity.
What do you need
Stencils
- Stencils for walls
- Masking tape or sticky spray
- Foam roller or quality stencil brush
- Acrylic or paint
- Paint tray or palette
- Paper towels
Reverse stencils
- Cardboard
- Finishing knife
- Double-sided tape or sticky spray
- Foam roller or paint sponges
- Acrylic or paint
- Paint tray or palette
- Paper towels
Drawings by hand
- Paint brushes
- Acrylic paint
- Palette
- Crayons, pencils and watercolor pencils
- Glass with water
- Masking tape (optional)
- Paper towels
Geometric patterns
- Masking tape
- Wall paint
- Paint roller
- Paint tray
- Paper towels


