Author:
Joan Hall
Date Of Creation:
25 July 2021
Update Date:
1 July 2024
Content
- Steps
- Method 1 of 4: Dry curly hair
- Method 2 of 4: Cutting your braided hair
- Method 3 of 4: Trimming Ponytail Hair
- Method 4 of 4: Wet Curly Hair
- Tips
- Warnings
- What do you need
- Method 1
- Method 2
- Method 3
- Method 4
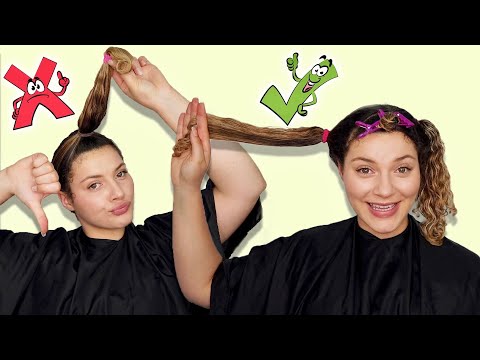
Cutting curly hair can seem dauntingly difficult, but it doesn't have to be! Whether you want to trim split ends or trim your hair to slightly change the look, there are several ways to trim. Most experts agree that curly hair should not be cut wet because wet curls do not look like dry curls. Therefore, many stylists are supporters of a dry haircut, since by cutting curls dry, you can see how the finished haircut will look, without waiting for the hair to dry. However, other professionals find wet hair easier to control when clipping. We offer several ways to help you cut curly hair. If you want to freshen up the ends or get a new haircut, read our tips!
Steps
Method 1 of 4: Dry curly hair
 1 Comb your hair as usual. Before you start a haircut, comb your dry hair as you would normally wear it. Make sure your curls are styled the way you want them to be.
 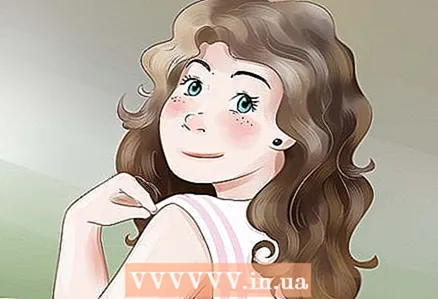 2 Wrap a towel around your neck and shoulders. Secure it with a secure hair clip (duck) or safety pin. The towel will keep hair from getting on your clothes or neck. It is also worth covering the floor with newspaper so that the bobbed hair falls on it.
 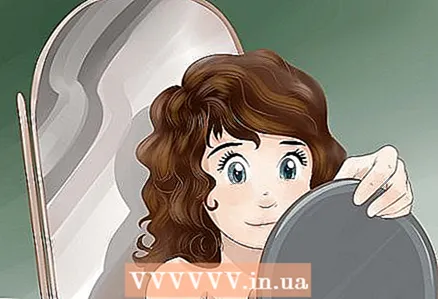 3 Install mirrors. Before starting, make sure your hair is visible to you from both the front and back. To do this, place the mirrors facing each other - one in front of you and one behind you. Place them so that both your face and the back of your head are reflected in the mirror in front of you. If you have long hair, you can skip this step, as you will be able to comb all the strands forward for a haircut.
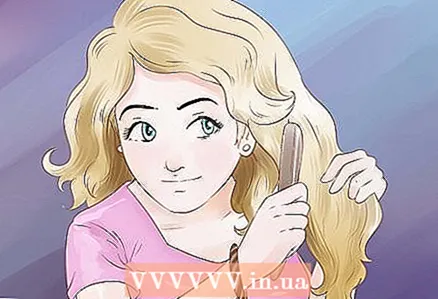
 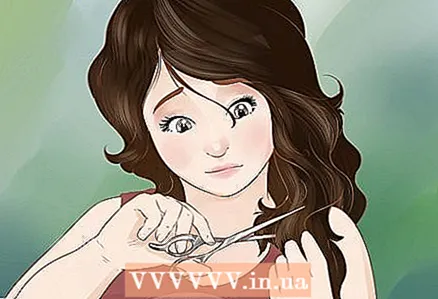 4 Cut your hair. Use sharp scissors to trim the ends of each strand. The scissors should be suitable for cutting the hair and be very sharp indeed. Cut your hair close to the ends or along the curve of a curl. Start with the top layer of your hair and work your way down, layer by layer.
 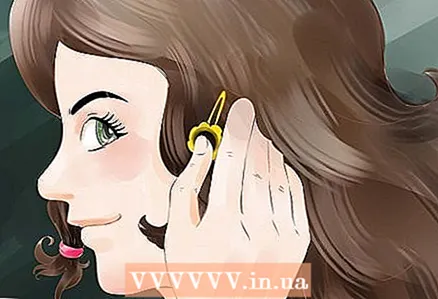 5 Separate the trimmed strands from the uncut strands. Once you've finished trimming the ends of one layer of hair, use a clip to separate the trimmed sections from those you haven't cut yet. This separation will prevent you from accidentally trimming the same strands twice. Continue trimming the ends of the strands until you have trimmed all of them. This can take quite a long time, especially if you have thick hair. Please be patient and take your time!
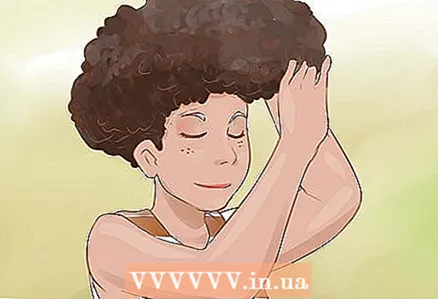
 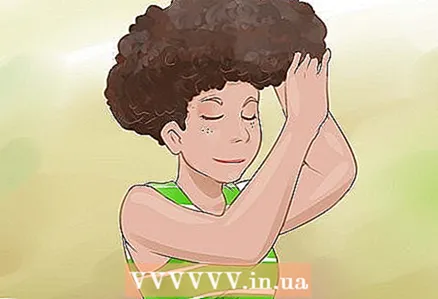 6 Shake your hair. When you're done, parse the curls with your fingers and shake.
  7 Examine your hair. Examine your curls from all angles and make sure you achieve the desired result. Use scissors to correct specific areas. See if there are strands that are significantly longer or cut at a different angle and trim them as needed.
Method 2 of 4: Cutting your braided hair
 1 Detangle your hair. Use the brush to comb your hair carefully so that it encounters little or no resistance. Make sure there are no tangles and the hair is ready to be braided.
  2 Divide your hair into about 1/2-inch sections and braid each section. Use a comb to separate each section from the rest of your hair. After separating one section, braid it and secure with an elastic band. Leave about 1 inch of hair unbraided at the end of each braid.
  3 Braid all your hair. Continue to divide your hair into sections and braid until all hair is braided.The number of braids you get will depend on how thick your hair is, but in any case, you should end up with a few thin braids.
 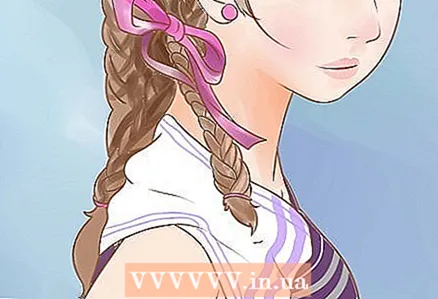 4 Wrap a towel around your neck and shoulders. Secure it with a secure hair clip (duck) or safety pin. The towel will keep hair from getting on your clothes or neck. It is also worth covering the floor with newspaper so that the bobbed hair falls on it.
  5 Trim the end of each braid. Cut 0.5-1.5 cm from the end of each braid. The scissors should be suitable for cutting the hair and be very sharp indeed. Be careful to cut straight, not at an angle.
 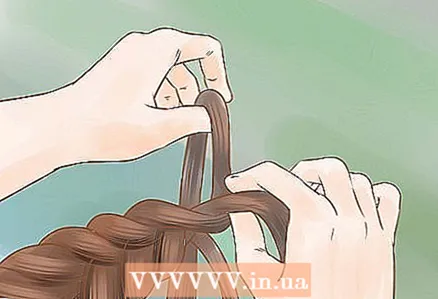 6 Unwind your braids. Detach the braids, part your hair with your fingers and shake.
  7 Examine your hair. Examine your curls from all angles and make sure you achieve the desired result. Use scissors to correct specific areas. See if there are strands that are significantly longer or cut at a different angle and trim them as needed.
Method 3 of 4: Trimming Ponytail Hair
 1 Detangle your hair. Use the brush to comb your hair carefully so that it encounters little or no resistance. Make sure there are no tangles and ponytails.
 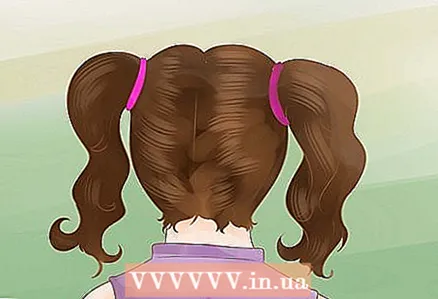 2 Ponytail your hair. Part your hair into two low ponytails at the sides of your head. Pull the ends down over your shoulders to see what you are going to do.
 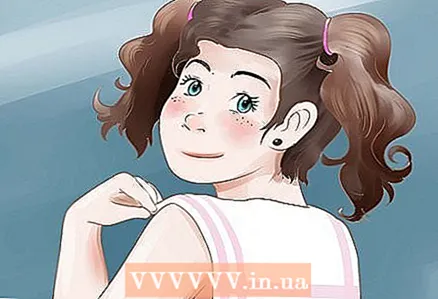 3 Wrap a towel around your neck and shoulders. Secure it with a secure hair clip (duck) or safety pin. The towel will keep hair from getting on your clothes or neck. It is also worth covering the floor with newspaper so that the bobbed hair falls on it.
 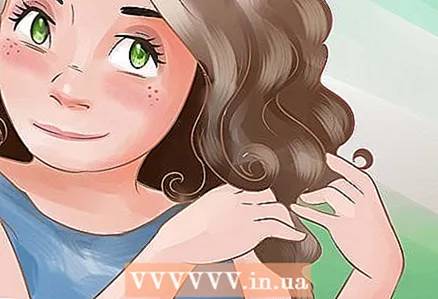 4 Decide how much you want to shorten your hair. Determine how much you want to cut and grab the hair at that point with your index and middle fingers.
  5 Cut your hair. Trim each ponytail in a straight line at the desired location (just below your toes). The scissors should be suitable for cutting the hair and be very sharp indeed. If you want to give your hair a slight slope, you can cut slightly at an angle. Just be sure to trim both ponytails at the same angle, mirror-image.
 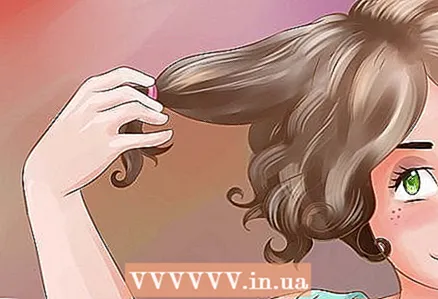 6 Remove the rubber bands from your hair. Remove the rubber bands from the ponytails, parse the hair with your fingers and shake.
  7 Examine your hair. Examine your curls from all angles and make sure you achieve the desired result. Use scissors to correct specific areas. See if there are strands that are significantly longer or cut at a different angle and trim them as needed.
Method 4 of 4: Wet Curly Hair
 1 Wash your hair with shampoo and conditioner. After washing, towel dry your hair and apply your usual styling product, but do not blow dry. Let your hair dry naturally for a while, but it should remain slightly damp.
 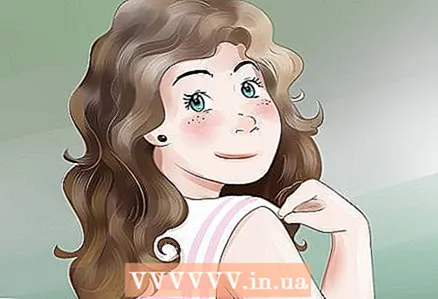 2 Wrap a towel around your neck and shoulders. Secure it with a secure hair clip (duck) or safety pin. The towel will keep hair from getting on your clothes or neck. It is also worth covering the floor with newspaper so that the bobbed hair falls on it.
  3 Install mirrors. Before starting, make sure your hair is visible to you from both the front and back. To do this, place the mirrors facing each other - one in front of you and one behind you. Place them so that both your face and the back of your head are reflected in the mirror in front of you. If you have long hair, you can skip this step, as you will be able to comb all the strands forward for a haircut.
  4 Cut your hair. Use sharp scissors to trim the ends of each strand. The scissors should be suitable for cutting the hair and be very sharp indeed. Cut your hair close to the ends or along the curve of a curl. Start with the top layer of your hair and work your way down, layer by layer.
  5 Separate the trimmed strands from the uncut strands. Once you've finished trimming the ends of one layer of hair, use a clip to separate the trimmed sections from those you haven't cut yet. This separation will prevent you from accidentally trimming the same strands twice. Continue trimming the ends of the strands until you have trimmed all of them. This can take quite a long time, especially if you have thick hair. Please be patient and take your time!
  6 Shake your hair. When you're done, parse the curls with your fingers and shake.
  7 Examine your hair. Examine your curls from all angles and make sure you achieve the desired result. Use scissors to correct specific areas. See if there are strands that are significantly longer or cut at a different angle and trim them as needed.
Tips
- When you cut your hair, keep in mind that after cutting the curls will become firmer, as on longer hair they stretch under their own weight. If you have long hair, cut it back a little to see if you like it and decide if you should cut it more.
Warnings
- A do-it-yourself haircut can be successful, but it may not work perfectly, especially if you want to radically change your look. If you want to cut your hair a lot or get a complex, multi-layered haircut, then it's best to go to a hairdresser.
What do you need
Method 1
- Scissors
- Hair clips ("ducks")
- Two mirrors
- Towel
Method 2
- Scissors
- Hair ties
- Comb and / or brush
- Towel
Method 3
- Comb and / or brush
- Scissors
- Hair ties
- Towel
Method 4
- Shampoo and conditioner
- Comb and brush
- Scissors
- Hairpins
- Two mirrors
- Towel

")

