Author:
Clyde Lopez
Date Of Creation:
17 June 2021
Update Date:
1 July 2024

Content
- Steps
- Part 1 of 4: Cutting Stone for the Wall
- Part 2 of 4: Shaped Stone Cutting
- Part 3 of 4: Safety Precautions
- Part 4 of 4: Choosing the Right Stone
- Tips
- Warnings
- What do you need
- Additional articles
Whether you want to lay out the floor of the terrace with stone or create a sculpture, you need the ability to carve stone. It is not an easy task, but it is worth the effort - after all, the stone will last for many years. When you cut stone, take your time and take safety measures to avoid injury. In addition, you should choose the right stone for your purposes.
Steps
Part 1 of 4: Cutting Stone for the Wall
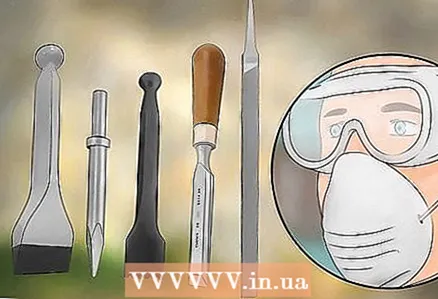
 1 Stock up on everything you need. Before you start cutting the stone, you should collect everything you need. The tools you need can be purchased at a hardware store. If you don't find anything there, search the internet.
 - To cut stone, you need a chisel and an electric diamond grinder. If you don't have a lot of work to do, the sander can be rented.
- You will need a hammer for a stone (it resembles a small sledgehammer).
- Protective equipment will also be required. Safety goggles, full face mask and ear protection must be worn. To protect your ears from loud noise, you can cover them with headphones (these are available at hardware stores).
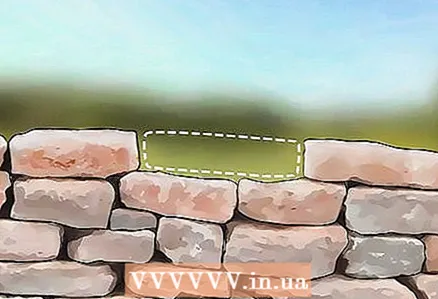 2 Determine how much stone you need. If you want to use stones of the same size, you probably already know how many will be required. However, sometimes stones of non-standard sizes are needed. For example, if you need to cover a niche in the wall with a stone, measure its dimensions with a tape measure. Before you start cutting the stone, you should accurately determine the required dimensions.
 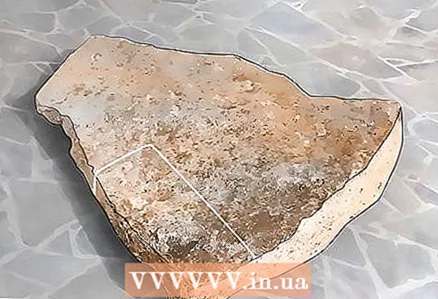 3 Mark the location of the cut. Mark a line on the stone along which you will cut it.
 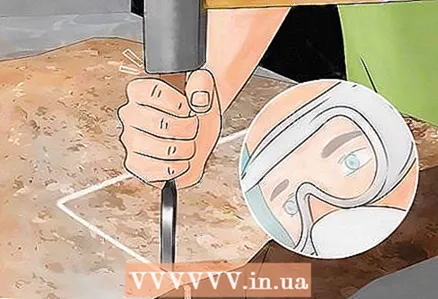 4 Walk the chisel along the cut line on the "face". This is the side that will stick out from the wall. This way you get a cleaner dividing line than with a sander. The cut on the front side should be smoother and smoother. Place the chisel on the previously marked line and hit it with a hammer. Before doing this, wear safety goggles to protect your eyes from flying debris.
 - Take the chisel and place it vertically on the stone, so that its blade is located along the future cut line, and hit the chisel head with a hammer. In this way, apply 3-4 small marks along the line, with a distance between adjacent marks of about 2-3 centimeters. Then fill in the gaps between them: place a chisel between the marks and hit it with a hammer.
- Continue working with the chisel until you have made a groove along the entire marked cut line. When doing this, place the chisel on the line and hit it hard with the hammer once, then move it forward or backward along the line and hit it again, and so on.
 5 Put on a face shield and ear muffs. The next step is to work with a grinding machine. Be sure to wear safety glasses, ear muffs and a mask before turning on the machine. Stone chips can fly out from under the cut-off wheel, and the loud noise of the cutting tool is harmful to hearing.
 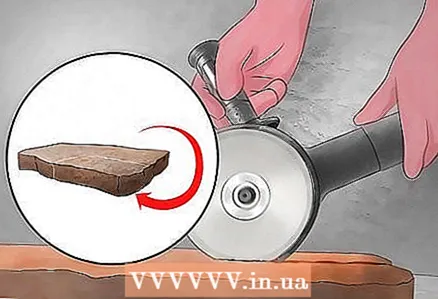 6 Use a grinder to cut lines on the other sides of the stone. Turn the stone so that one of the non-face sides is on top.
 - Use a sander to cut a straight line on this side. Walk along the line several times until you have a narrow groove. Take your time and keep the line straight.
- Turn the stone over and repeat the process on the other side. Then unfold the stone again. Repeat this procedure until you have made deep enough grooves on all sides except the front.
 7 Finish the cut with a chisel. After you have made grooves on all sides of the stone, with a chisel on the face and a diamond wheel on the rest, it remains to complete the last step.
 - Start from the front and hit 3-4 hard enough hits along the groove with your chisel and hammer.
- Turn the stone over to the next side and repeat the procedure.
- Repeat until (this may take some time) until the stone cracks.
Part 2 of 4: Shaped Stone Cutting
 1 Collect the necessary tools. If you want to carve a specific shape out of a stone, or cut it in a non-straight line, you will need the appropriate tools and guards. Please note that the process of cutting the stone and shaping it requires more care.
 - You will need a chisel set that includes a large and heavy chisel, a point chisel, a gear, a flat chisel, and a file. This kit can be purchased online or at a hardware store.
- Wear a respirator and goggles while working.
- It is also advisable to wear leather gloves to protect your hands.
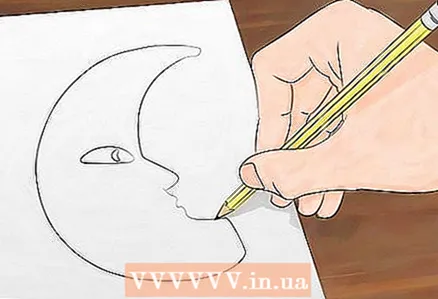 2 Draw a sketch of what you would like to receive on a piece of paper. First you need to sketch the desired shape on paper. This will help you navigate the cutting process more easily. It can be something subtle, like a flower, or a simple rounded corner, or an uneven patch of tile. In any case, a sketch of the desired shape should be sketched on paper.
 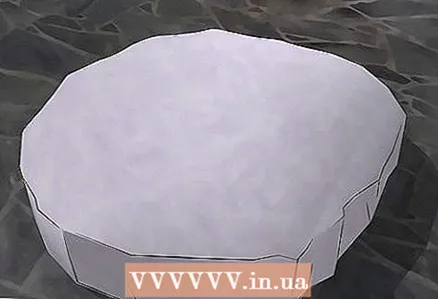 3 Choose a stone that is close to the shape you want. You can look for similar stones in the area, or purchase them at a home improvement store. At the same time, try to make the shape of the stone as much as possible resemble the shape that you are going to get. For example, a stone with a rounded edge might work for a rounded corner. This way you can reduce the amount of work required.
  4 Sketch the stone itself. Now it's time to draw the desired shape on the stone. If you are going to carve a specific shape out of the stone, paint around the edges of its outlines. For example, if you want to get the shape of a flower, draw a bud, petals, and so on on the stone. You can use a marker or pencil for this.
  5 Mark the approximate shape with a large, heavy chisel. Now you can start carving the shape. Start with the largest and heaviest chisel. With its help, you can carve the rough outlines of the future figure.Do not worry if they faintly resemble what you would like to end up with. At this stage, you need to get only an approximate outline, which you will finish in the next steps.
 - Scrape the chisel along the stone to rough it up. Cut edges that extend beyond your sketch. Be sure to wear safety goggles to prevent debris flying off the stone from getting into your eyes.
- Do not chip large pieces from the stone. Instead, try to chop off small pieces with each stroke. Make grooves in the stone and do not pay attention to small irregularities - you will chip them later with another tool. A large chisel leaves uneven marks and is not designed for delicate work.
 6 Use a point chisel to level out the marks left by the large chisel. After you give the stone a general outline, take a point chisel. With its help, you can get even closer to the desired shape. Guide the chisel along the edges and cut small lines in them. You can align them later with a serrated blade (serrated blade).
 - Typically, the chisel should be guided at an angle of approximately 45 degrees. However, the angle may vary slightly depending on the roughness of the stone. When cutting very rough surfaces, you can steer the chisel at a sharper angle.
- At this stage, you should also not rush. Remember that it will take some time before the stone begins to take shape. Carve small lines along the raised edges of the stone. Make these lines about 2-4 centimeters apart. Then change direction, as if shading the stone with cross lines. As a result, the surface will be leveled and small bumps will remain on it, which you will smooth out with a gear.
- The shape of the stone should already resemble the desired one, but with an uneven and bumpy surface.
 7 Use a serrated chisel to smooth out irregularities. At this stage, you can move on to improving the shape and leveling the surface with a gear. Tap and scrape gently with a jagged tooth to smooth out rough lines and bumps. The bumps should be removed fairly easily. Continue working until you have removed most of the bumps and lines from the previous chisel. After the serration, marks and scratches will also remain on the surface of the stone, and this is quite normal. You will remove them with a flat chisel.
 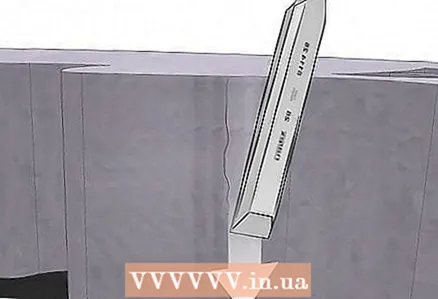 8 Remove the stripes with a flat chisel. At this stage, the stone will already take the desired shape, but its edges will still be somewhat uneven and rough. The flat chisel can now be used. Gently scrape along the edges with a chisel and remove the lines and bumps that remain after the chisel. A flat chisel has a smoother blade that smoothes the surface. Small irregularities left by the flat chisel will be less visible and can be removed with a file.
 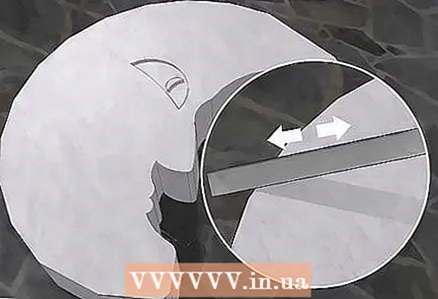 9 File the surface with a file. Chisels may leave debris and uneven edges on the surface of the stone. Take a file and rub the stone with it. Smooth out any sharp edges with a file and remove any debris lodged in the recesses. Sand the surface to make it smooth.
Part 3 of 4: Safety Precautions
 1 Use safety glasses. Wear protective goggles when working with stones. These can be purchased at a hardware or home improvement store. These goggles will protect your eyes from debris that will fly off the stone when struck by the chisel.
 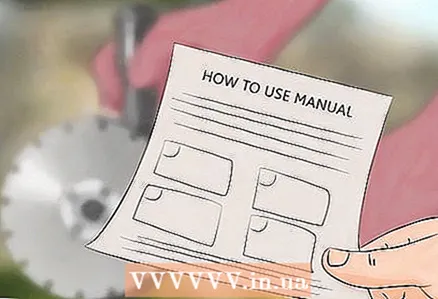 2 Read the instructions provided with the material carefully. You need to know what kind of material you are working with. When selling a stone, safety instructions are usually attached to it. Instruments are also provided with instructions for correct use. Do not violate safety rules. Please read them fully before starting work.
 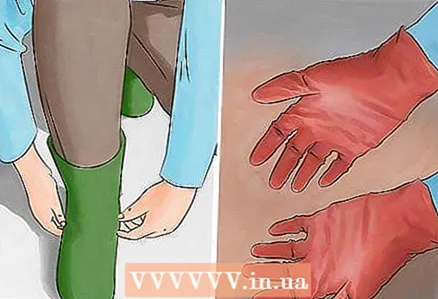 3 Wear safe clothing. When cutting stone, dress in such a way as to minimize the risk of accidents. Take safety precautions before starting work.
 - Remove all jewelry. If you have long hair, tie it in a bun at the back.
- Do not wear shorts - long trousers will protect your feet from rock debris.
 4 Work in a clean, well-lit area. The place of work is very important for safety. Make sure it is clean and well lit. If your place of work is cluttered, you may stumble and injure yourself. It also needs to be well lit so you can see what you are doing.
Part 4 of 4: Choosing the Right Stone
 1 Decide if you need a stone for commercial or personal use. When choosing, you should decide what type of stone you need. One of the main factors is whether you intend to use the stone for commercial or personal purposes.
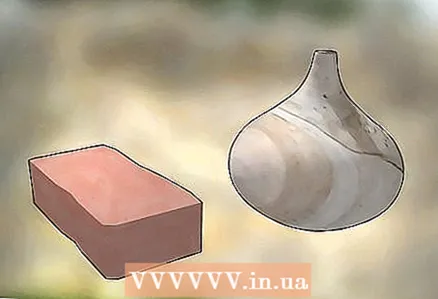
 - Commercial use involves heavy traffic. For example, if you buy a stone for paving slabs or are going to lay it on the floor of a store, they will often walk on it. In this case, you should choose a heavier and stronger type of stone. You should avoid such popular for crafts, but insufficiently strong rocks such as limestone.
- Personal use assumes that you are purchasing a stone for your home. For example, you can make a stone kitchen counter. In this case, softer and cheaper breeds will do. You can use granite or other natural stones.
 2 Determine which price range is right for you. It is not always possible to find the right product right away. In some regions, certain types of stone are delivered from afar, which increases their price. Make a list of the breeds that are right for you and see what is available in your local stores. The stone can be quite expensive, so decide how much you are willing to spend.
 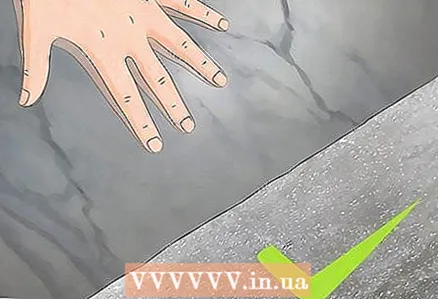 3 Use a stone that does not require finishing. Finishing is required for many types of stone. For example, if the surface of the stone is too slippery, sanding, sandblasting, or flaming may be necessary. It is not cheap and requires the help of specialists. Choose a stone that does not require special finishing.
Tips
- If you are not used to this kind of work, consider purchasing an already cut stone. It may cost a little more, but this will fix the problem right away.
Warnings
- Work slowly to avoid injury with the diamond wheel or chisel.
What do you need
- Metal or rubber hammer
- Chisel
- Ruler or square
- Roulette
- Pencil or marker
- Grinder
Additional articles
How to clean marble products How to polish marble How to clean brick How to build a brick wall
 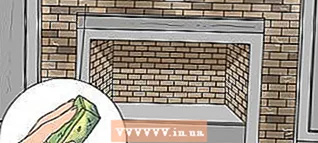 How to remove soot from bricks
  How to engrave on stone
 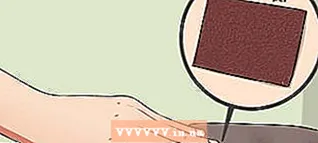 How to carve in stone
  Like a brick
  How to build a chimney
  How to kill a fly quickly
  How to use fans to cool your home How to open a lock How to open a lock with a hairpin or hairpin
  How to calculate the power consumption of an electrical appliance


