Author:
Clyde Lopez
Date Of Creation:
17 June 2021
Update Date:
1 July 2024

Content
Slink's toy springs are often confused. If it happens that your spring is very tangled, it can usually be saved with less time and effort than it would take to buy a new spring.
Steps
Method 1 of 2: Unraveling the Spring
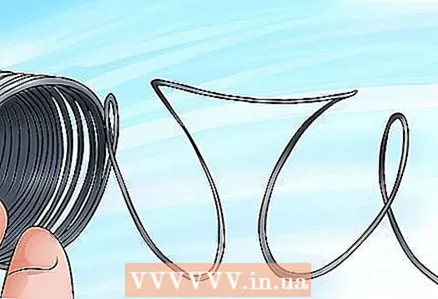
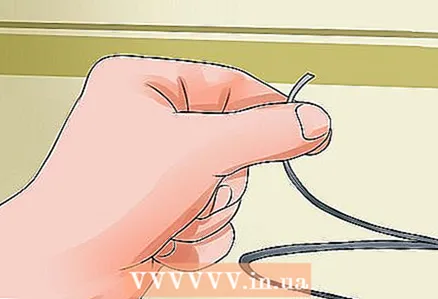 1 Find one end of the spring. The process of untangling a spring is similar to untangling an extension cord or an electric string. Start by locating one end of the spring.
 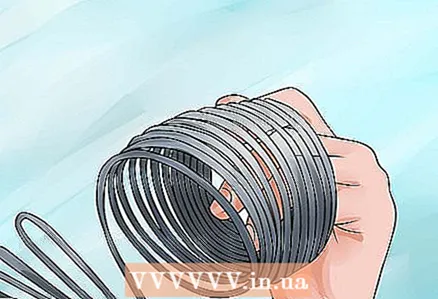 2 Collect untangled rings in one hand. To prevent tangled rings from getting tangled while fixing the rest of the rings, take them from one end in one hand.
 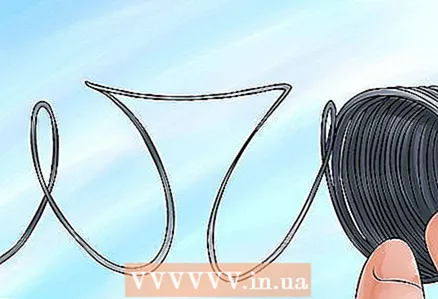 3 Stretch out the tangled area. When you get to the first tangled area, gently stretch the loops to see if simply disengaging the coils of the spring will be enough to unravel it. Do not pull too hard, as this can entangle the spring even more.
 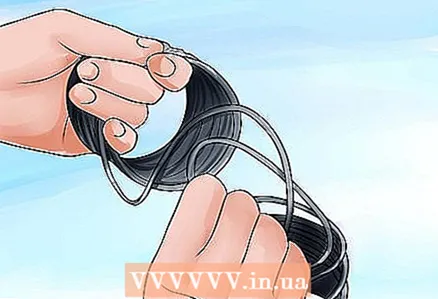 4 Untangle the knots on the spring. Skip the inverted U-coils for now and focus on removing the knots. Work each knot one at a time, straightening it so that the knot can be untied by pulling the untangled portion of the spring through it.
 - Do not forget to pick up the already untangled spring rings each time so that they do not get confused again.
 5 Repeat the procedure until all knots are untied. After untangling the main knots, you will be left with a spring with several U-rings turned inside out and pointing in the wrong direction.
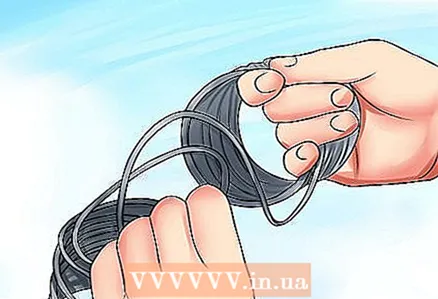
 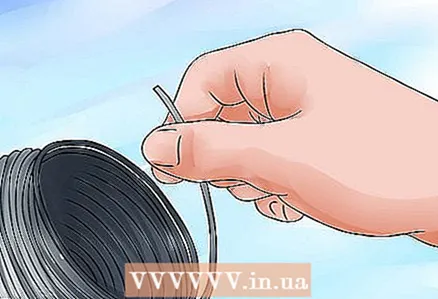 6 Pass the spring through your fingers. To remove inverted areas, press one end of the spring flat between your thumb and forefinger. Next, you should pass the entire spring through these fingers. It is necessary to work from one end to the other. In this case, all the turned-out rings will gradually be lowered to the other end of the spring and, in the end, will simply be removed.
 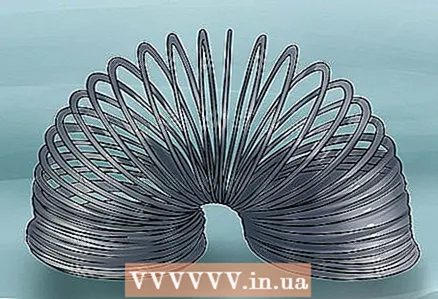 7 Rejoice at your repaired slinky spring!
Method 2 of 2: Trimming the spring
 1 Find the place as close as possible to the knot. As a last resort, you can cut out the tangled section of the spring and continue to play with the remaining two untangled and rejoined sections. Find the point on the spring that is closest to the node.
 - This method is most appropriate when there is one very tightly tangled section of the spring that you cannot otherwise untangle. Try the above method first to save the spring as much as possible.
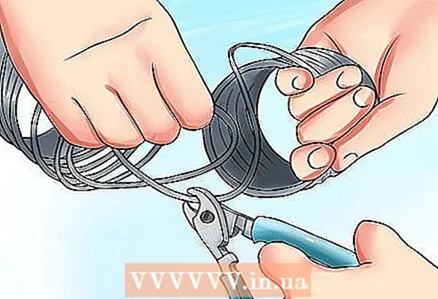 2 Cut out the knot with a metal cutter. Use metal pliers to cut springs, especially metal springs, not scissors. You should trim the knot on both sides as close as possible. You will be left with two untangled spring sections.
 - If the knot is located at one end of the spring, you may need to trim only one side of the knot by shortening the mainspring slightly.
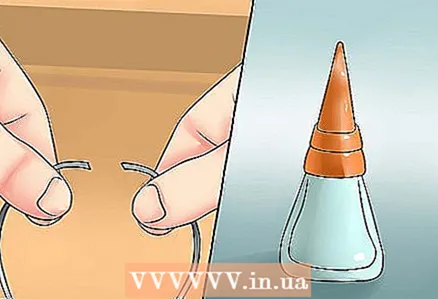 3 Connect the two separate pieces of the spring with super glue. Larger plastic slinks have enough shearing area for a drop of super glue to securely glue the two ends of the spring together.
Tips
- Sometimes, after a very strong entanglement, the spring may not regain its previous shape. In this case, you can simply buy a new slink instead.


