Author:
Ellen Moore
Date Of Creation:
19 January 2021
Update Date:
1 July 2024
Content
Adobe Photoshop CS3 is a powerful graphic content editing software that can be used to create and prepare images for print or web design, and to restore or enhance images. This program is used by professionals and amateurs and is suitable for PC and Mac computers.
Steps
 1 Purchase Adobe Photoshop CS3. This program is available on disk or for download.
  2 Install Adobe Photoshop CS3.
 3 Take a look at the resources available to Adobe Photoshop CS3 users. This includes guides, videos, forums, and RSS feeds.
  4 Open Adobe Photoshop CS3.
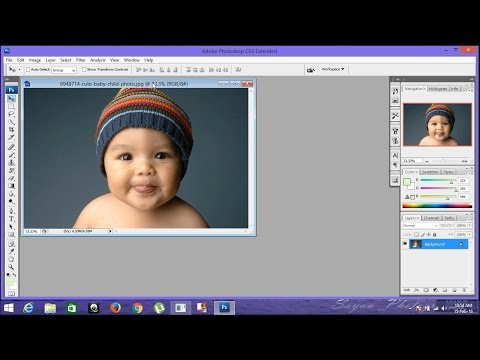
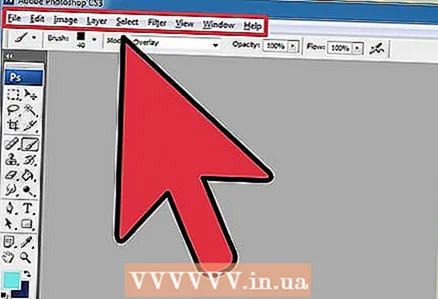 5 Check out the Photoshop workspace.
- The menu sits at the top of the work area and sorts commands into categories.
- The tools menu is located on the left side of the workspace and includes tool icons for adding text and creating / editing pictures, images and graphic elements.
- Many tools have several options. The Control Panel (Options) displays options (if available) for the tools you are working with.
- The Document window is the main part of your screen where your work is.
- Panels (also known as Palettes) are ways of keeping track of changes made during your work. The Layers panel (Layers palette) is a commonly used panel. You can add or remove a panel from the Window menu located in the main menu. You can customize your work area by changing the position of your panels.
 6 Open the image for editing or create a new one.
- When creating a new image, specify its size, resolution and background.
 7 Select "Image Size" from the Image menu if you are working with an existing image. The Image menu is on the main menu.
 - Uncheck the "Resample Image." Resampling changes the amount of data in the image and can negatively affect its quality.
- Resize your image by adjusting the height or width in pixels or inches. To resize your image proportionally, select "Constrain Proportions."
- Adjust the image resolution if you like.
 8 Adjust the color mode of the image if necessary by selecting "Mode" from the Image menu.
 9 Change the color within your image by adjusting Layers, Curves, Hue or Saturation, or by combining these parameters. You can open these parameters in the "Adjustments" submenu, in the Image menu.
  10 Beautify your images by choosing the desired tool from the Tools panel.
 11 Save the image using the new file name and choosing "Save As" from the File menu. Try not to overwrite the original file.
 - Adobe Photoshop CS3 offers options for saving in various formats. For print, .tif will be the best format, while .webp is the best for web design.
Tips
- Adobe Photoshop CS3 has many features for modifying and transforming an image, including tools for adding or removing details, sharpening or blurring images, adding text, and correcting imperfections.
- Color modes can be RGB (red, green, blue) or CMYK (cyan, magenta, yellow, black). These modes are responsible for displaying colors in printed or digital images.
- Resolution is the number of pixels per inch. The higher the resolution, the higher the quality of the printed image. If you are using an image for web design or other digital format, lower resolution is acceptable. A resolution of 72 ppi is typical for websites, while 300 ppi is for printing images.


