Author:
Clyde Lopez
Date Of Creation:
26 June 2021
Update Date:
24 June 2024

Content
- Steps
- Method 1 of 6: Preparing for Drywall Filling
- Method 2 of 6: Applying the first coat of putty
- Method 3 of 6: Stripping the first layer
- Method 4 of 6: Final Layer
- Method 5 of 6: Completion
- Method 6 of 6: Information about drywall
- Tips
- Warnings
- What do you need
Many walls and ceilings in modern construction are made from drywall sheets. Drywall is a gypsum mix sealed between two sheets of heavyweight paper. It is attached to a wall or ceiling using special screws or plasterboard nails. The long edges of each drywall sheet are chamfered, this allows you to process the seam between the boards so that your walls are nice and smooth. In this article, we will go over the basic techniques required to make drywall flooring. The process is carried out in several stages and requires some special tools.
Steps
Method 1 of 6: Preparing for Drywall Filling
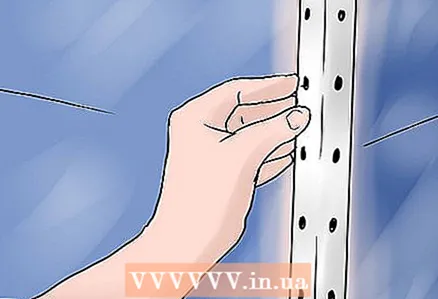
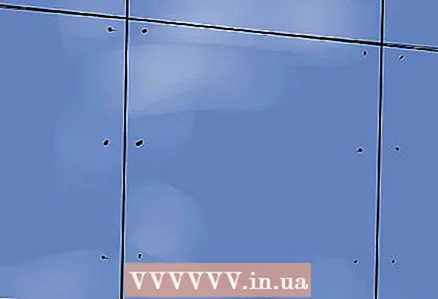 1 Make sure the drywall is properly attached to the wall. Drywall should be attached over the entire area with special self-tapping screws, along the length of each rack every 25 cm, and it is attached not only along the edges, but also in the center. Ideally, it should be held along each long edge with ten self-tapping screws, plus two rows of 10 self-tapping screws, located 40 cm from each long edge.
 - Drywall is easiest to work with with a screwdriver. Use a screwdriver equipped with a special drill designed for drywall. These tools perfectly countersink the slots for each self-tapping screw that you screw into the drywall.
- Be sure to check the screwed-in screws to make sure none are sticking out. Correct with a countersink or other operation any screws that stick out even a little. This will save you a lot of nerves, as you will have to correct every missed one when you start filling.
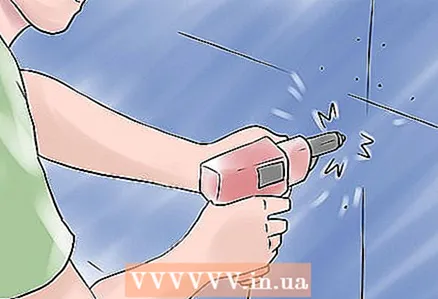
- Avoid nailing drywall if you cannot use a drill. Chances are good to bend the nail, or pierce the top layer of paper with the nail head, or simply smash the drywall with a hammer and miss it on the nail. But if you have already decided, then you should nail in pairs, at a distance of about 1 centimeter from each other.
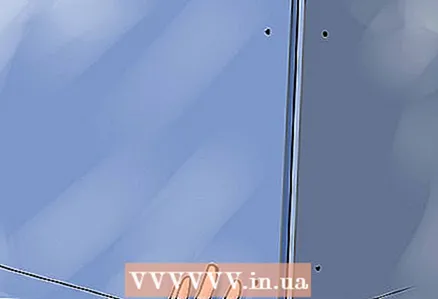 2 Process the "butt" sides. The long edges of the drywall are beveled; short ribs (and any edges you trim) do not taper and form "butt" sides that are more difficult to trim. Therefore, try to have fewer of them, and as many beveled edges as possible. The sheets should be no more than a centimeter apart. Make sure the corners converge as well. But don't worry too much about large gaps - as long as the sheets are held firmly in place, any gaps can be filled in later by filling.
Method 2 of 6: Applying the first coat of putty
- 1 Prepare right away for the fact that you will apply several layers of putty. Your main goal on each layer is to constantly work to ensure that the surface is smooth and even.
- At the outer corners, you need to leave bulges - then you will have to skin.
- At the junction of the plates, on the contrary, it is necessary to leave depressions for pasting the joint tape there.
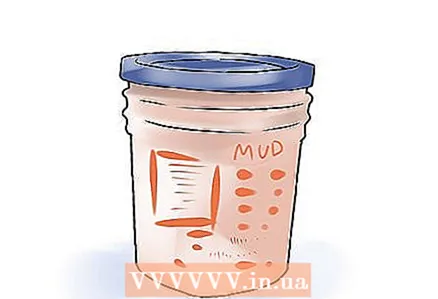
- 2 Choose the right filler. You can buy dry mortar (just add water) or a ready-made mixed putty. Both options come in different types - basic, standard or for finishing.
- Dry mix is less expensive and you can make as much as you want (assuming you have a clear idea of the amount you need). Use it primarily to fill large holes and gaps. On larger planes, it is generally more difficult to apply.
- If you choose a ready-made putty mixture, then keep in mind that it is more expensive, and it may be more than you need for this job.
- For the first coats, a quick-drying gypsum filler is usually used. For the final layer - polymeric finishing putty.
 3 Buy more putty for your job. Keep in mind that according to average rates, it goes from about half a kilogram to one and a half kilograms of putty per square meter of surface (this depends on the thickness of the layer and the type of mixture).
 - If there is a watery layer on top of the finished putty, then you need to slowly mix them by hand or with a construction mixer using a drill until the mixture is smooth and homogeneous.
- Avoid high speed, otherwise you may fill the mixture with air bubbles or even spill everything around the room.
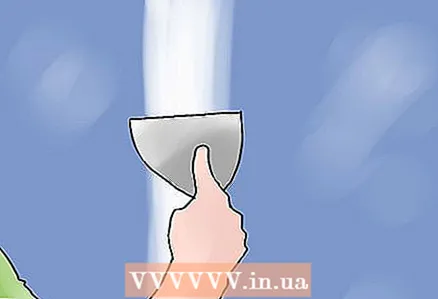
 4 Get a spatula. They can be plastic or steel. Usually 2-3 spatulas are used - one large (30-40 cm), one main (15 cm) and an auxiliary (5-10 cm).
 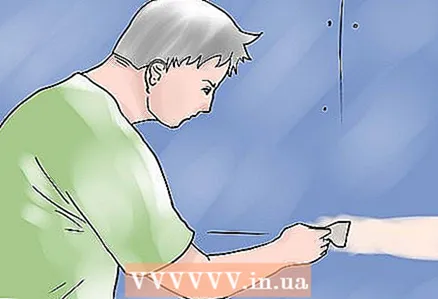 5 Apply the first coat. Usually the first layer is made thicker than the next. Apply a small amount of the mixture with the secondary trowel to the primary trowel.
 - The first step is to cover up all the joints, seams, corners and screws. Next, a tape is applied to the joints, and profile corners are applied to the corners.
- Make a single pass over the applied putty to level the layer.
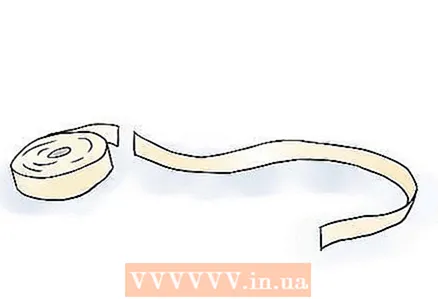 6 Prepare the tape. Cut the pieces to the desired length with a small margin at the ends.
 - The masking tape (serpyanka) does not need to be wetted. Its properties differ from ordinary paper, making the tape elastic and ideal for drywall applications.
 7 Stick the tape. Begin gluing immediately after applying the first layer, along the entire length of the seam, and the seam should be in the middle. The mixture under the tape should not dry out in time.
  8 Go over the pasted tape again. Cover the tape with putty. You can go over the screws again.
  9 Internal corners. They also need to go through with putty and seal with tape. In principle, everything is the same as with the joints.
 - If the corner is even and straight, you can insert aluminum corners - the result will be better.
 10 Outside corners. To give strength to the structure, the outer corners must be fixed with aluminum (or stainless steel) perforated corners. The technique is the same as before.
  11 Let dry. Leave to dry overnight. Remember to wash your tools. If you used gypsum putty, as recommended, you need to do it in moderation or throw away the remains, as it will dry out overnight.
Method 3 of 6: Stripping the first layer
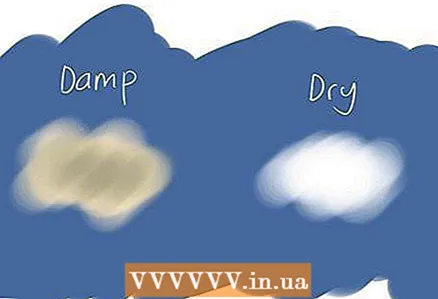 1 Make sure the putty is dry. Check the corners - they may be damp.
 - In cold or damp weather, it can take longer to dry, up to a day.
 2 Use a respirator. Wear a protective mask every time you work with sandpaper. Also cover furniture and other items, close doors and crevices to keep dust from spreading through the house.
 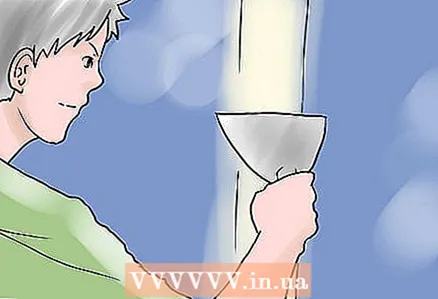 3 Shoot down large irregularities. Use a spatula to remove significant bumps.
  4 If the surface is more or less even, then you do not need to clean it. Otherwise, use an emery cloth (with a dedicated sanding pad) or a sander.
Method 4 of 6: Final Layer
- 1 Apply a finishing filler. Use a specially formulated polymer finishing filler.
- Apply the mixture with a wide spatula, from the corners to the center, in wide strokes.
- Do not leave drywall gaps.
- If necessary, use a narrow spatula for hard-to-reach places.
 2 Let dry. Leave it on overnight, and again, don't forget to wash your tools.
 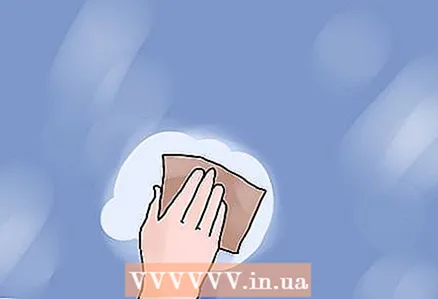 3 Repeat the stripping process. Shoot down large irregularities with a spatula, and sand the rest with sandpaper or a machine.
 - The finishing layer must be processed with high quality! If you are going to stick wallpaper afterwards, it is enough to make the surface more or less even. If you are going to paint drywall later, you need to grind the surface "flush".
Method 5 of 6: Completion
 1 The putty was just the beginning. It was preparation for further work - wallpapering or painting.
  2 Wallpaper gluing. You must first prime the walls, then glue the wallpaper. More details - in the article How to glue the wallpaper.
 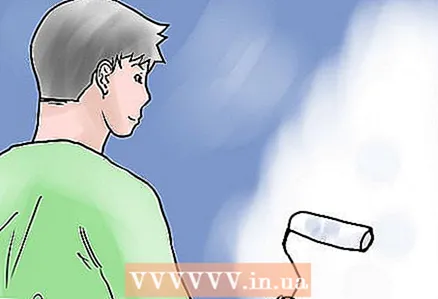 3 Painting. Before painting, the walls also need to be primed, and then painted.
Method 6 of 6: Information about drywall
 1 Helpful information. Drywall is usually produced in different thicknesses - 8, 10 or 12 mm (there may be other sizes).
 - Sheet sizes: usually 120x250 (or 300) cm.
- The composition is basic, moisture resistant, reinforced and refractory.
 2 Places of application. In bathrooms, kitchens and ceilings, it is recommended to use only moisture resistant drywall.
  3 Storage. It is advisable to store drywall in a dry room, stacked on top of each other. When transporting sheets, you need to be careful, because sheets are fragile and can break. The corners of the sheet require special care, as they can break or crumble at the slightest impact, for example, on the floor.
Tips
- The putty in the bucket must be constantly mixed, scraped off the walls.
- It may be necessary to apply several coats of plaster putty to level the surface.
- Irregularities can be detected using a flashlight.
Warnings
- The dried filler must be removed from the mixture, otherwise it will leave scratches on the surface.
- Check with your salesperson to purchase the tools and materials you need.
What do you need
- Drywall in the right amount
- Basic gypsum putty
- Finishing polymer putty
- Spatula of different sizes
- Bucket (basin) for putty
- Masking tape (serpyanka)
- Drywall drill with drill
- Self-tapping screws for drywall
- Sandpaper or sander
- Protective gloves and goggles
- Respirator


