Author:
Marcus Baldwin
Date Of Creation:
15 June 2021
Update Date:
22 June 2024

Content
Using the hole punching pliers, it is easy to insert the eyelets into the desired material. This article explains how to use them.
Steps
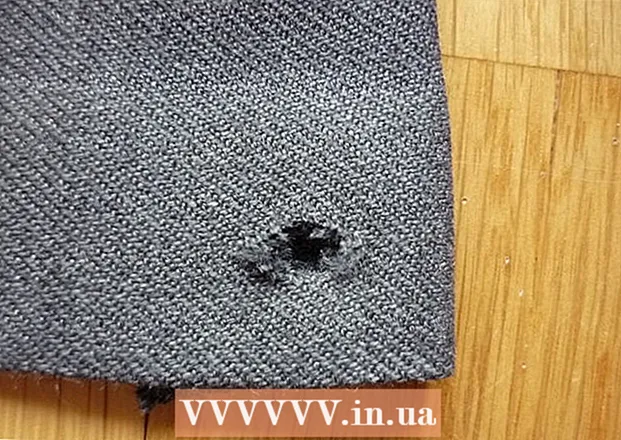 1 Cut a hole in the material where you want to insert the grommet. This hole must be large enough for the grommet to fit in. If it is too large, the grommet will fall out.
  2 Place a lining under the fabric to create a clean cut. The spacer can be: a piece of hard leather (see next photo), a piece of acrylic from a cutting board used in the kitchen, plastic floor tiles, or even a piece of paper folded over and over again. Make sure you have everything you need close at hand when making a hole!
  3 Always place something under the inside of the fabric to cut the hole. Squeeze the pliers firmly or use a hammer to punch the hole.
  4 Slide the grommet through the hole you made. It must be inserted into the material from the correct side, so that the flat part of the eyelet is on the front side.
 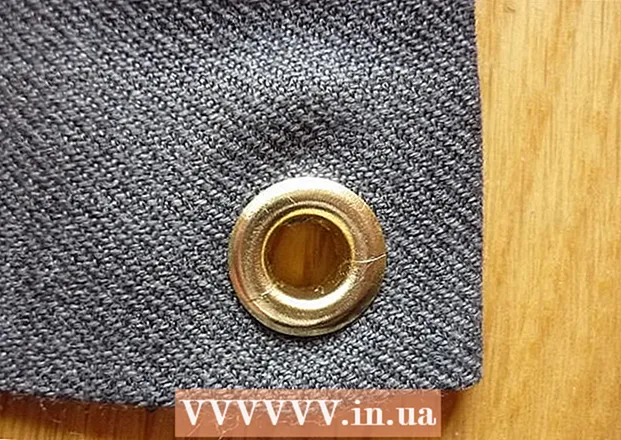 5 Tuck loose threads under the flat part of the eyelet to hide them from view.
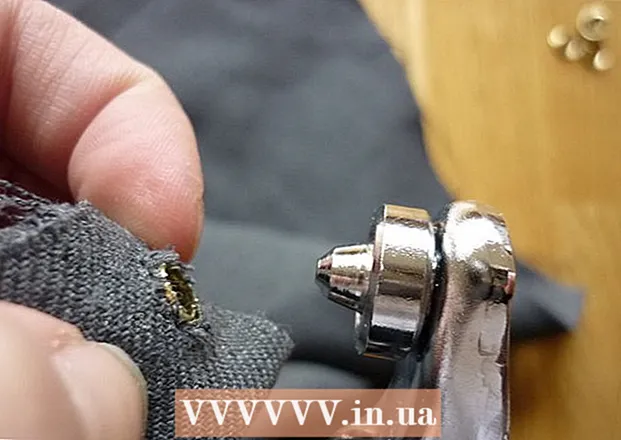 6 Bring the punching pliers to the hole. The flat (front) side of the eyelet should be on the slightly curved side of the tongs, and the curved (inside) side of the eyelet should be aligned with the "pointed" side of the tongs.
 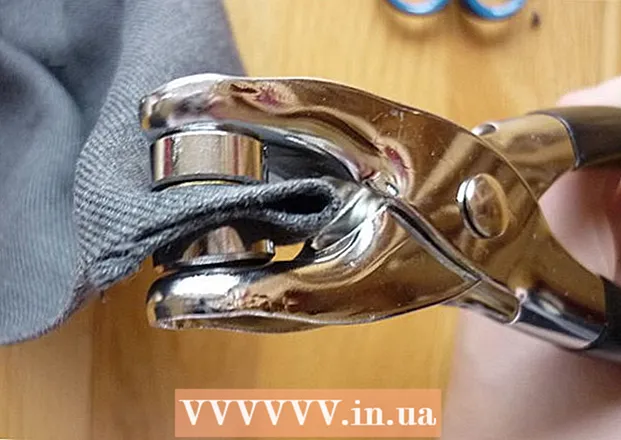 7 Squeeze the handles of the pliers.
 8 Remove the pliers and check that the grommet is correctly locked. If it can be rotated in the material, then you will need to repeat the previous step, applying more force to secure it securely.
What do you need
- Punching pliers
- Eyelets
- Material
- Scissors


