Content
- Steps
- Method 1 of 4: Eraser (Windows)
- Method 2 of 4: Empty Trash Can't Reverse (macOS)
- Method 3 of 4: Formatting your hard drive (macOS)
- Method 4 of 4: Formatting the Hard Drive with DBAN (Windows)
- Tips
To permanently delete files from your hard drive, you need to overwrite the space they occupied prior to deletion. If you select a file, press the Delete key, and then empty the Trash, the file will not be permanently deleted - hackers and security experts can restore it. Mac computers have a built-in feature to completely erase files from the hard drive, while Windows users will need to install third-party software. Learn how to use Irreversible Empty Trash (Mac) and Eraser (Windows) to get rid of deleted files permanently.
Steps
Method 1 of 4: Eraser (Windows)
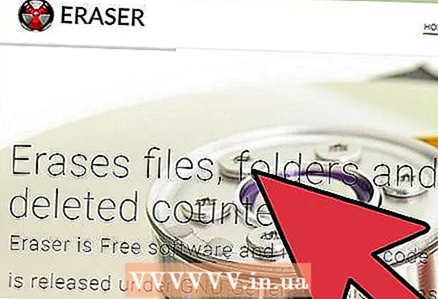 1 Download the program Eraser on the developer's website. This program is recommended by security experts; it adds an option to the context menu that allows you to safely delete (erase) any file or folder with one click. Also, with the help of Eraser, you can overwrite the space (with random data), which was occupied by files before deletion.
 - The installation file of the program will be downloaded to the download folder (by default, this is the Downloads folder).
 2 Run the installer. Double click on the downloaded file and then accept the license agreement. Select “Complete” as the installation type, click “Next” and then click “Install”. When a window opens with a Finish button, click it to complete the installation.
 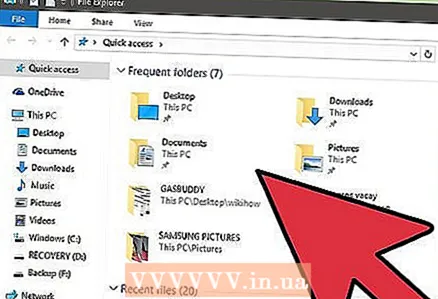 3 Find the files you want to delete in Windows Explorer. If there are files on your computer that you want to permanently delete, click ⊞ Win+Eto open the Explorer window, and then navigate to the folder with the files you want.
 - To select multiple files or folders at once, hold down the Ctrl and click on the files / folders you want.
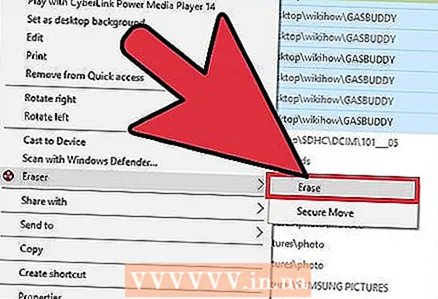 4 Right-click on the file (s) and choose Eraser> Erase from the menu. The files will be deleted without going through the Trash. This may take several minutes depending on the speed of the computer and the size of the file.
 - You can delete entire folders in the same way.
 5 Run Eraser to permanently erase the data of deleted files. To ensure that confidential files you deleted cannot be recovered, create and run a new task in Eraser. Click on ⊞ Win+Sto open a Windows search box, and then type Eraser in it. When “Eraser” appears in the search results, click on this program to launch it.
 - The Eraser task may take several hours to complete, depending on the speed of your computer and the size of the disk. The computer can be used, but it is likely to run slower than usual.
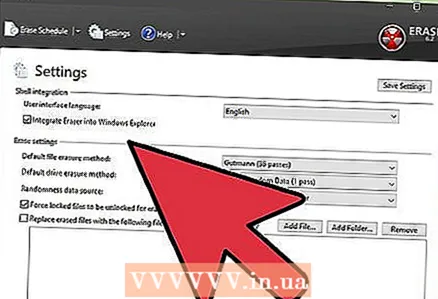 6 Tap Settings to view the erase method options. Erase methods are predefined templates for overwriting the space that is left of deleted files. Various methods run templates multiple times (each full overwrite is called a "pass") to ensure that deleted files are never recovered. Select the "Default file erasure method" and "Default unused space erasure method".
 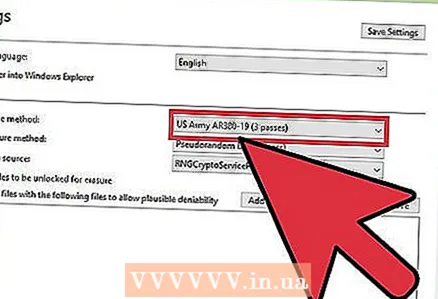 7 Select the erasing method "US Army" or "Air Force". They provide fast yet efficient rewriting. Other methods have a higher number of passes (up to 35), but three-pass methods such as the US Army and Air Force provide additional assurance. Click “Save settings” when done.
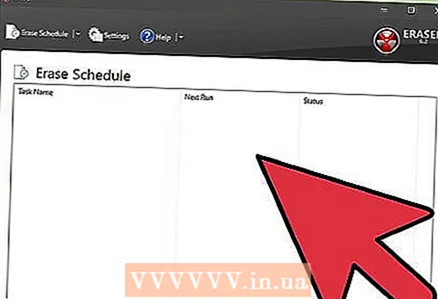
 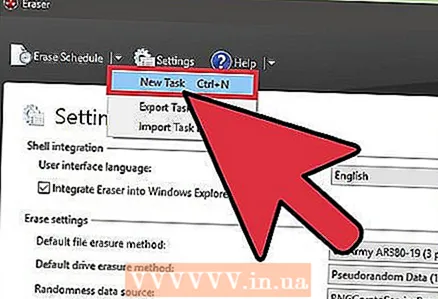 8 Click the downward arrow icon next to Erase Schedule and then click New task. Now create a task that you can run immediately.
  9 Select “Run manually” and then click “Add data” to specify which data needs to be erased. Since the files have already been deleted, select “Unused Disk Space” and then click on your primary hard drive in the list. Now click "OK".
  10 Close all programs except Eraser. Do this to keep Eraser running smoothly.
  11 Right click on “Erase Schedule” to open the task list. Click on the task you just created (it should be named “Unused Disk Space”) and then select “Run now”. A progress bar appears. When the process is complete, the indicator will reach 100%. Now no one can recover deleted files.
Method 2 of 4: Empty Trash Can't Reverse (macOS)
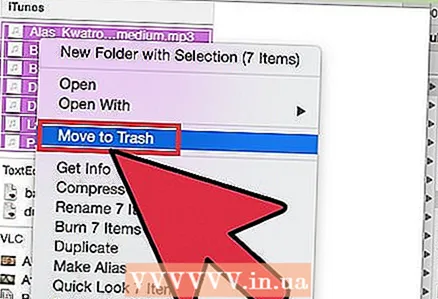 1 Move files and / or folders to the Trash. To do this, simply drag and drop files / folders onto the trash can icon in the Dock.
 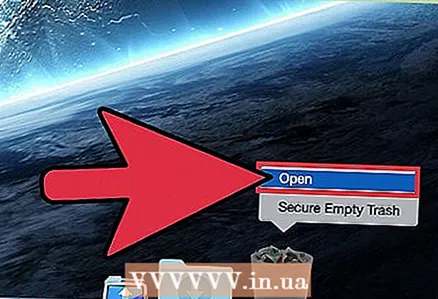 2 Open Trash to view deleted files. Deleted files are placed in the Trash. Click on the Trash icon in the dock to view what's in the Trash.
 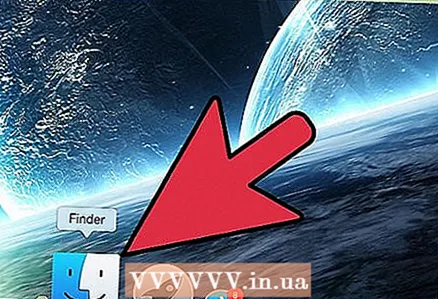 3 Click on the Finder icon in the Dock and then open the Finder menu. Here you can select an option that will permanently delete files in the Trash.
  4 Select the option "Empty Trash is Irreversible". A dialog box will appear asking: "Are you sure you want to delete items in the Trash using the 'Empty Trash Can't Reversible' function?" Click "OK" to delete files / folders. This process can take anywhere from a few minutes to several hours, depending on the size of the files.
 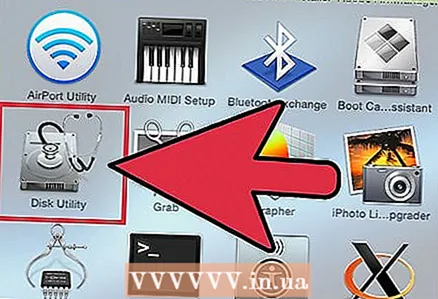 5 Format your hard drive. Do this if you prefer to delete all files on your computer, not just some of them. Formatting will completely destroy all files on the computer, so you will have to reinstall the system. It can take several hours to format a disc (depending on the capacity of the disc).
Method 3 of 4: Formatting your hard drive (macOS)
 1 Connect to the internet and then restart your Mac. Use this method if you prefer to erase everything from your hard drive, including personal settings and data. As soon as you hear the startup tone, quickly press and hold the keys ⌘ Command+Rto start the System Restore utility. If the system has already booted, restart your computer and press the indicated keys as soon as you hear a beep.
 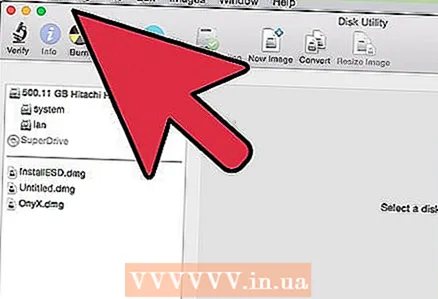 2 Click Disk Utility> Continue. Select the drive you want to format and then go to the Erase tab. SPECIALIST'S ADVICE
Gonzalo martinez
Computer and Phone Repair Specialist Gonzalo Martinez is the president of CleverTech, a San Jose, California-based appliance repair company founded in 2014. CleverTech LLC specializes in repairing Apple devices. In an effort to be more environmentally responsible, the company reuses aluminum, displays and micro-components in motherboards for repairs. On average, it saves 1–1.5 kg of e-waste per day, compared to the average repair shop. Gonzalo martinez
Computer and phone repair specialistUse Disk Utility to completely erase the data. Gonzalo Martinez, Apple Device Repair Specialist, recommends: “When you send files to the Trash and then empty it, the remaining hard drive space is only overwritten with zeros. To permanently erase files, run Disk Utility and overwrite the free space. "
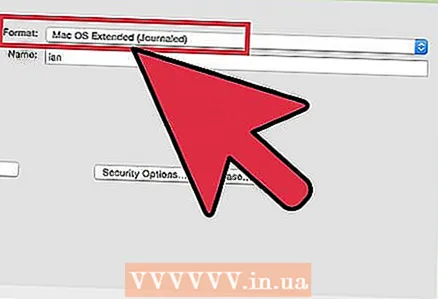 3 Choose Mac OS Extended (Journaled) from the Format menu. Now enter a name for the drive (for example, "Mac").
  4 Click Security Options, and then move the slider one space to the right. This will ensure that all data is erased before installing the system.
 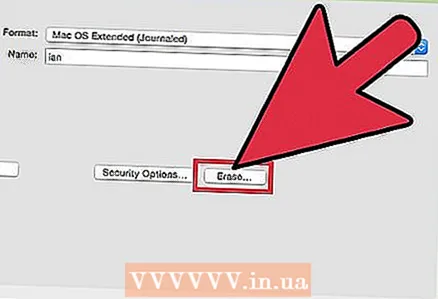 5 Click Erase. Once the formatting is complete (it can take several hours), the newly installed macOS system will boot.
Method 4 of 4: Formatting the Hard Drive with DBAN (Windows)
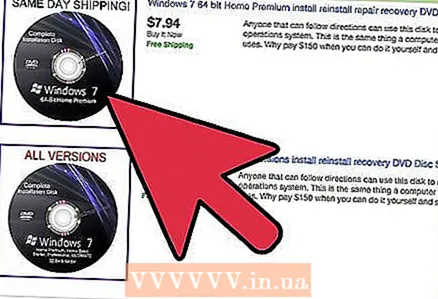 1 Find your Windows installation disc. This method should only be performed by experienced users. Formatting the hard drive will delete all files on your computer, including Windows. Therefore, you will need a Windows installation disc to reinstall the system. You can borrow the disk from friends (if they have the same version of Windows that you used).
 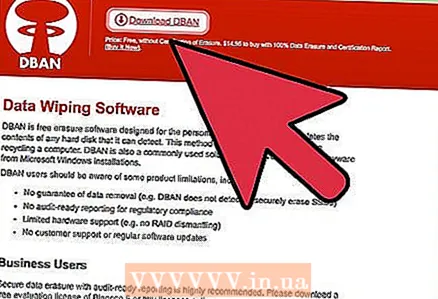 2 Download DBAN (Darik's Boot and Nuke). The only way to completely clean up your hard drive is to use a third-party specialized program. Experts recommend the free DBAN program. An image (ISO file) of this program will be downloaded to your computer.
  3 Burn DBAN to CD / DVD. Read this article to learn how to burn ISO files to discs.
  4 Insert the burned DBAN CD / DVD into your computer, and then restart it. This will launch DBAN (not Windows) and format the hard drive.
  5 Press Enter to select Interactive Mode. This will tell you how to format the disk.
  6 Press the spacebar to select the drive to format, then press F10to start formatting. The whole process will take several hours depending on the capacity and speed of the hard drive. Look at the time in the "Remaining" line in the upper right corner of the screen to follow the formatting progress.
 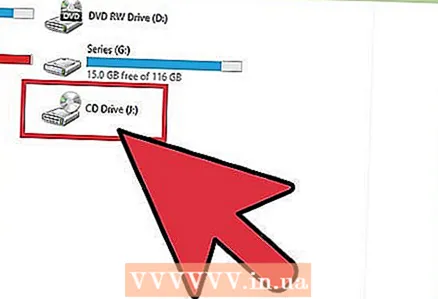 7 Remove the CD / DVD from the drive when the word “Pass” is displayed on the screen. This word means that the disk has been completely formatted and all of its space has been overwritten.
  8 Insert your Windows installation disc and restart your computer. Now start the Windows installation process on the formatted hard drive. When the computer restarts, Windows Installer will start. Click Install or Next to start the installation, and then follow the onscreen instructions to select installation options.
Tips
- If you reinstall the system without formatting your computer, technicians can recover old files.
- If your hard drive contains important confidential files, contact a specialized company that deals with professional data destruction.
- The methods described here can be applied to removable drives as well.


