Author:
Ellen Moore
Date Of Creation:
15 January 2021
Update Date:
1 July 2024
Content
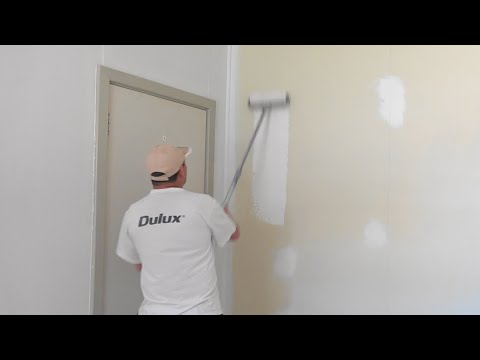
1 Plan a full day of preparation. The hastily painted walls are striking. Paint lines are visible and the color is not as shiny as it should be. If you want to paint your walls professionally, leave a full day of preparation for the perfect finish. 2 Choosing a color. The choice of color can go on endlessly and will tire you very much. Use the following tips to choose the right color:
 - Choose a color that matches the color palette of the room. This could be a rug, sofa, or even upholstery. Choose a color that matches them.
- Go from light to dark, floor to ceiling. If you want a standard solution, do the following: light tones go up (for example, ceiling), medium tones go up to walls, and dark colors go up to carpets / floors.
- Use similar colors. Colors that are closely spaced in the color palette tend to blend well together. Colors that are located at different ends of the palette require a bit of tinkering to be able to blend together.
3 Prepare the floor and switches for painting. The first thing you should do is lay the protective film on the floor so that it covers it completely. Secure the film with special tapes so that it does not move. As well as: - Remove all switches and outlets by covering them with tape.
- Also cover other bumps with tape that cannot be removed.
4 We sand the walls. Sanding is useful because it creates small holes and pores for paint to enter, creating a surface that is suitable for more even paint application. Wear a respirator while sanding. - Use semi-abrasive, 120-grit sandpaper. Start sanding at the top, working slowly down towards the center.
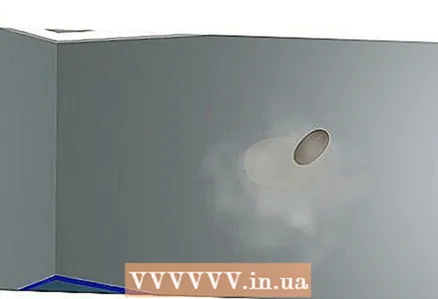
- Try to find the right balance of sanding pressure. Do not press too hard or too lightly. Medium pressure would be the right option.
- Replace the sandpaper when it becomes completely covered in dust and loses all of its sanding properties.
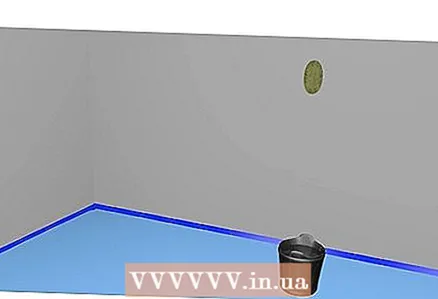
- Clean first with a coarse, damp sanding sponge. Keep a bucket of warm water nearby and dip a sponge in it often. After that, finish with a thin, damp sanding sponge, which should be washed frequently.
5 We clean the walls. Use a vacuum cleaner to remove dust and debris from the walls after sanding. Clean walls will be easier to paint and the end result will be much better. - The walls are washed with a light sponge using warm water and a little detergent. Wash greasy or other stubborn stains especially thoroughly. After that, go over the wall with a clean sponge.
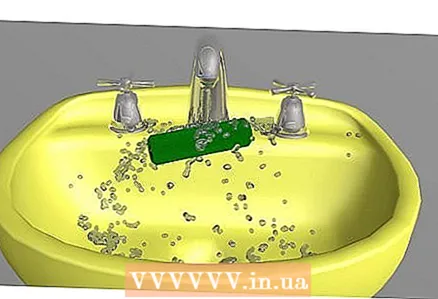
6 Fill up any holes or gaps by connecting or covering them up. Assess the condition of the wall. Are there any holes or holes in the wall that need attention? If so, then you will need a connector or a capping trowel. - Repair any tears on the wall.Use a damp finger to push the putty into the hole until the surface looks good.
- Choose a trowel for filling holes in the wall, depending on the type of wall. Use joint joint for drywall and filler joints for plaster. Smooth joints with 120-grit sandpaper after dry.
7 Decide what you will use: paint roller or corner brushes. You don't want paint on the ceiling or other unwanted parts of the room, do you? For this reason, decide whether to use a roller or corner brushes. Each option has its own pros and cons. - A paint roller requires a lot of adjustments, but does not require much force. You will have to use the roller very carefully so that it does not leak onto the floor, but once it reaches the wall, you no longer need to worry about mess.
- Angled brushes require no adjustments at all, but they can cause paint errors if you don't know how to use them. But if you know how to use them, you will save yourself many hours of preparation before painting.
8 Cover the wall with a primer. The primer is a light coat of paint that absorbs color well. You should definitely prime the wall if: - You are working on a wall that has never been painted before.
- You have repaired holes, holes, etc. on the wall
- Your wall is glossy
- The color you are going to paint is darker than the previous one.
Part 2 of 2: Painting
- 1 Start painting from the edges. Dip an angled brush into the paint 2.5 inches; lower the brush only one third, filling it with paint, not backward. Begin painting with an angled brush on the corners of the walls, leaving 2 inches (5 cm) around the edges.
- 2 Dip the roller into the paint. In order to fill in the area in the middle of the wall, as well as areas that have not yet been painted, it is better to use a roller. Here are some tips on how to properly apply paint to the roller.
- Moisten the roller before dipping it in paint. Moisten it with latex water.
- Moisten with oil paint thinner.
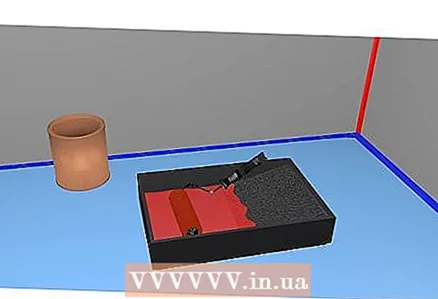
- Fill the tray with paint until it reaches the wire rack. It is not necessary to pour more paint.
- Lower the roller into the rear reservoir and pull it back to the grate, removing excess paint, but at the same time covering it with paint evenly.
- Moisten the roller before dipping it in paint. Moisten it with latex water.
- 3 Roll the paint onto the wall in a "W" or "M" shape. After lowering the roller into the tray, apply paint to the walls with "W" and "M" -shaped movements. Continue painting this way until the entire wall is covered with paint. When you apply paint like this, keep in mind the following:
- When making "W" or "M" movements, do not lift the roller away from the wall. Hold the roller on the wall until you need to draw more paint.
- When the roller starts to screech and squeak, it's time to draw some more paint. Lower it into the tray and repeat step 2.
- 4 Let the paint dry for a few hours..
- 5 Finish any department with paint. You may or may not do paint finishes. Again, you can either cover the wall with duct tape (wait for the paint to dry before applying it) or do it by hand.
- If you are applying paint to a wide area, use a wide, straight brush.
- If applying paint on a narrow surface, use an inclined brush (1-2 inches).
- 6 If necessary, cover the wall with a second coat of paint. Repeat the painting process for best results.
Tips
- Use a primer that is approximately the same color as the paint you will be using. This will give the second coat of paint more room to completely cover the primer.


