Author:
Helen Garcia
Date Of Creation:
22 April 2021
Update Date:
1 July 2024

Content
- Steps
- Method 1 of 3: Standard Picture Frame
- Method 2 of 3: Frame with canvas
- Method 3 of 3: Embroidery frame
- What do you need
- Standard picture frame
- Frame-canvas
- Embroidery hoop frame
If you need to quickly and inexpensively decorate a room, add an eye-catching detail to your interior, consider a simple frame with a decorative fabric inserted into it with a creative approach. As a frame, you can use a picture frame, canvas or embroidery hoop, each of the options is quite simple in itself.
Steps
Method 1 of 3: Standard Picture Frame
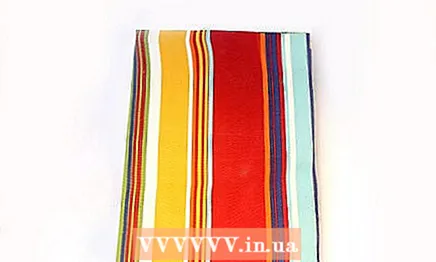
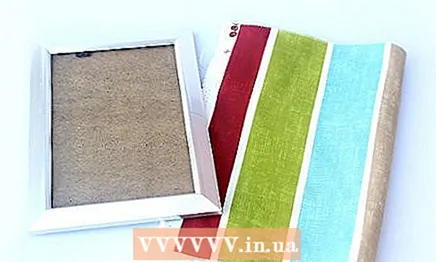 1 Attach the frame to the fabric. You will understand that it is easier to select the fabric to be inserted at first. Once you've settled on one of these, look at the frame, which should also match the color and style of the fabric.
 - You have a wide variety of fabrics to choose from. Fabric with a repeating, symmetrical pattern will be easier to work with. A large print is a bolder and more eye-catching option.
- Home decor fabrics are especially good for their size and weight, but you can opt for lighter fabrics as well. You will need 22.86 to 45.72 cm of fabric.
- The frame must also be large enough to adequately display the fabric pattern.
- If the fabric pattern is complex, it is better to use a simple frame so that the print itself is the center of attention, or vice versa, for a simple or small pattern, try to spice it up with a decorative or vintage frame.
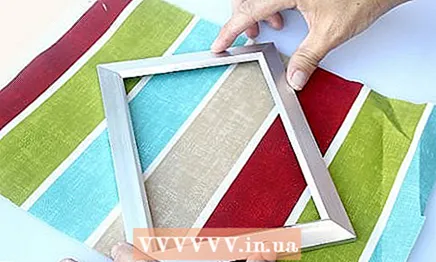 2 Find the best composition. Remove the glass and place the bezel on the fabric, right sides up. Move the frame in different directions until you find the best piece of fabric inside the frame.
 - You may need to wear gloves to protect your hands when handling the sharp edges of the frame glass.
- It should be noted that this step will be easier to complete with a repeating symmetrical pattern on the fabric, because no matter how you position the fabric in the frame, there will not be many options. When choosing fabric with a large print, you will have to play with it longer until your aesthetic taste is fully satisfied.
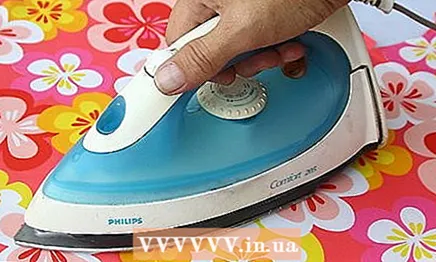
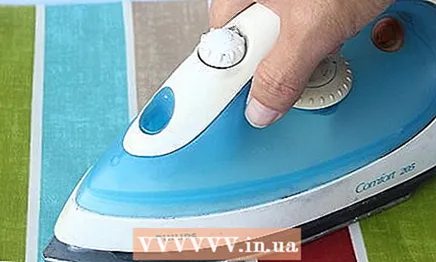 3 Iron the fabric. Make sure that the desired piece of fabric does not have any folds. Use an iron to remove wrinkles, folds.
 - Or, you can iron the entire fabric before you find the flap you want. Ironing after picking up the fragment will allow you to be more careful about removing the folds and will save you time.
- Pay attention to the type and composition of the fabric before ironing. Heavier fabrics are ironed with a hotter iron, while thin, delicate fabrics require little heat or are generally afraid of the iron.
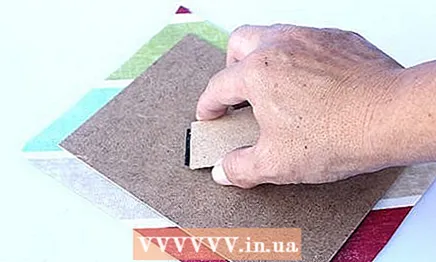 4 Place the subframe right side on the wrong side of the fabric.
- Make sure your selection is centered within the subframe. You can trim the fabric before doing this, but first make sure there is enough seam allowance.
 5 Trim the edges of the fabric so that there is a 5-7.6 cm (2 to 4 in) seam allowance on both sides. Attach to the frame or leave the fabric loose - at your discretion.
 - Trim the bottom and top so that they are level with the subframe. This will prevent the fabric from gathering and ugly puckering.
- Do not line up the sides with the subframe, otherwise the fabric will slide inside the frame as they will perfectly match.
- Use a spray adhesive or a stapler with staples to attach the fabric to the subframe.
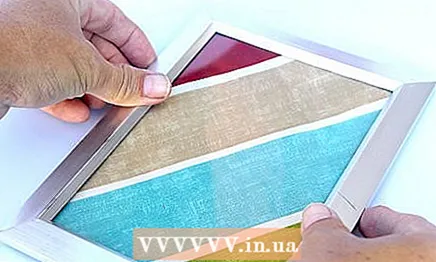 6 Assemble the frame parts together. Place the glass carefully into the frame, then the fabric and subframe. Pull the fabric taut before pressing against the subframe.
 - You can even leave out glass if you want to highlight and accentuate the texture of the fabric.
- Make sure that small areas of the fabric stick out at the back of both sides of the frame, this will help you stretch, straighten, or otherwise adjust the fabric already in the frame.
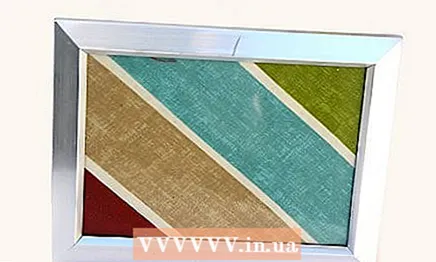 7 Hang it wherever you want. And that will complete the project. Now you can use your creation to embellish and polish your walls.
Method 2 of 3: Frame with canvas
 1 Iron the fabric to get rid of all folds and wrinkles, because they can spoil the final look of your creation.
- Pay attention to the type and composition of the fabric before ironing. Heavier, dense fabrics are ironed with a hotter iron, and thin, delicate fabrics require little heat or are completely afraid of the iron.
- You can iron the entire fabric before you find the flap you want. Stroking after fitting a piece will allow you to focus more closely on the desired piece.
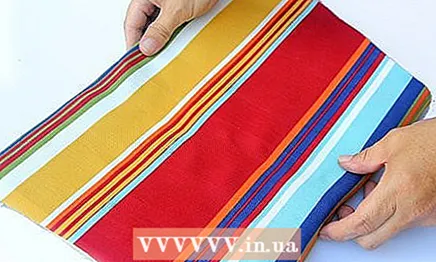 2 Choose the best location. Place fabric right side onto canvas. Move the fabric in a circle until you find the most attractive piece, limited by the size of the canvas.
 - Having a fabric with a repeating symmetrical pattern is not so important the choice of its location, since in any case the final product will not differ. However, this step is very significant if you have chosen fabric with large or asymmetrical prints.
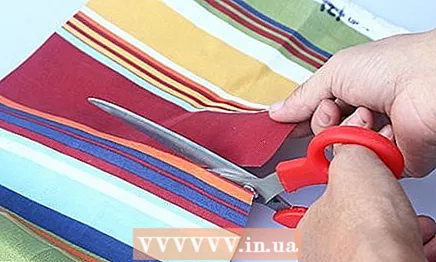 3 Cut the fabric with scissors, leaving an extra 5-7.6 cm from each edge of the canvas.
- Trimming the fabric from the front will help you keep the piece and not move the canvas out of place.
- Make sure the fabric has enough seams on each side to fold under the edge of the frame canvas.
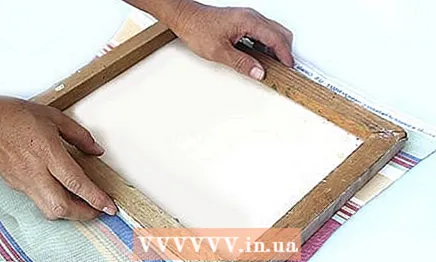 4 Place the canvas on top of the fabric. Place the fabric, wrong side up, and place the canvas over the center of the fabric with the wrong side of the fabric.
 - The canvas should be centered on the fabric, retaining the desired portion of the design, and the edges of the fabric should be free to fold under the canvas.
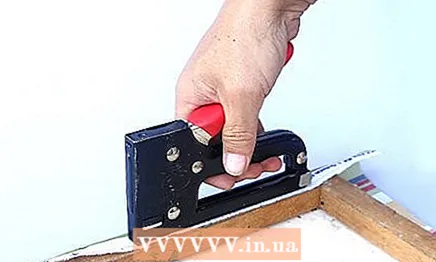 5 Staple opposite sides. Start at the center of the left side, then pull the fabric tighter and staple from the center of the right side now. Continue in the same way to apply the staples alternately on the left and right sides, pulling the fabric before each stroke of the stapler.
 - Perform this operation moving from the center to the edges of the canvas.
- It will take about 5-7 staples on each side.
- If you are using an electric stapler, take precautions. Unplug it from the socket if not in use or moved to the side during operation. # * Correctly stretched fabric should look smooth from the outside, but not stretched or taut like a string.
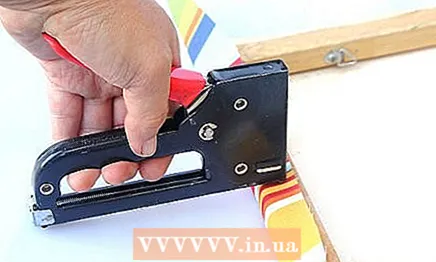 6 Staple top and bottom. Follow the same procedure as described above. Continue to pull the fabric in front of each staple.
 - Start at the center of the top side, then pull the fabric tighter and now staple from the center of the bottom side. Continue in the same way to apply staples alternately on the top and bottom sides, tightening the fabric before each stroke of the stapler until the entire fabric is completely attached to the canvas.
- Don't worry about the corners, we'll talk about that below.
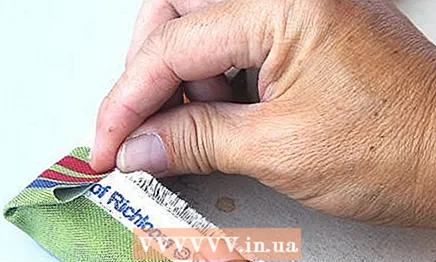 7 Wrap the corners. Fold the overhanging corners like wrapping paper and fold them back to hide them, they should not be visible from the outside of the canvas.
 - Fold each corner so that its top points inward and the edges are smooth and straight. Attach with staples.
- You can then cut or fold the excess fabric in the corners of your choice and fasten with staples again.
 8 Use as you wish. This completes the work. Your canvas is ready and now you can hang it somewhere.
Method 3 of 3: Embroidery frame
 1 Smooth out the fabric. If the fabric is wrinkled, remove any folds or wrinkles before working on it.
 - Pay attention to the type and composition of the fabric before ironing. Heavier, dense fabrics are ironed with a hotter iron, and thin, delicate fabrics require little heat or are completely afraid of the iron.
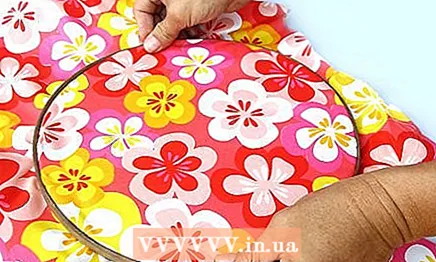
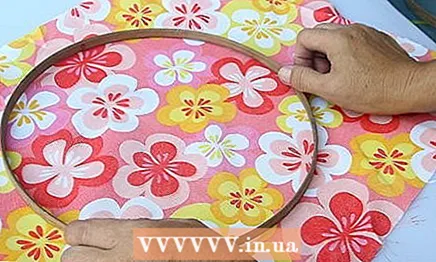 2 Hoop the fabric. Move the hoop along the right side of the fabric to select the portion you want. Open the hoop and insert the desired piece of fabric, take your time to close.
 - Stretch the fabric tighter before closing the hoop. It should look smooth, but not too tight.
- When working with fabric with small, repetitive patterns, you just need to center the hoop in the middle of the piece of fabric, since the end result does not depend on the selected section. For large, uneven patterns, you will need a little more time to select and center the desired section.
- It is important that the fabric is at least 5 cm wider along the entire circumference of the hoop. Play it safe and use an even much larger piece of fabric to manipulate the fit and allow for a 5cm overhang on each side.
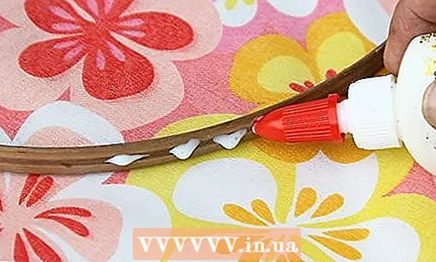 3 Apply glue to the back of the hoop. Wrap the fabric by folding the wrong sides of the fabric together. Apply PVA glue to the back of the inner hoop ring.
 - You can also use hot glue or fabric glue.
- Continue to apply a small amount of glue along the entire length of the hoop, right next to the fabric.
 4 Press the fabric against the glue. Apply the protruding fabric along the line of the applied adhesive, pressing down gently. Let dry.
 - The fabric should be glued to the rings along its entire length. If, after drying, there are no glued places, reapply the glue on them and press down more thoroughly.
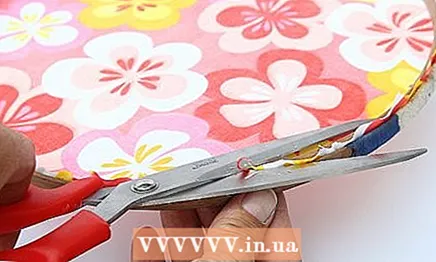 5 Cut the fabric. Cut it so that the excess ends of the fabric are not visible from the front of the hoop.
 - Make sure to trim off excess fabric as much as possible, otherwise it will fray every time you touch the hoop. If this is not possible, coat the edges of the fabric with a special anti-frayed gel.
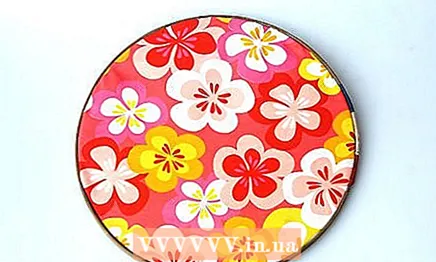 6 Use your creation. This completes the work. You can hang a ready-made hoop frame on the wall alone or make an ensemble of matching frames with fabrics.
What do you need
Standard picture frame
- Textile
- Picture frame
- Scissors
- Iron and ironing board
- Gloves (optional)
- Spray adhesive (optional)
- Stippler with staples (optional)
Frame-canvas
- Stretched blank canvas
- Textile
- Stippler pistol
- Iron
- Scissors
Embroidery hoop frame
- Textile
- Wooden embroidery hoop
- PVA glue
- Fabric scissors


