Author:
Carl Weaver
Date Of Creation:
21 February 2021
Update Date:
1 July 2024

Content
- Steps
- Method 1 of 2: Preparing the boat in advance
- Method 2 of 2: Painting the boat
- Tips
- A warning
- What do you need
When, after several years of operation, the paint on the boat begins to crack and peel off, you will need to choose: either hire a professional at the boat station, or paint it yourself. Painting a boat will take a lot of time and effort, from preparing the hull to purchasing paint. However, anyone can handle it. All you need is the simplest equipment and a few free evenings.
Steps
Method 1 of 2: Preparing the boat in advance
 1 Clean the boat thoroughly. Everything needs to be removed from the surface, from mud and sand to marine life and algae. It is generally easiest to clean the surface of the boat when it is not in the water. For perfect boat cleaning, use a high-pressure hose, scraper and rags.
  2 Remove the equipment from the boat. It is advisable to remove as much as possible, up to the aluminum window sheathing. Otherwise, an edge may form between the equipment and the paint, causing water to seep into cracks and ruin the paint.
 - Anything that cannot be removed should be covered with masking tape so as not to splatter with paint.
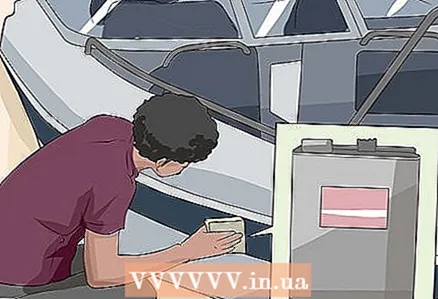 3 Remove boat wax with thinner. If the boat's coating is greasy and waxy to the touch, you will need to remove it before painting. Clean the wax finish with a coarse sponge and a solvent such as Awl-Prep.
 - Typically, if you run your fingers across the surface, top or bottom, you can tell if the coating is still there - it feels like a candle or a polished car to the touch.
- If you are in doubt about the finish, walk the boat again - the paint will not stick to the wax surface, so you will have to remove it anyway.
 4 Make any necessary repairs to the surface of the boat. When starting to paint, seal up any dents, cracks or corrosion to avoid holes or defects in the final painting phase.
 - Fill all holes with epoxy, which can be found near marine paint at home improvement or boating equipment stores.
 5 Sand the boat thoroughly. Use an 80-grit sandpaper and an orbital or finishing sander to sand the entire surface of the boat. Then the paint will lay down smoother and better adhere to the surface. When in doubt, clean off any old paint. Take note of a few important sanding tips:
 - It is necessary to completely remove and clean the old paint layer if it is damaged or begins to flake off.
- Remove old paint completely if the type of paint is different from the one you want to use (for example, non-vinyl - vinyl).
- Never grind your boat with a belt sander.
- A warning: When sanding, wear a dust mask and safety goggles, as paint chips are toxic.
Method 2 of 2: Painting the boat
 1 Paint on dry, cool days for best results. You don't want heat, humidity, or wind to ruin your work. Paint your boat if possible if the temperature is around 15-25 degrees Celsius and the humidity is around 60%.
 - If you can, paint the boat indoors.
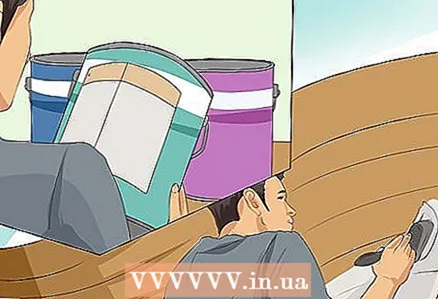
 2 Choose the right paint for your boat. There is a large selection of different boat paints on the market, from gel coatings and simple enamels to complex two-stage paint mixtures. If you are going to paint your own boat, a one-step polyurethane paint is by far the best.
 - Although two-step polyurethane paint will last longer, application requires precision mixing and special technical techniques.
- Most gel coatings, with the exception of the expensive and upscale ones, will wear off in 1-2 years.
 3 Apply 1-2 coats of primer. Check the labels on both cans to make sure the primer is compatible with the paint. The primer helps the paint adhere better to the boat surface and prevents cracking and bubbles.
 - After the first coat is dry, lightly sand the boat (300 grit sandpaper) and apply another coat.
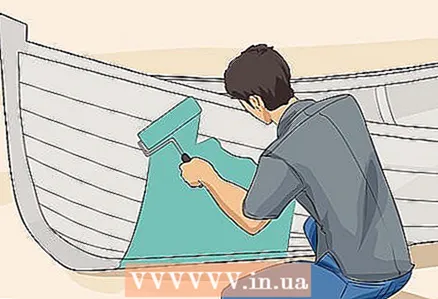 4 Paint the boat with a roller and brush. If you want to quickly paint your boat, start at the bottom of the boat using a paint roller. Do most of the work with a paint roller, and then touch up small areas with a brush.
  5 Lightly scrub the paint after it dries. This can take from one hour to a day. Lightly sand the paint with 300 grit sandpaper. This will remove any stains, problem spots or paint bubbles.
  6 Apply another 2-3 coats of paint. Sand the boat lightly after each coat has dried. Although it will take time, by applying 2-3 even coats of paint, you will protect your boat from cracks and paint discoloration for many years.
Tips
- If you are not sure if you can handle any part of this process, especially when it comes to sanding, then contact a boat painter who will do the job well.
- Take your time cleaning and sanding. Prep robots can take up to 80% of your time, but you will be happy with the result.
A warning
- Dust and debris are generated during sanding and can be highly toxic. Always wear protection for your eyes, nose and mouth.
What do you need
- Marine paint
- Solvent
- Grinder
- Primer
- Brush or roller


