Author:
Helen Garcia
Date Of Creation:
14 April 2021
Update Date:
1 July 2024

Content
- Steps
- Method 1 of 3: Preparing the bumper
- Method 2 of 3: Painting
- Method 3 of 3: Repairing cracks and minor scratches
- What do you need
- Warnings
Painting a plastic bumper is an easy way to update the look of your car. But first you need to remove the bumper and wash it thoroughly. If there are slight scratches or cracks on the bumper, coat and sand them. Wipe down the bumper and then apply several coats of base base, drying and sanding the paint after each application. Apply two coats of clearcoat for extra shine and durability, then let the varnish stick out for 6 hours before replacing the bumper and driving.
Steps
Method 1 of 3: Preparing the bumper
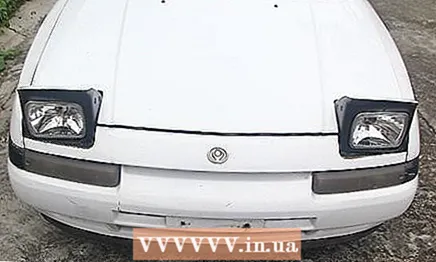 1 Remove the plastic bumper or cover it with masking tape. To prevent paint from getting on other parts of the car, remove the bumper and paint it separately, or leave it as it is and carefully glue the car body. If you plan to repair scratches and cracks before painting, it is best to remove the bumper.
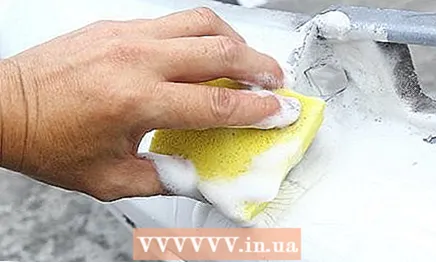
 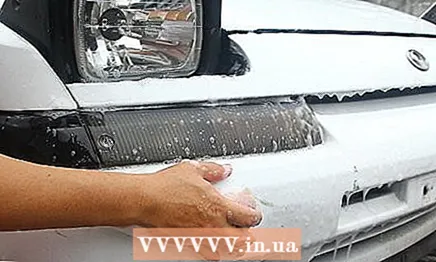 2 Wash the bumper thoroughly with degreaser and water. Wipe the surface well with a sticky cloth and soapy water. A degreaser like kitchen soap will help remove dirt and oils, leaving your bumper clean and ready to paint.
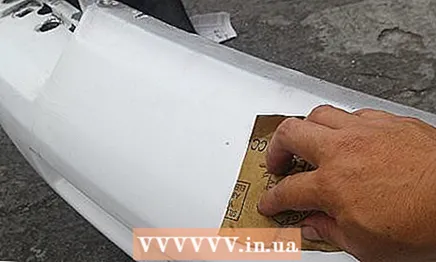
 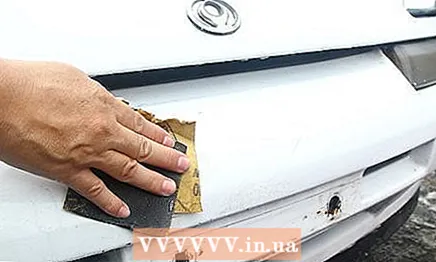 3 Sand the bumper with M28 / H-2 (P600) grit sandpaper and water, alternating directions. Run your hand over the bumper to find uneven spots. Sand them by hand using a spray gun with water and M28 / H-2 grit (P600) sandpaper. There should always be a layer of oxen between the sandpaper and the bumper. To do this, spray the area to be sanded with a spray bottle.
 - While sanding, alternate the direction of motion (forward and backward, and up and down) to smooth the surface and eliminate imperfections.
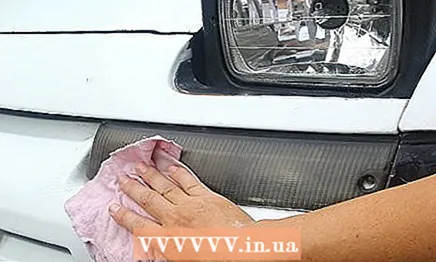 4 Wipe the bumper with a clean, dust-free cloth. Wipe off dirt and dust from sanding with a soft cloth. The surface must be clean and dry for the paint to adhere better.
Method 2 of 3: Painting
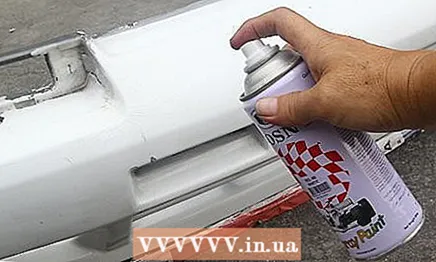 1 Apply a coat of base base from a spray can or spray gun and let dry. Hold the spray gun or spray can 30 cm from the surface of the bumper and apply a layer of base base in the same color as the car with even strokes. Each pass should overlap approximately 50% to achieve a smooth and even finish.
 - To protect yourself from harmful vapors when painting, wear protective equipment: mask and gloves.
- If you decide to use a spray gun, spray the paint a few times away from the bumper to clean the nozzle.
 2 Sand the imperfections with M10 / H-0 grit (P1500) sandpaper and water, then wipe with a cloth. After the first coat is dry, inspect it for leaks and imperfections. Sand them with sandpaper and a spray gun. Then wipe off the dust with a clean, dust-free cloth.
  3 Repeat the painting, drying and sanding process 1-2 more times. Remember to wipe down the bumper with a clean dust cloth after sanding the new layer. Apply up to 3 coats of base base or until an even coverage is achieved.
  4 Apply two coats of clear polish to preserve the base. Hold a can or a clear spray gun with clear varnish about 30 cm from the bumper surface and apply the varnish with light strokes.Wait 20 minutes for the varnish to dry, then apply a second coat and let it dry too.
 - Overlap the previous pass by 50% each time you apply clearcoat to achieve an even finish.
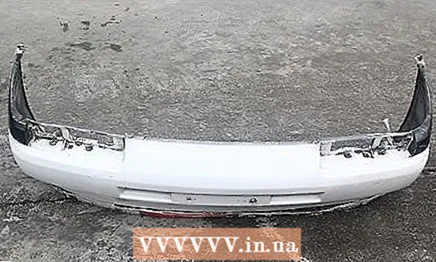 5 Let the bumper dry for at least 6 hours before putting it back in place and driving again. This time the paint should dry completely and harden. The longer the paint dries, the longer it will last for you, so you can wait 24 hours if necessary. After 6 hours, the masking tape can be removed from the car and the bumper can be installed on the body.
Method 3 of 3: Repairing cracks and minor scratches
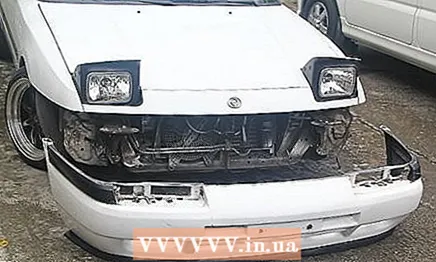 1 Remove the plastic bumper from the car. Bumpers from different car manufacturers are attached in different ways, for example, with screws, hinges, bolts and other fasteners. Inspect the bumper and find the connection points, then remove the fasteners and disconnect the bumper from the body.
 - These dots can be located near the boot latch, tail lights and wheel wells, as well as hide under the front of the car.
 2 Sand the defects and clean the surface with a plastic cleaner. Lightly sand the plastic with coarse sandpaper. Sanding will help remove accumulated dirt and give the surface a rougher texture that will help paint adhere better. After sanding, clean the surface with a soft, clean cloth dampened with plastic cleaner to remove any remaining dirt and oil.
 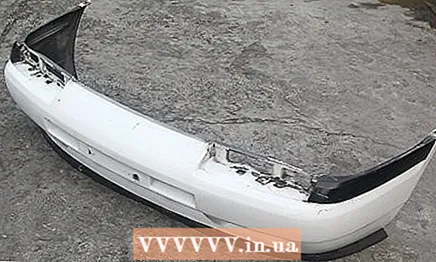 3 Rinse the surface and air dry. Pour some clean water over the area to rinse off any remaining cleaner. Place the bumper on an old towel and let it dry completely.
 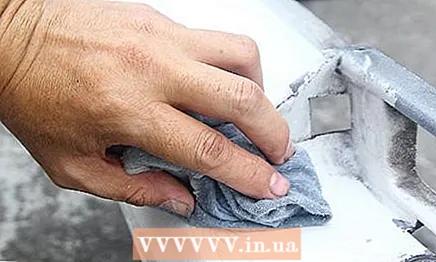 4 Working in one direction, apply solvent to the surface to prepare it, then sand. Apply the solvent with a clean rag to prepare the surface. The solvent will remove all dirt from the surface, so rub in one direction only. Rubbing in both directions will only carry the dirt back into the area. When the solvent is dry, sand the surface by hand with 20-H (P80) sandpaper.
 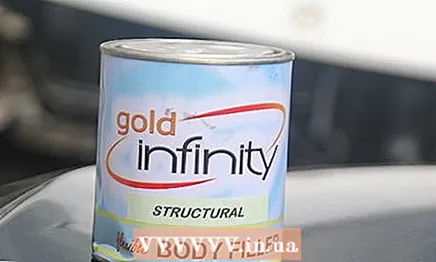 5 Contact a car service to find the product you need. The type of putty will depend on the type of plastic the bumper is made of, the initials of which can be found on the back of the bumper. Before buying anything, call the car service or ask the service counter for advice on the right product for you.
 - Plastics such as PP (polypropylene), PPO (polyphenylene oxide) and TPE (thermoplastic elastomer) rub very easily during hand or machine grinding. PUR (polyurethane) and TPUR (thermoplastic polyurethane) turn into dust during sanding.
- The brand of the product does not really matter, but for best results we recommend using the same brand of product throughout the repair process.
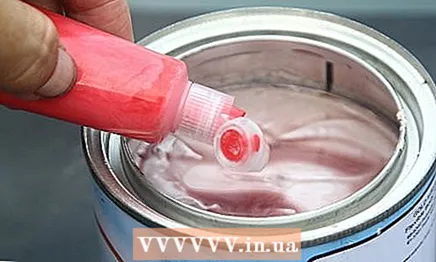 6 Stir and repair damaged areas with a light layer of putty. On a clean piece of cardboard, mix equal amounts of putty and hardener. With a spatula, press the putty into cracks, the depth of which does not exceed 0.64 cm, and leave a little more putty on top. This way, when the putty is dry and a little dry, the cracks will still be filled with it.
 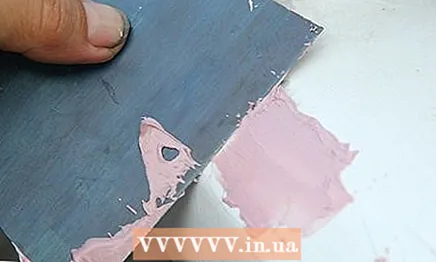 7 Wait 20 minutes for the putty to harden, then sand by hand. Start with a 20-H grit (P80) sandpaper, then move to a 10-H grit (P120) sandpaper to smooth the surface. Finish off with wet sanding with M40 / H-3 (P400) grit sandpaper to give the surface the familiar bumper shape.
 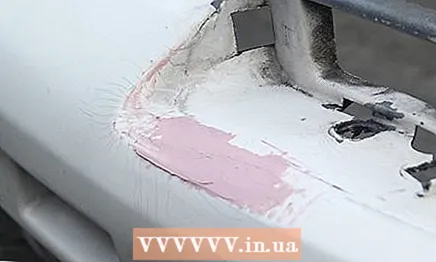 8 Apply 2 coats of flexible sealant before priming and painting. Spread the sealant over the filled area with a spatula. Apply layers one by one until they are dry. After 30 minutes have passed and the sealant has dried, you can start priming and painting.
  9 That's all.
What do you need
- Masking tape
- Sandpaper with grit M28 H-2 (P600)
- Sandpaper with grit M10 / H-0 (P1500)
- Degreaser and water
- Clean dust-collecting cloth
- Base layer
- Clear nail polish
- Aerosol can or spray gun
- Protective gear
Warnings
- Paint in an open, well-ventilated area.
- Wear protective equipment while working to avoid inhaling harmful vapors.


