Author:
Ellen Moore
Date Of Creation:
12 January 2021
Update Date:
27 June 2024

Content
- Steps
- Part 1 of 4: Preparing the Metal
- Part 2 of 4: Applying a primer paint
- Part 3 of 4: Printing an Image
- Part 4 of 4: Using Inkjet Transfer Paper
- What do you need
Metal printing is a great substitute for painting on canvas. However, the price of drawings on metal is often quite high. You can print on metal surfaces at home using an inkjet printer and a removable sheet of transfer paper. But remember that this method requires preliminary testing in order to verify its effectiveness and adjust the settings of your printer.
Steps
Part 1 of 4: Preparing the Metal
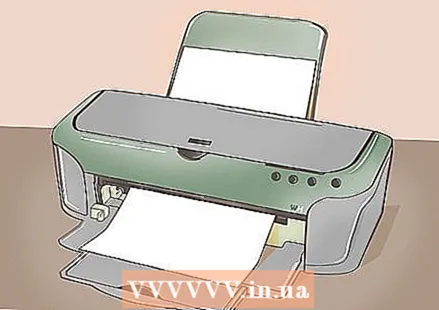 1 Make sure you have a suitable inkjet printer. For a given project, the wider the printer and the more flexible the feeder, the better. If you are having difficulty printing on cardstock and labels, this printer is unlikely to work.
  2 Charge the printer with the normal amount of ink.
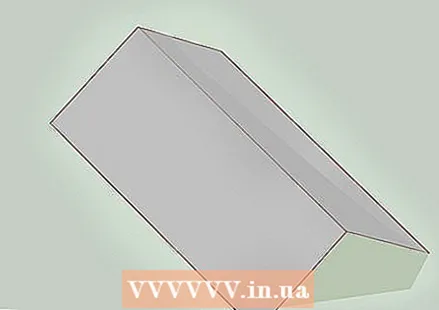 3 Purchase a flexible aluminum sheet. The sheet should be fairly thin. Cut out a fragment of the required size with needle-nose pliers or large scissors.
 - The cutout should go into the feed tray of the printer.
 4 Select the side you want to paint on. Take the sheet metal out and place the side to be printed on up.
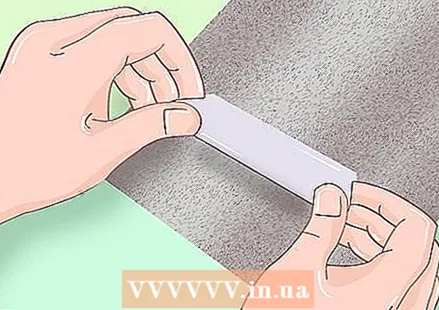
  5 Process the metal surface with a hand-held surface grinder. It is necessary to strip the outer coating from the metal. Use a medium to fine sandpaper, sanding every inch of the surface.
  6 Clean the metal surface with a bleaching agent such as a bleaching sponge or Mr. Wedge solution. Now that the waterproof film has been removed from the metal surface, the ink can be used.
Part 2 of 4: Applying a primer paint
 1 Bring the sheet indoors. Take a wide double-sided tape and glue it over the work surface of the metal you cleaned earlier.
 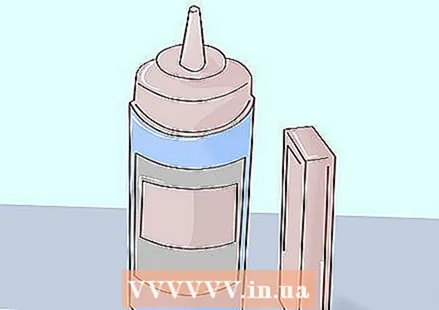 2 Purchase and use a standard inkjet primer. Before printing, it is necessary to cover the entire working surface of the metal with an even layer of primer paint.
 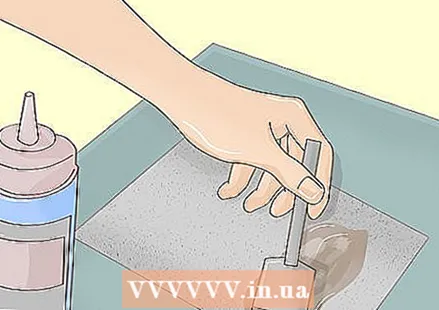 3 Pour enough primer onto the metal surface. Then spread the paint evenly over the surface with a primer trowel.
 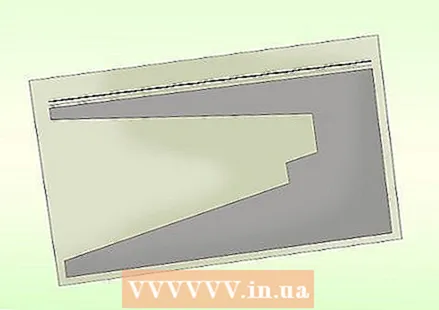 4 Use a special primer trowel. It can be either wooden or plastic; similar spatulas are used for screen printing.
 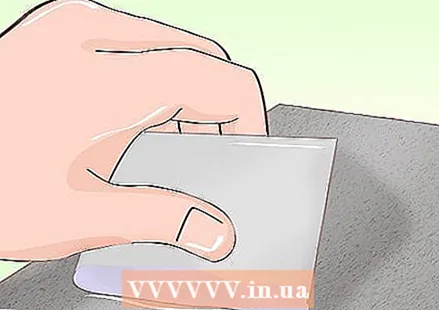 5 Place a primer putty on the spilled paint and use it to slide over the metal to spread the paint evenly. If the surface cannot be completely covered, you have used insufficient primer paint.
  6 After applying the primer paint, do not touch the treated surface. Remove the tape by gently grasping the edges.
Part 3 of 4: Printing an Image
 1 Prepare your image for printing. Make sure it is the right size in advance. Place the feed tray side guides in the correct position for straight printing.
 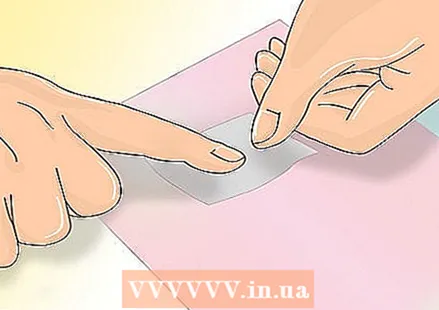 2 Place double-sided tape on a piece of paper that is exactly the same size as the sheet of metal. Place the metal on top of the paper, gluing it with the side facing up.
  3 Place the metal-laden paper on the printer feed tray. Click "print". If the printer is unable to print the image, you will need the next step using inkjet transfer paper.
 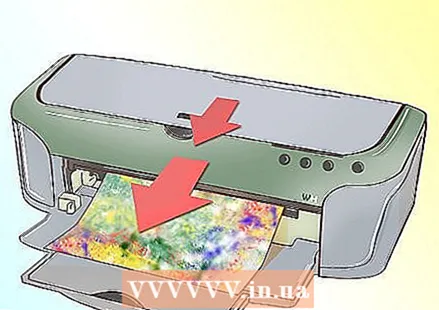 4 Wait for the sheet of metal to pass through the printer. After finishing printing, wait a few more seconds, grab the sheet of metal by the edges and set it aside to allow the ink to dry completely.
  5 Wait a few hours. After that, for greater safety, you can cover the image with a transparent sealant.
Part 4 of 4: Using Inkjet Transfer Paper
 1 If you were unable to print the image with the previous method, you can use another method. Purchase several sheets of inkjet transfer paper suitable for printing on metal.For example, companies such as Lazertran claim that their transfer paper is suitable for printing on the surface of any material.
 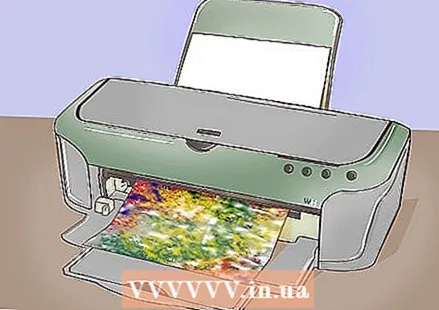 2 Place the transfer paper in the printer. Print the image following the instructions.
  3 Sand the metal surface with sandpaper and bleach to remove the waterproof layer.
 4 Place the transfer paper gently against the metal. To place it flat and without creases, you may need some preliminary training or someone's help.
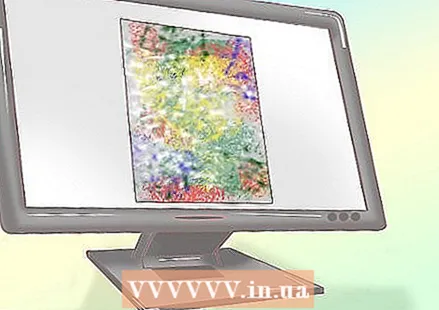
  5 Wait for the design to dry and, if recommended, cover it with a clear sealant. Now you can insert a sheet of metal with an image in a frame or hang on a wall.
What do you need
- Thin sheet of aluminum
- Jet printer
- Inkjet printer ink
- Image
- Large regular scissors or metal shears
- Double sided tape
- Smooth surface (board or work table)
- Manual surface grinding machine
- Sandpaper
- Whitening agent
- Sponge
- Ground paint
- Priming trowel
- Paper
- Inkjet Transfer Paper Sheets Suitable for Metal
- Transparent sealant
- Frame or wall hook


