Author:
Roger Morrison
Date Of Creation:
8 September 2021
Update Date:
21 June 2024

Content
This wikiHow teaches you how to transfer music purchased from your iPhone to your computer using iTunes, and how to redownload previously purchased music to your computer.
To step
Method 1 of 2: Transfer music
 Make sure you have purchased music that you want to transfer. To transfer music from your iPhone to your computer's hard drive, you must have completely downloaded the music in question to your iTunes library on your phone.
  Connect your iPhone to your computer. Connect one end of your iPhone charging cable to your iPhone and connect the other end (the USB end) to your computer.
 - If you're using an iPhone 7 (or earlier) charger with a Mac, you may need to buy a USB-C charging cable to connect it to your computer.
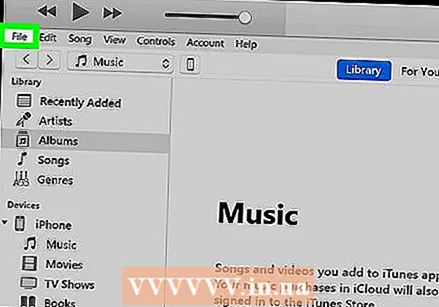
 Open iTunes. The icon of this app resembles a multicolored music note with a white background. The iTunes window should appear after a few seconds.
 - When prompted to update iTunes, click the Download button and wait for the iTunes update. You must restart your computer before continuing.
 click on Archive. Top left of the iTunes window (Windows) or the top menu bar of the screen (Mac).
 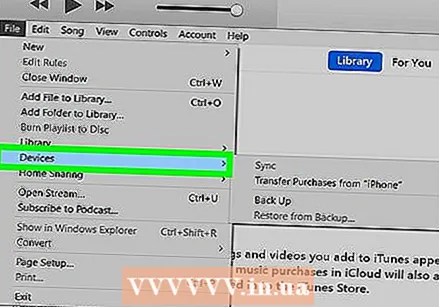 Select Appliances. This option is at the bottom of the drop-down menu below Archive.
 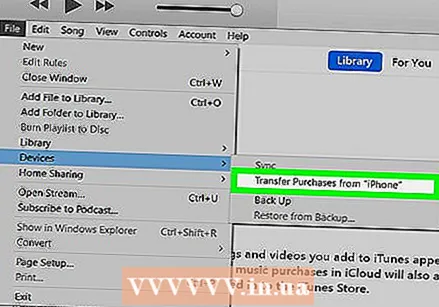 click on Transfer purchases from [Name] 's iPhone. Instead of "[Name]" you see the name of your iPhone. Clicking this option will start transferring the music to your computer.
 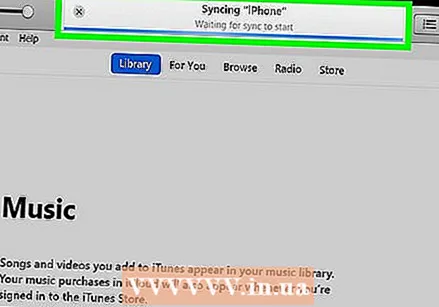 Wait for the purchased music to finish transferring. Depending on the amount of music you need to transfer, this can take anywhere from a few seconds to a few minutes.
 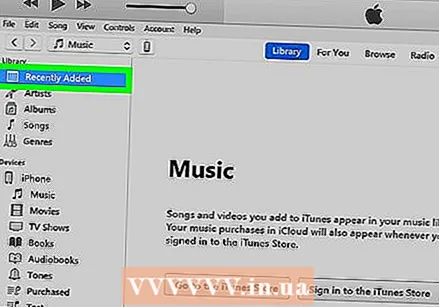 click on Recently added. It's a tab on the left side of the iTunes window. Clicking this will open a list of recently added music.
 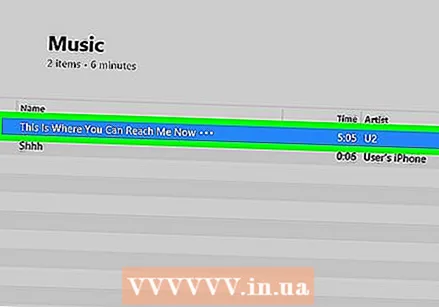 Find the purchased music you want to keep. You may have to scroll up and down to find the music you want to download to your computer.
  Click on Download
  Open iTunes. The icon of this app resembles a multicolored music note with a white background. If you accidentally deleted your iTunes music from your iPhone or iTunes, you can download it again as long as you are signed in to the account you used to purchase the music.
 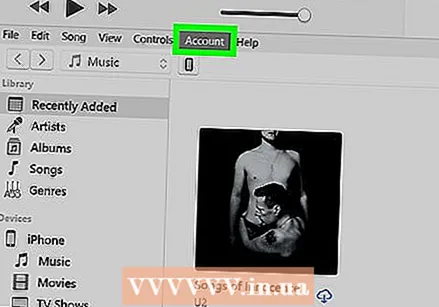 Make sure you are logged in to the correct account. click on Account at the top of your iTunes screen (Windows) or at the top of the screen, then check your account where you are logged in. It must be the same as the one on your iPhone.
 - If the account is not correct, click Log outthen click Log in and enter your Apple ID email address and password.
- If you are not logged in, click Log in and enter your Apple ID email address and password.
 Click again Account. A selection menu will appear.
 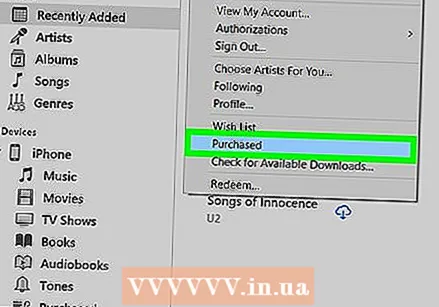 click on Purchased. At the bottom of the selection menu. Doing this will take you to the iTunes Store tab.
 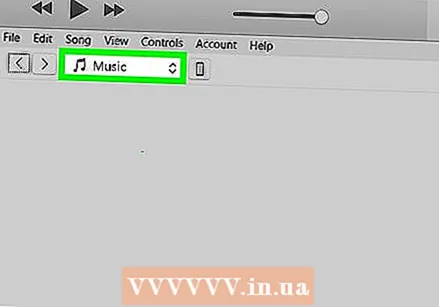 Click on the Music tab. This option is located in the top right corner of your iTunes window.
 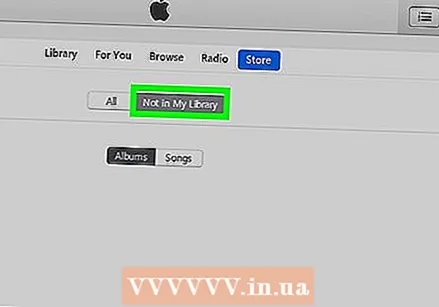 Click on the Not in my library tab. You can find this at the top of the iTunes page. By clicking on this you will see a list of all your purchased songs that are no longer in your iTunes library.
 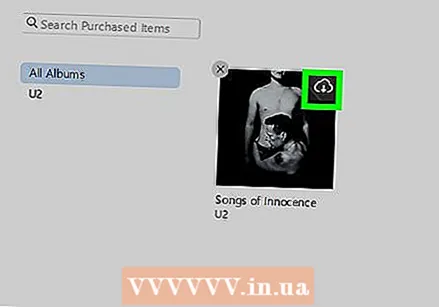 Click on Download
 . In the top right corner of the song or album you want to redownload. This will download the song or album back to your computer.
- You can find the music on your computer by selecting a song, on Archive clicking, and then Show in Windows Explorer (Windows) or Show in Finder (Mac).


