Author:
Helen Garcia
Date Of Creation:
16 April 2021
Update Date:
1 July 2024

Content
- Steps
- Method 1 of 6: Consult a Professional to Determine the Value of Your Piano
- Method 2 of 6: Self-Determine the Value of Your Piano
- Method 3 of 6: Start the restoration
- Method 4 of 6: Remove the nail polish
- Method 5 of 6: Apply the final coat
- Method 6 of 6: Build the piano
- Tips
- Warnings
- What do you need
Piano restoration is time consuming, but you can do it yourself with a few tools and furniture repair tools. It is not advised to restore an antique piano on your own, it is better to leave it to professionals with long experience. However, if your piano has seen better days, doing it yourself can be a fun and rewarding project.
Steps
Method 1 of 6: Consult a Professional to Determine the Value of Your Piano
 1 Call an expert to find out how much your piano is worth. Restoring a piano can cost a pretty penny, and if you're a beginner, you probably won't want to risk it, especially if it's antique. Before investing in a piano restoration, try to get an idea of its value and general condition. You can contact local piano sellers and they can help you determine the technical and musical condition of the instrument. If you have a “young” piano (under 30), chances are good that it will be worth restoring. An older piano may be in poor condition (or become antiques). If you are not sure how old your piano is, you can find out by knowing the manufacturer and serial number of the instrument.
Method 2 of 6: Self-Determine the Value of Your Piano
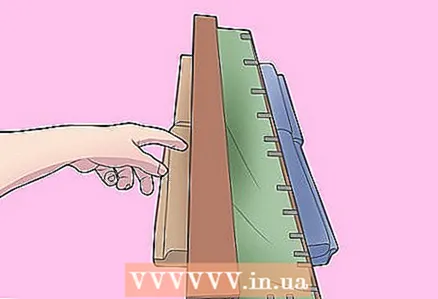
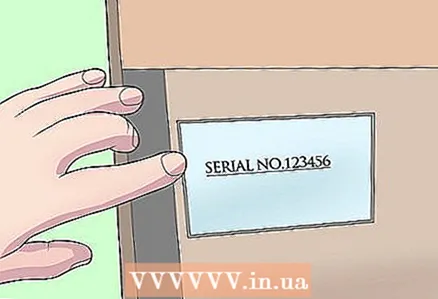 1 Find your serial number. It is usually located on the piano deck between the bass and tenor strings. It can sometimes be found on the lid.
 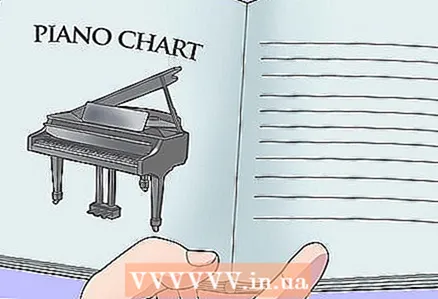 2 Find your piano in the table to find out how old it is. Remember that it is not only the age and the manufacturing company that need to be taken into account. Carvings, engravings, embellishments and other unusual designs tend to indicate that the piano is valuable, regardless of its current state.
  3 Discuss age and general musical and technical condition with a trusted dealer. A professional can advise you on the best techniques and stains for self-restoring wood. If you intend to restore more than just the look of the piano, consult a tuner to determine how well the instrument sounds. The customizer may also advise you to replace broken or damaged keys.
Method 3 of 6: Start the restoration
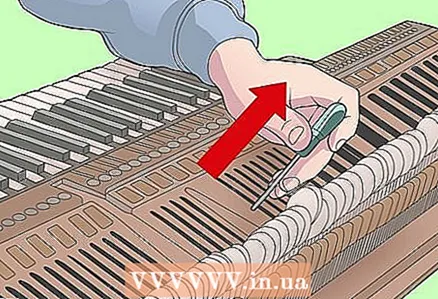 1 Disassemble the piano. It will be necessary to disassemble and label all the parts so that in the future you can assemble the tool. You can also write down the order of actions for memory, as the project can drag on for a long time. Every detail can be photographed before and after disassembly.
  2 Cover the furniture. Cover furniture and other parts of the interior with oilcloth.
Method 4 of 6: Remove the nail polish
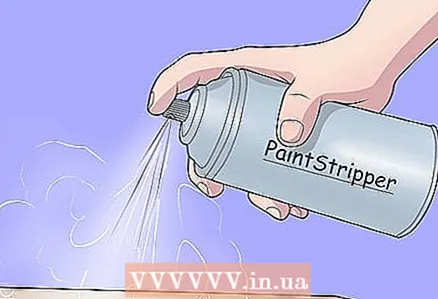 1 Use furniture paint remover to remove old varnish. Multiple coats may be required, especially if the piano has carvings or ornaments. (This step can be skipped if there is no paint or varnish left on the instrument.)
 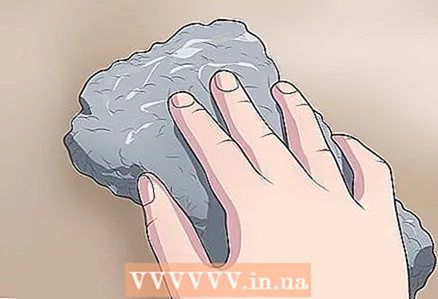 2 Clean the wood after removing the varnish. Use solvent, fine steel wool, and a lint-free cloth.
 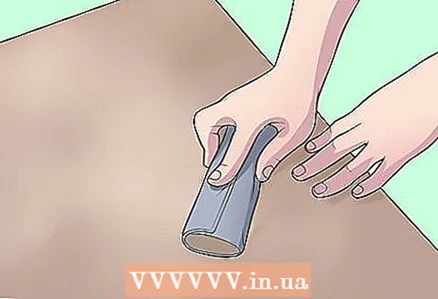 3 Sand clean wood. Use fine sandpaper and proceed with caution. Sand with the grainy side.
 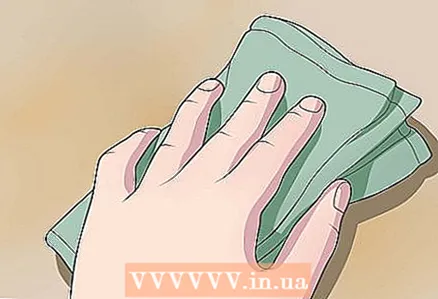 4 After sanding, clean the wood with a piece of cloth. The cloth will remove dust and other small debris from the surface. You can blow off the dust with a hairdryer (in cold mode), but you still need to wipe the wood with a cloth.
 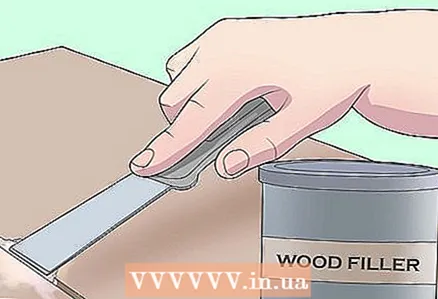 5 Smooth out dents and roughness with wood putty. If you plan to use a lacquer final coat, choose a filler with the same chemical composition as the final coat. This will avoid possible reactions to stains, which can result in color unevenness.
  6 Choose a stain. Most varnishes and wood stains are compatible with each other, but polyurethane varnish cannot be applied over some wood stains.
 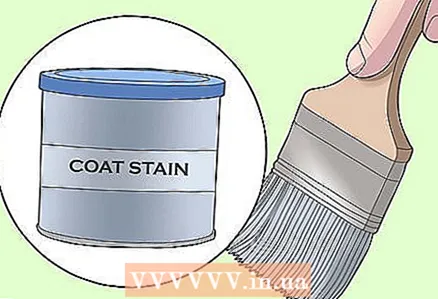 7 Apply the first coat of stain. Use a lint-free cloth or foam brushes (new only). Apply the stain a little at a time and remove any excess immediately to avoid streaking.
 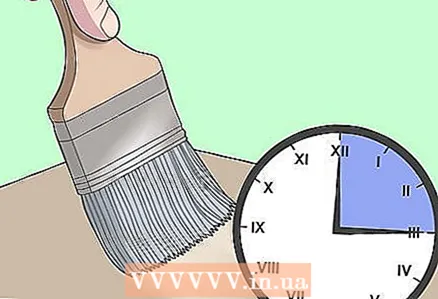 8 Let the first coat dry completely. You can apply as many layers as required. With each layer, the color will be deeper.
Method 5 of 6: Apply the final coat
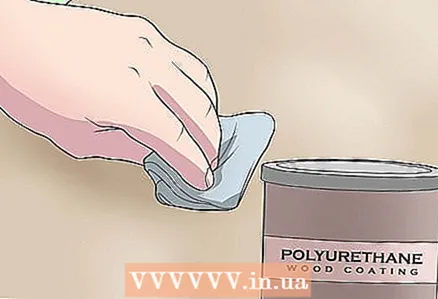 1 Start applying the final coat. Polyurethane is perfect as a final coat. It will set the stain and protect the piano from moisture damage. The final coats dry fairly quickly, but each should dry for at least 48 hours before applying the next one.
 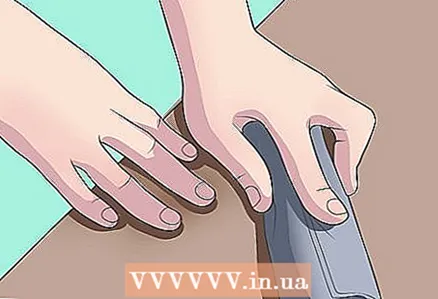 2 Sand each layer lightly after drying. Use fine sandpaper or zero steel wool to sand thin layers of the final coat. (Two to three coats of varnish will give the piano a professional shine. This is a long process, but is preferable to applying one thick coat).
 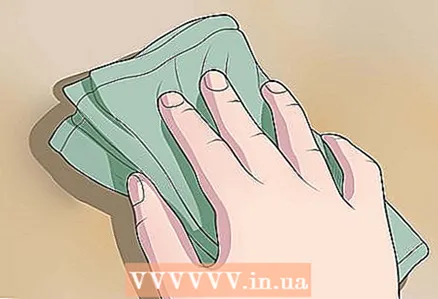 3 Wipe the wood with a cloth. After sanding each layer, wipe the wood with a cloth to remove dust and small particles before applying the next layer of polyurethane. If this is not done, the final finish will be uneven and ugly.
Method 6 of 6: Build the piano
 1 Make sure all parts are dry before starting assembly. Check all the details carefully: if the surface is sticky somewhere, then everything is not dry yet.
 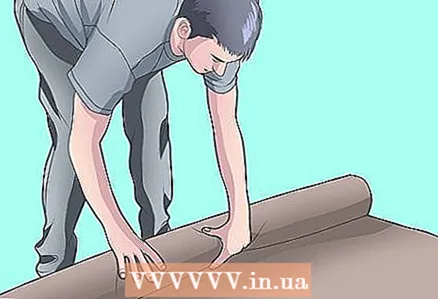 2 Place a rug on the floor before starting assembly. You can use a large piece of cardboard or a sheet. This is a precaution to avoid scratching the wood during the assembly process.
 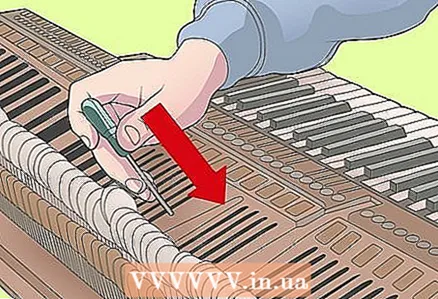 3 Reassemble the parts in reverse order by looking at photographs or your notes.
Tips
- Allow a few weeks for restoration. If possible, work in a garage or workshop where no one will disturb you.
- Some skip the staining process and simply paint the piano after sanding and cleaning.If the natural woody pattern of your piano is well preserved, staining will accentuate it, and a few coats of paint will destroy the natural beauty of the wood.
- After taking apart the piano, you may want to replace some of the internal parts prior to assembly.
Warnings
- Wear proper, OSHA approved, personal protection when handling wood strippers and stains when handling solvent and stains. Work in a well-ventilated area.
What do you need
- Wood paint remover
- Rags
- Fine sandpaper
- Thin steel shavings (optional)
- Wood stain
- Polyurethane
- Foam brushes
- Screwdrivers and other tools


