Author:
Mark Sanchez
Date Of Creation:
28 January 2021
Update Date:
1 July 2024
Content
- Steps
- Method 1 of 4: Disabling Caps Lock
- Method 2 of 4: Disabling the Caps Lock and Insert Keys at the same time
- Method 3 of 4: Removing a Key
- Method 4 of 4: Using KeyTweak
- Tips
- Warnings
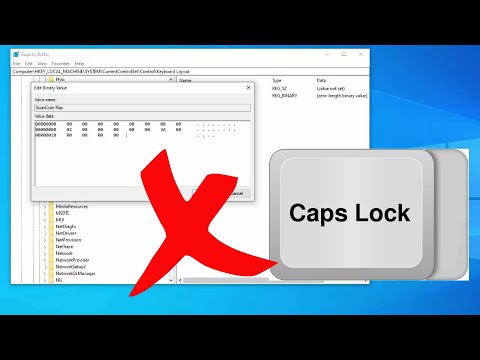
Surely, when entering text, you happened to accidentally press the Caps Lock key and continue to enter capital letters. This article will guide you on how to disable Caps Lock. Note: This article also explains how to disable the Caps Lock and Insert keys at the same time.
Steps
Method 1 of 4: Disabling Caps Lock
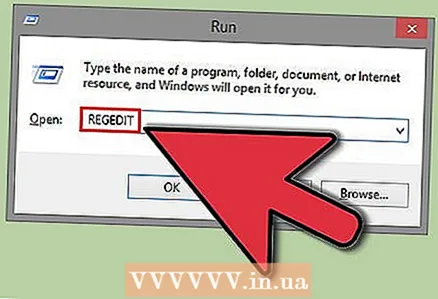 1 Click Start - Run and type regedit.
 2 Open HKLM System CurrentControlSet Control Keyboard Layout.
 3 Right click on the right half of the screen and select New - Binary Parameter.
 4 Name the new entry Value Scancode Map.
 5 Enter 00000000000000000200000000003A0000000000.
 6 Close the Registry Editor window.
 7 Reboot your computer.
Method 2 of 4: Disabling the Caps Lock and Insert Keys at the same time
 1 Click Start - Run and type regedit.
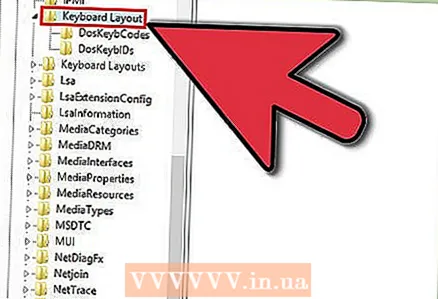 2 Open HKLM System CurrentControlSet Control Keyboard Layout.
 3 Right click on the right half of the screen and select New - Binary Parameter.
 4 Name the new entry Scancode Map.
 5 Enter 000000000000000003000000000052E000003A0000000000.
 6 Close the Registry Editor window.
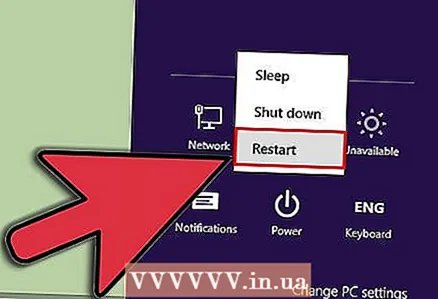 7 Reboot your computer.
Method 3 of 4: Removing a Key
 1 Remove (pull) the key from the keyboard. An empty space (hole) will appear on the keyboard, but you do not need administrative rights to complete this procedure.
Method 4 of 4: Using KeyTweak
 1 Download the KeyTweak program. This is a free program that allows you to remap and disable any keys.
 - When installing KeyTweak, pay attention to the accompanying programs that are also offered for installation. Do not install such programs if you do not need them.
 2 Start KeyTweak. The virtual keyboard will appear on the screen. The keys will be numbered (instead of displaying standard characters).
 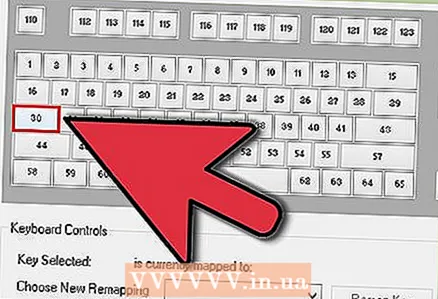 3 On the virtual keyboard, select the CapsLock key. To make the right choice, see the Keyboard Controls section for the functionality of the selected key.
  4 In the "Keyboard Controls" section, click "Disable Key". This will disable CapsLock.
  5 Reboot your computer.
 6 Turn on CapsLock. To do this, launch KeyTweak, select the CapsLock key on the virtual keyboard and click "Restore Default". Then restart your computer.
Tips
- Remember to update the key number allocation table if you have disabled multiple keys.
- Delete the value HKLM System CurrentControlSet Control Keyboard Layout Scancode Map if you entered it incorrectly.Then reboot and start over.
Warnings
- If you are using a non-standard keyboard (including keyboard on portable devices), review the keycodes as they may be different.
- Don't confuse HKLM System CurrentControlSet Control Keyboard Layout and HKLM System CurrentControlSet Control Keyboard Layouts.
- Disabling keys will affect all users (keys cannot be disabled for a specific user only).
- Back up the registry before editing it.
- You should be familiar with the registry. If you make a mistake, it will cause the keyboard to malfunction.
- Restart your computer for the changes to take effect.
- Log in as an administrator to complete the steps described.


