Author:
Bobbie Johnson
Date Of Creation:
7 April 2021
Update Date:
1 July 2024

Content
If your Windows XP system is damaged and you want to format the system drive, or if you want to install Windows XP SP3, then read this article.
Steps
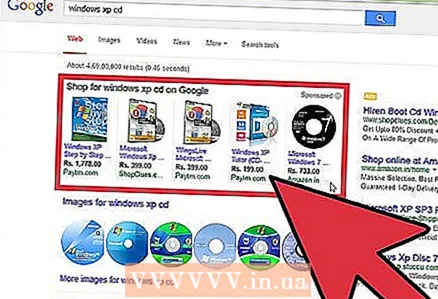 1 Find or buy a Windows XP installation disc. You will need a key to install the system.
  2 Turn on your computer and press the F2, F12, or Delete key several times (depending on your computer model). BIOS settings will open. Find the BOOT menu (boot menu). In it, select CD-ROM as the first boot device.
 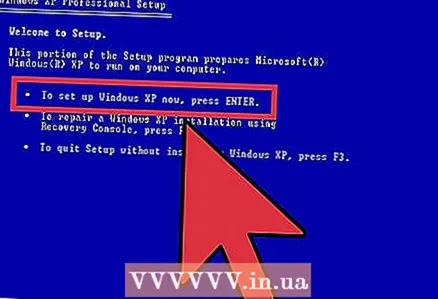 3 Insert your Windows XP installation disc and restart your computer. It will boot from the disk and begin the Windows installation process. Hit Enter.
 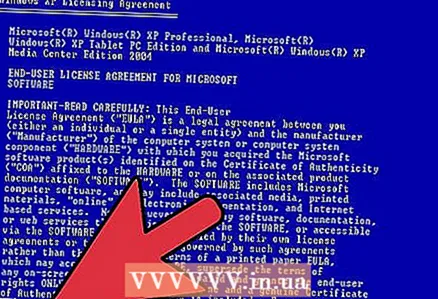 4 Accept the terms of the license agreement by pressing F8.
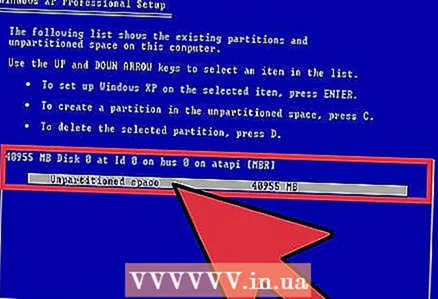 5 Select the hard disk partition to install the system.
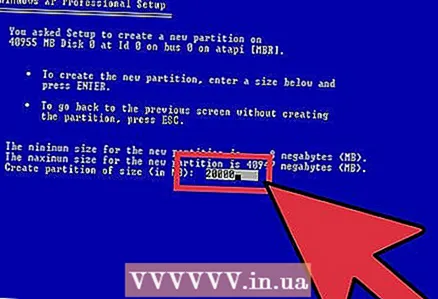 6 If you want, create a new partition by pressing the C key and setting the size of the new partition.
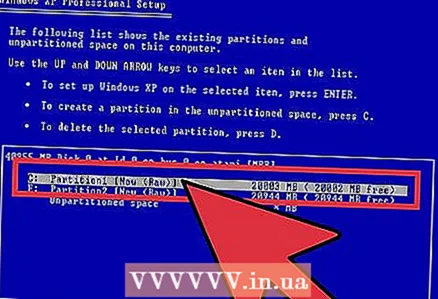 7 Now select the desired partition to install Windows XP and press Enter.
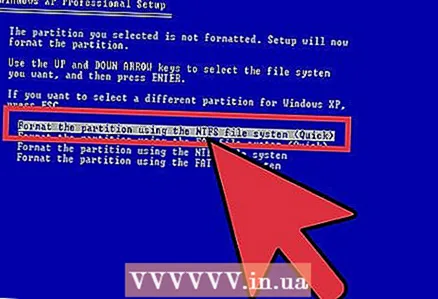 8 Format the section. Choose fast formatting to NTFS format.
 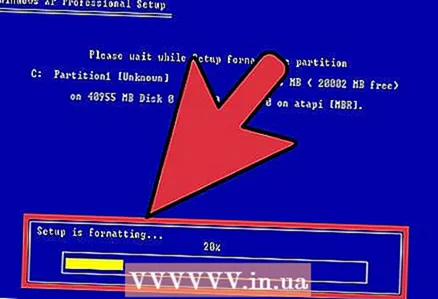 9 The section will be formatted.
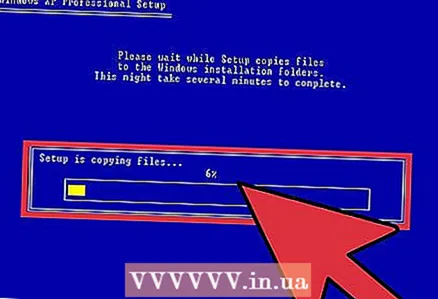 10 After formatting, the installer will start copying files to your hard drive.
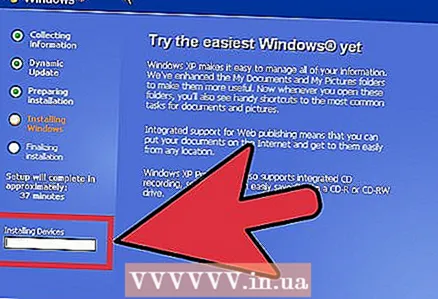 11 After the files have been copied, Windows installation will begin. You can watch the progress of the process in the line on the left pane.
 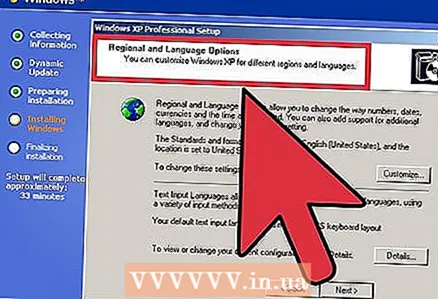 12 Select your language and regional standards.
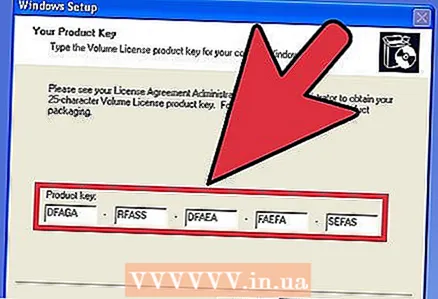 13 Enter your product key. It can be found on the box with the system installation disc or purchased from Microsoft.
 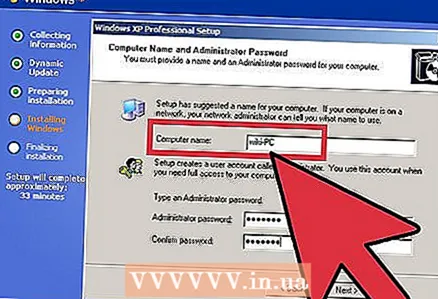 14 Enter the computer name. If necessary, enter the password to log in to the system.
 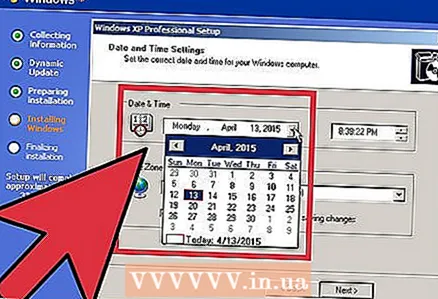 15 Set the date and time (select the desired time zone).
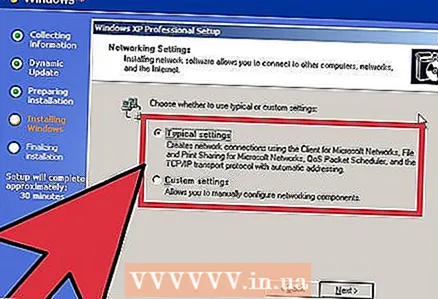 16 Enter the network settings yourself or select the default network settings. Hit Enter.
  17 The installer will install devices and components.
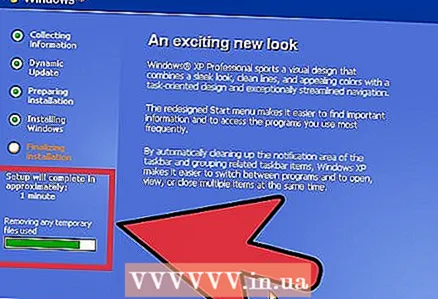 18 After the installation is complete, unnecessary files will be removed and the computer will automatically restart. At this point, you can remove the disc from the drive.
  19 Click OK when the system prompts you to adjust the screen image.
Warnings
- Back up important data before formatting the disc.
- If the system has been infected with a virus or malware of any kind, copy only those files that were not infected (if possible).

")

