Author:
Gregory Harris
Date Of Creation:
8 August 2021
Update Date:
1 July 2024

Content
- Steps
- Method 1 of 2: Increasing the size of the ring
- Method 2 of 2: Reducing the size of the ring
- Tips
- Warnings
- What do you need
Cheap rings come in just a few sizes. This is fine for people whose fingers just fit the manufacturer's specifications, but what should the rest of us do? Of course, it is better to take an expensive ring to a professional jeweler, but if your ring is cheap, the cost of a jeweler's services may exceed the price of the ring itself.
If you have an inexpensive soft metal ring, you can resize it yourself using the instructions in this article.
Steps
Method 1 of 2: Increasing the size of the ring
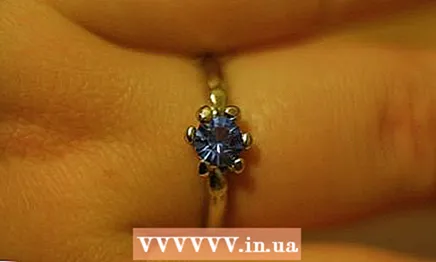
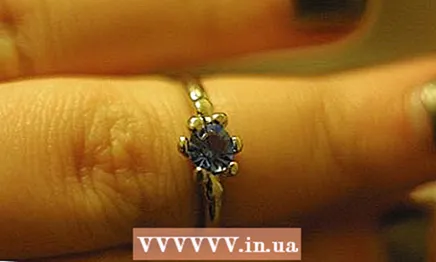 1 Place the ring on the finger you intend to wear it on. Don't push too hard - it's okay at this stage if the ring doesn't move past the joint.
 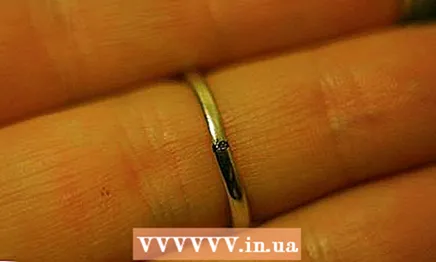 2 Make a mark in the center of the back of the ring on your finger. The fingers are not perfectly round, so mark the dot exactly in the middle of the finger, not the actual center of the back of the ring.
 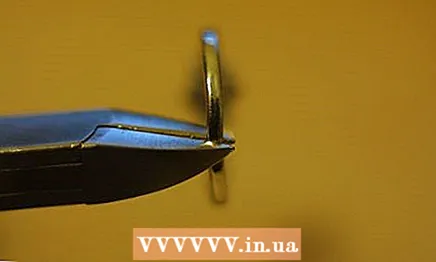 3 Use pliers to cut the ring at the marked location.
 4 Bend the ring slightly using pliers. Unbend the edges of the cut ring, being careful not to disturb its shape.
 5 Rub the edges of the cut with a nail file until they are flat.
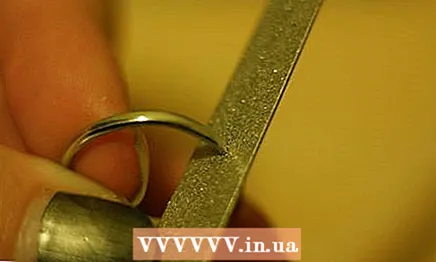
 6 Use the coarsest nail polish. Align the edges of the cut to avoid any sharp edges or burrs that could scratch you. The edges should be smooth to the touch.
  7 Try slipping the ring over your finger while checking the size.
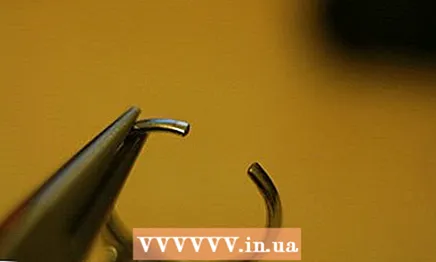 8 As you expand the ring with pliers, gradually slide it over your finger until you get the size you want.
 9 Check the size again. The ring should neither slide freely on the finger, nor strongly squeeze it; make sure the edges of the incision do not dig into your finger as you move the ring.
Method 2 of 2: Reducing the size of the ring
 1 Mark the center of the back of the ring.
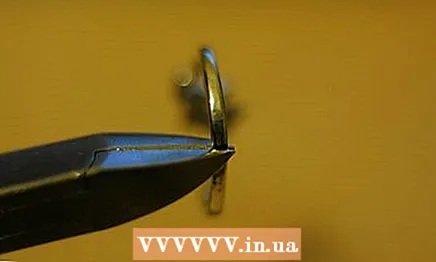 2 Cut the ring at the marked location with pliers.
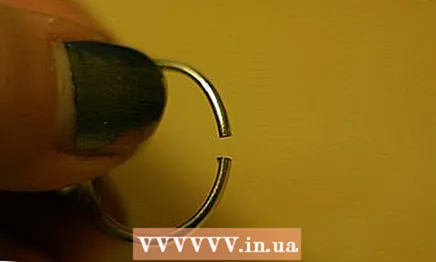
 3 Rub the edges of the cut with a nail file to keep it straight and smooth.
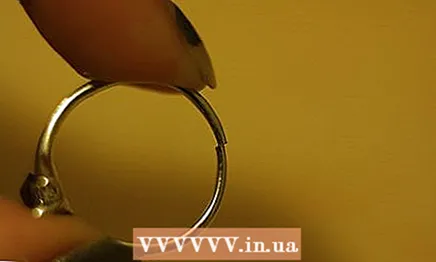 4 Bring the edges together and try slipping the ring over your finger.
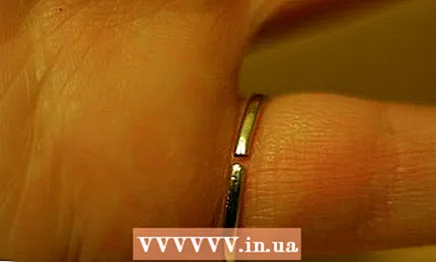 5 If the ring is still large, rub the edges of the cut again and try on the ring again. Continue until it is the correct diameter.
  6 Finish processing the ring. Simply align the edges of the cut with a file and bring them together, or solder them together to close the ring.
Tips
- If the ring is only slightly tight, do not cut it. You can just stretch the metal. Find an iron or steel tube to fit your ring on. The tighter the ring is put on this tube, the better. The pipe can be purchased at the hardware store, plumbing department. Place the ring on the tube and tap the back of the tube with a hammer. Do not knock on one place, but walk with a hammer along the entire back side. The ring will stretch slightly with each hit. The hardwood hammer will not mark the ring.The steel hammer will leave small flat dents, which will give the ring a new original design.
- Be careful: bending too much may crack the ring. Do not bend the ring in one place all the time, instead move the pliers along the ring - this will give it a rounder shape and prevent tearing.
- A ring stopper can also be used.
Warnings
- If you do not clean the cut ends properly, they can scratch your finger, especially when you remove the ring.
What do you need
- Wire cutters
- Pliers (the gripping surface should be smooth with no protruding edges so as not to leave marks on the ring)
- Nailfile
- Nail polish
- A pen or pencil to make a temporary mark on the metal

")

