Author:
Clyde Lopez
Date Of Creation:
25 June 2021
Update Date:
1 July 2024
Content
One of the most important tools a diabetic should have is a glucose meter, otherwise known as a blood glucose meter.This handheld device allows diabetics to check their blood glucose, which is especially important in determining what food you can eat and how well any medication you take works to control high blood sugar. This series of steps teaches you how to use the meter.
Steps
 1 Get a meter and test strips.
- You can go to any pharmacy and buy a blood glucose meter. Many insurance companies will pay for the meter and test strips if you get a doctor's prescription.
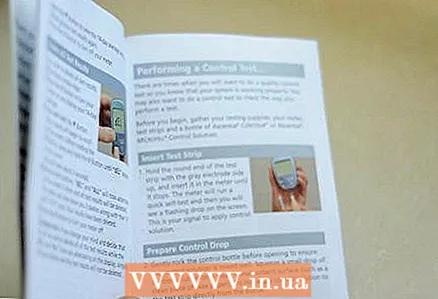 2 Read the instructions and directions that come with your meter.
- Familiarize yourself with all the functions of your meter. Determine where to insert the test strip and where to read the reading.
 3 Check your meter before using it.
- Most blood glucose meters have the ability to check that they are reading correctly. This can be in the form of a ready-made test strip or a liquid that you apply to the test strip. Insert the test strip into the meter and the reading should be within acceptable limits.
 4 Wash your hands thoroughly, including the area where you are going to draw blood.
- The instructions for most diabetic meters recommend pricking your finger to collect the sample, but some of the newer meters allow you to use an arm area. Determine which of these areas are acceptable for your appliance.
 5 Pour rubbing alcohol onto a cotton ball.
 6 Place the test strip in the designated slot on the meter.
 7 Apply a cotton swab to the area from which you intend to take the sample.
- The alcohol evaporates quickly, so there is no need to dry this area. It only infects him.
 8 Wait for your diabetic meter to tell you to put a drop of blood on the strip.
- For example, you might see the words "place sample on strip" or a symbol that looks like a drop of liquid.
 9 Use the lancet that comes with your diabetes meter to inject the sample area.
 10 Place a drop of blood on the test strip.
- Newer strips have a "suction" effect that will draw blood to the surface of the test strip. Old blood glucose meters and strips require you to actually drop blood onto the strip.
- Most diabetic glucometers require nothing more than a drop of blood to make a test.
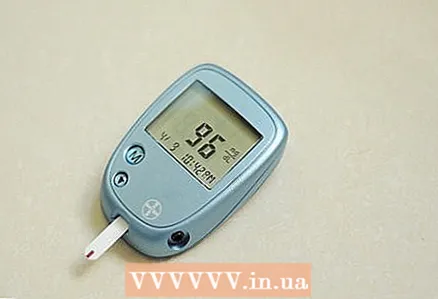 11 Wait for the results.
- The counter will start counting down in seconds after the sample hits the strip and the meter detects it. For new meters, 5 seconds is enough, older ones may take 10 to 30 seconds. The counter will beep or beep when your result is ready.
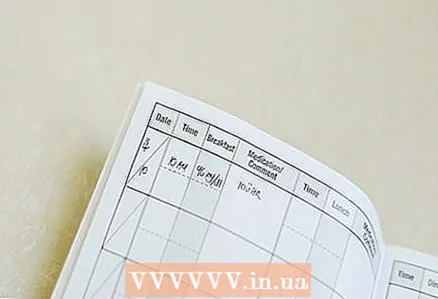 12 Take a look and write down the result.
- Some diabetic blood glucose meters store your readings in memory. In others, however, you will have to record your testimony separately. Make sure you pay attention to the day, time, and type of reading. For example, did you test early in the morning? This is an indication on an empty stomach. If you sampled 2 hours after a meal, this is a 2 hour afternoon reading.
Tips
- Your doctor will tell you how often and what type of indication you should be monitoring. Make sure to discuss this with your doctor.
- If you are doing finger tests, soak your hand in warm water for 1-2 minutes, and then lower your hand down for 1-2 minutes. This will help the blood flow to the fingers.
Warnings
- Do not reuse lancets or test strips. Both of these items are for single use only.
What do you need
- Diabetic glucometer
- Test strips
- Lancets
- Alcohol
- Cotton balls
- Paper and pencil (unless your meter automatically stores results)


